summer tank/winter undershirt
-

it is January
The high temperature over the next few days will be below zero and the low temperature will be well below that. That makes it the perfect time for me to start on some new summer clothes :) If I manage to finish any of these before the warm days return, I can always wear them as undershirts, which is how I have been wearing this one for the past couple of years.
-
a free pattern
I have sewed several sleeveless shirts with linen fabric but I would like to try some knitted tanks. I made the red camisole/shirt a few years ago from a free pattern on Ravelry: (https://www.ravelry.com/patterns/library/216ss-05-type-lace-camisole), and I would like to make several more, with some alterations.
-
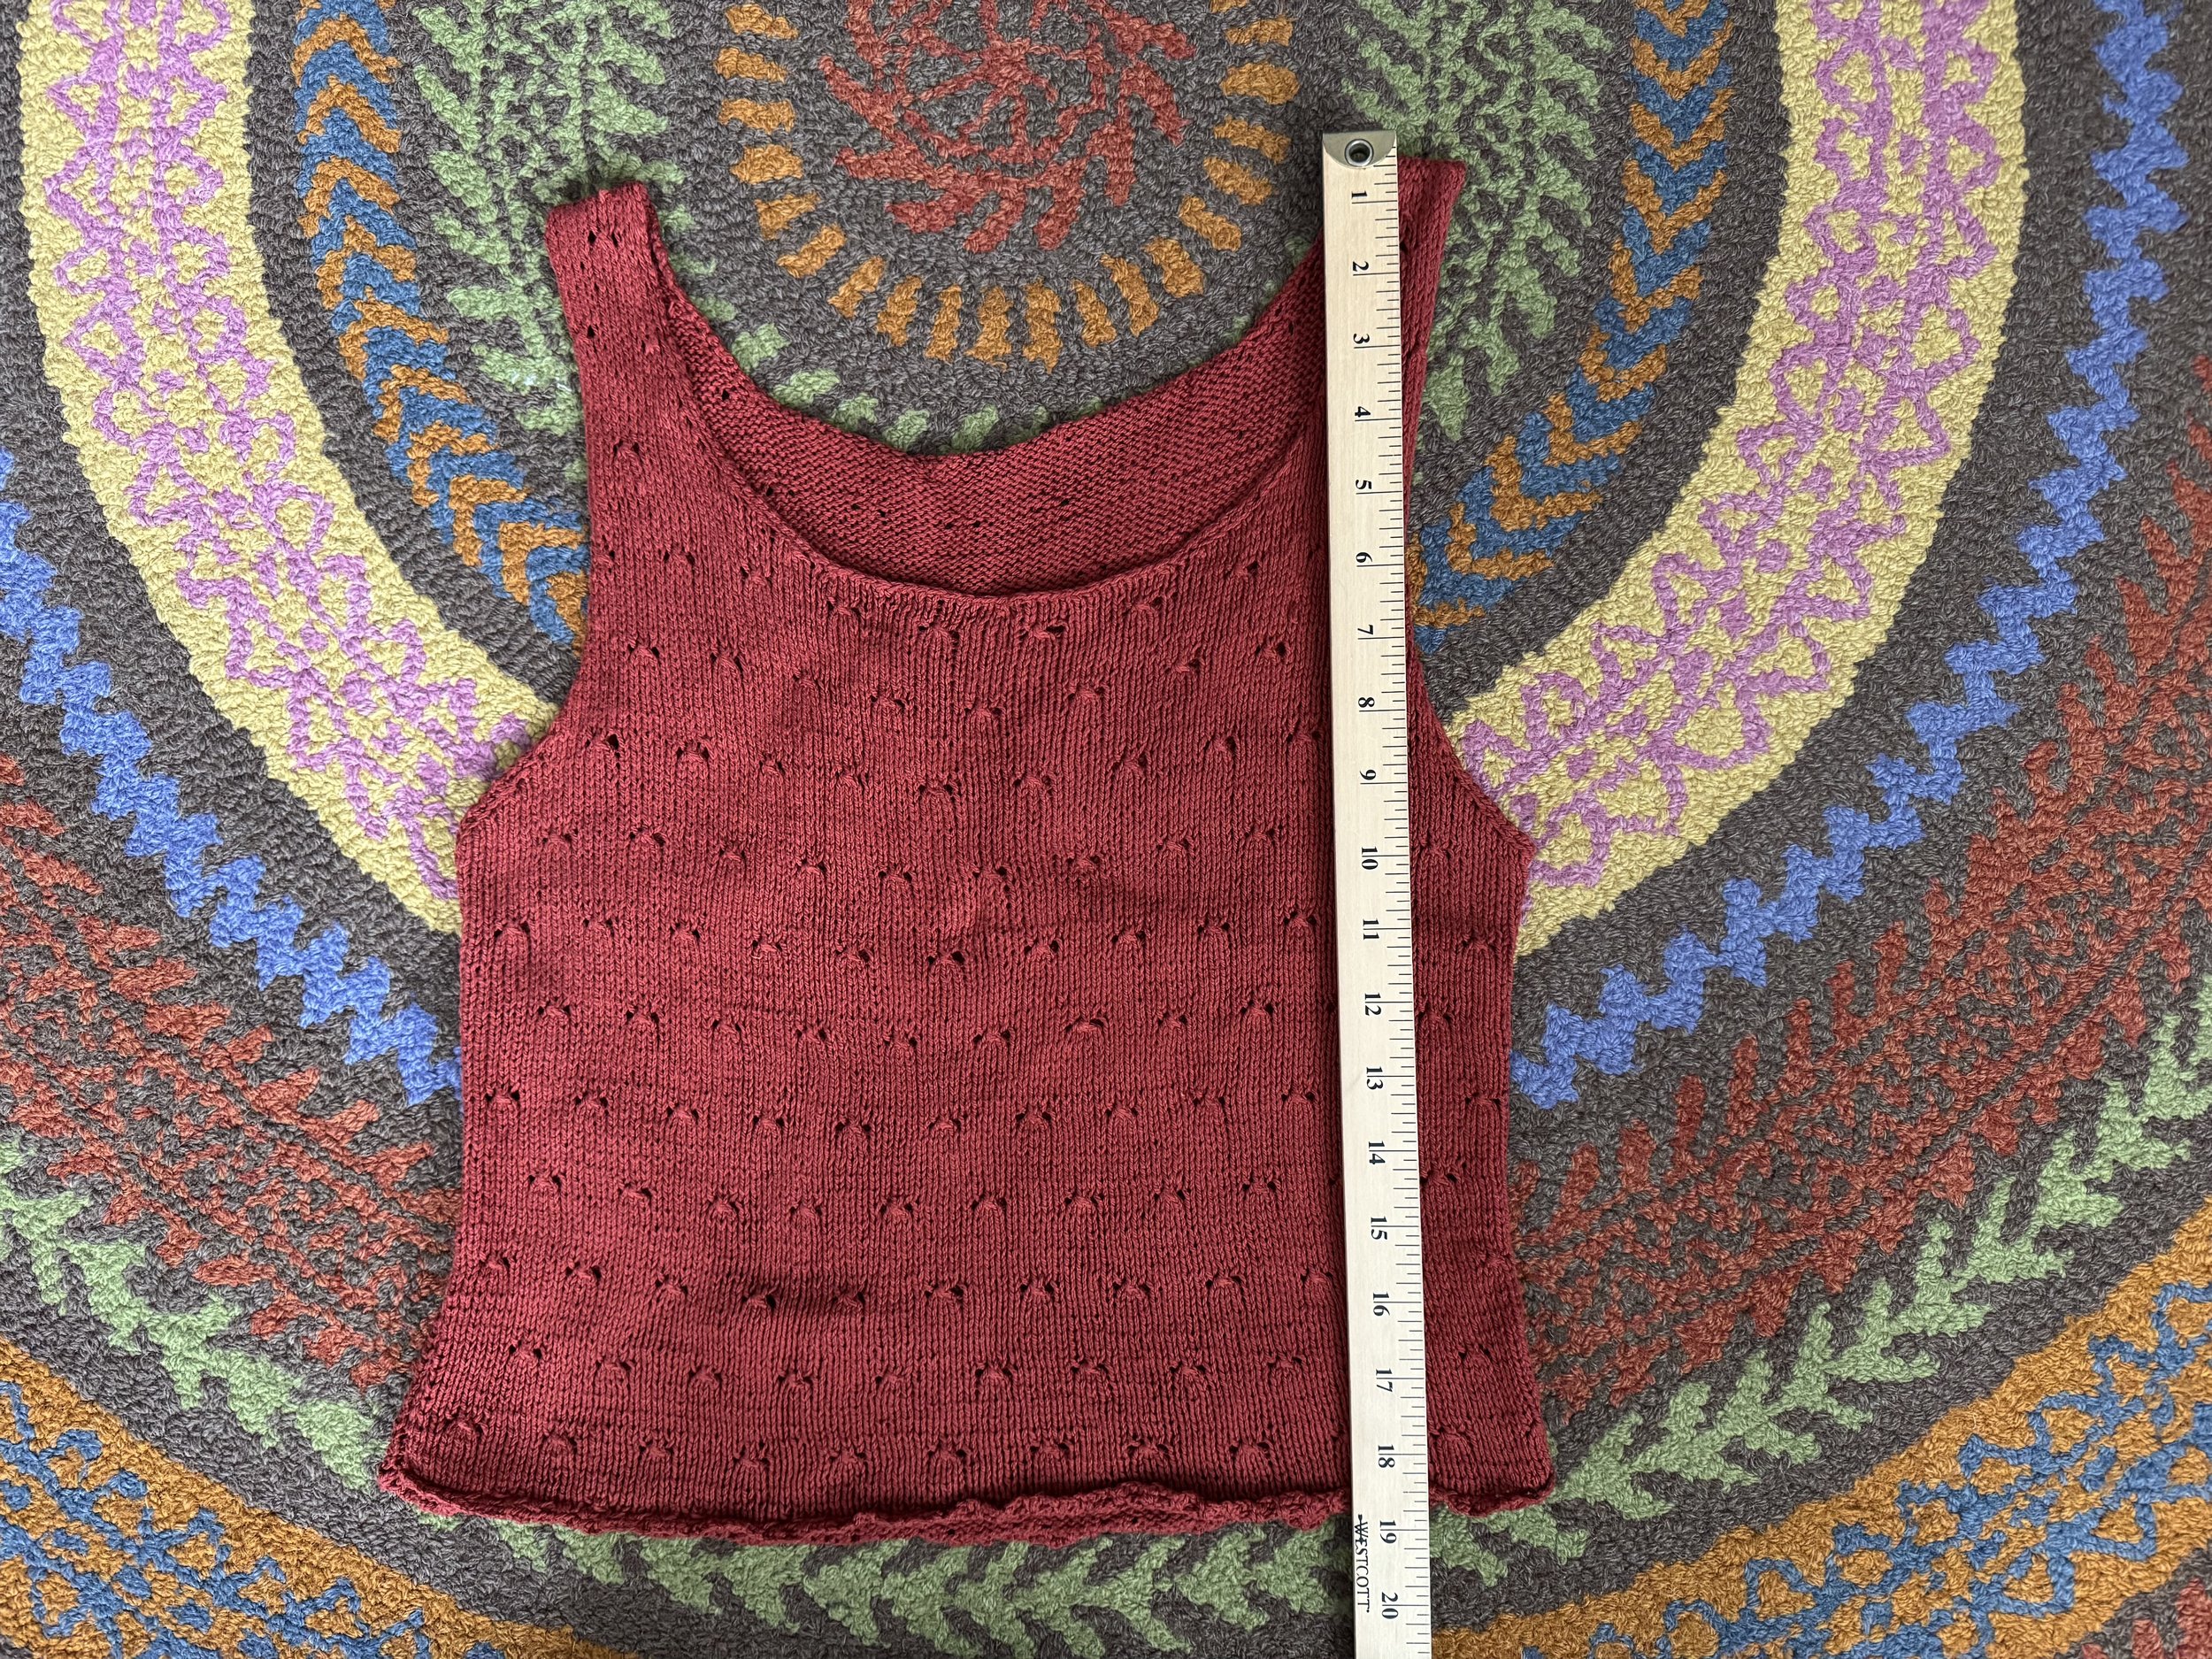
alterations
The main change I want to make will be to shorten the shoulder strap by about 1.5”. This should raise both the neck and the underarm by the same amount, which will keep my undies hidden. I also want the next tank to be longer by about 3”. This tank measures about 9” from the bottom edge to the underarm, so I will aim for 12”. If I take out 1.5” from the top and add 3” at the bottom, I should end up at about 20.5” for the length.
-
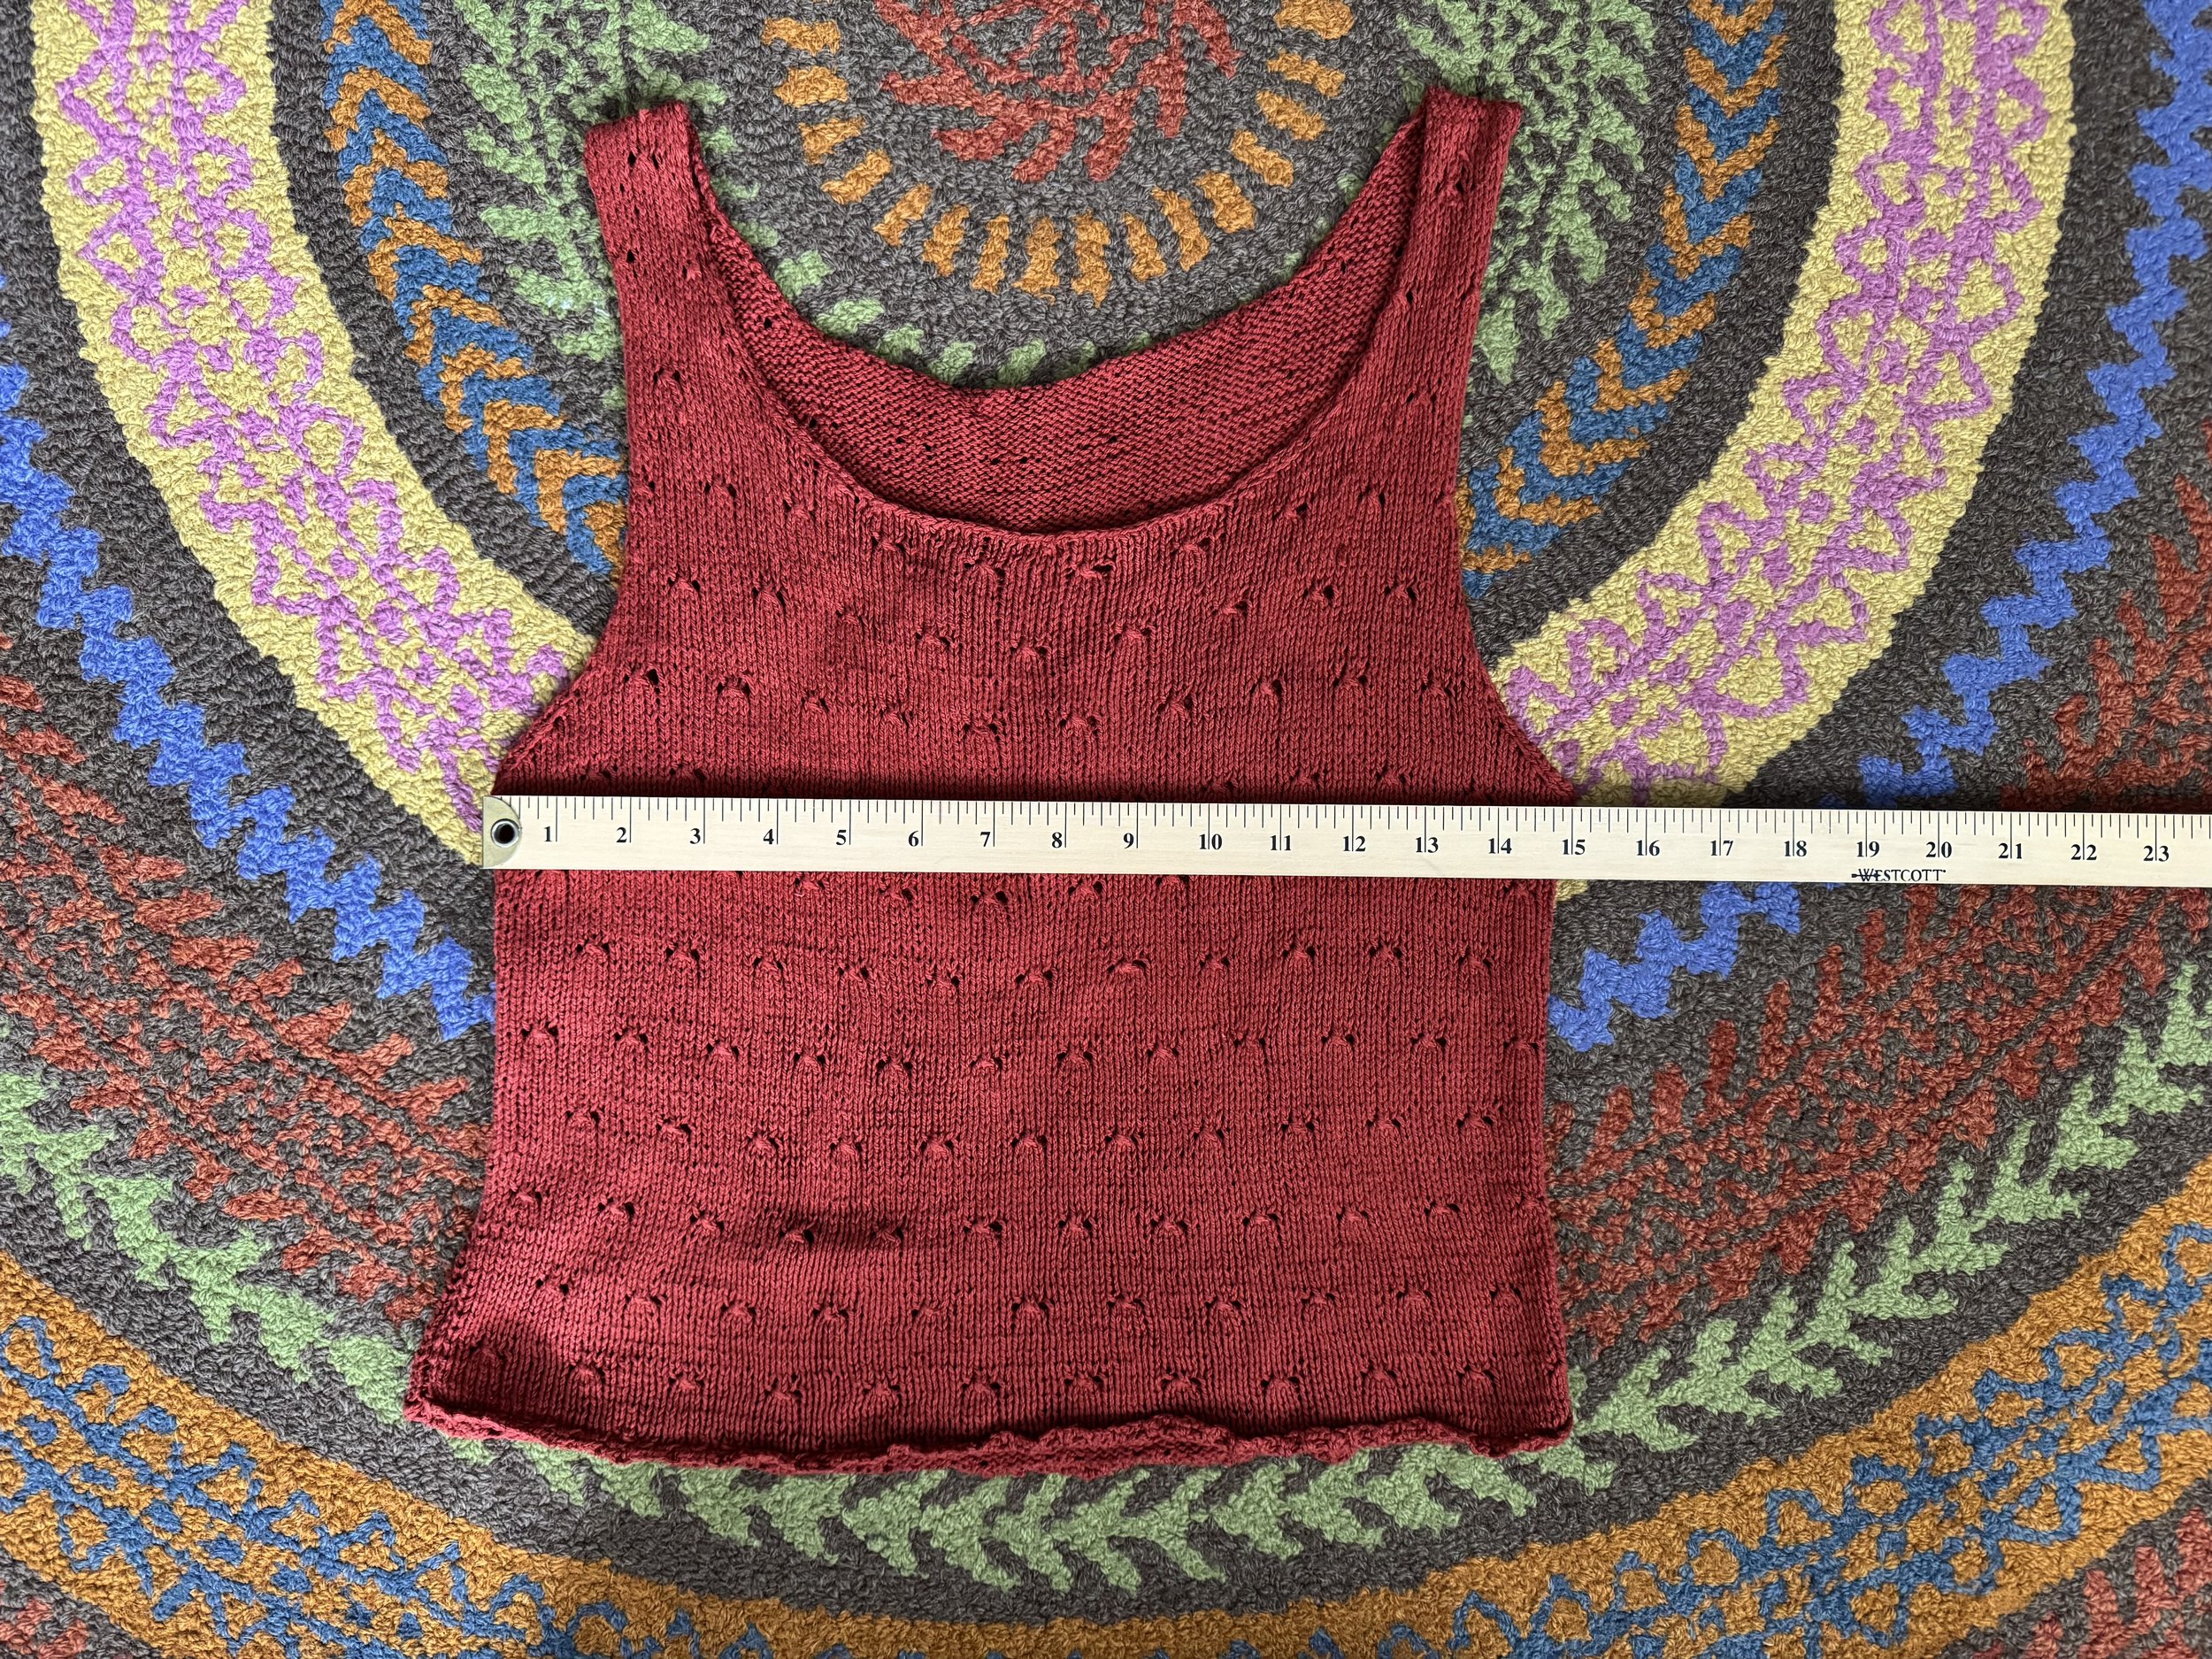
width is okay
I am at about 30” for the circumference, which gives me about 6” of negative ease. When I wear the tank, it doesn’t seem all that tight, so I will keep the same side-to-side measurements.
-

front neck
This will be raised by about 1.5”. I had considered raising just the armholes and keeping the neck opening where it is, but I decided to raise the neck opening as well, at least on this iteration. It will reduce the number of changed variables, which feels safer.
-
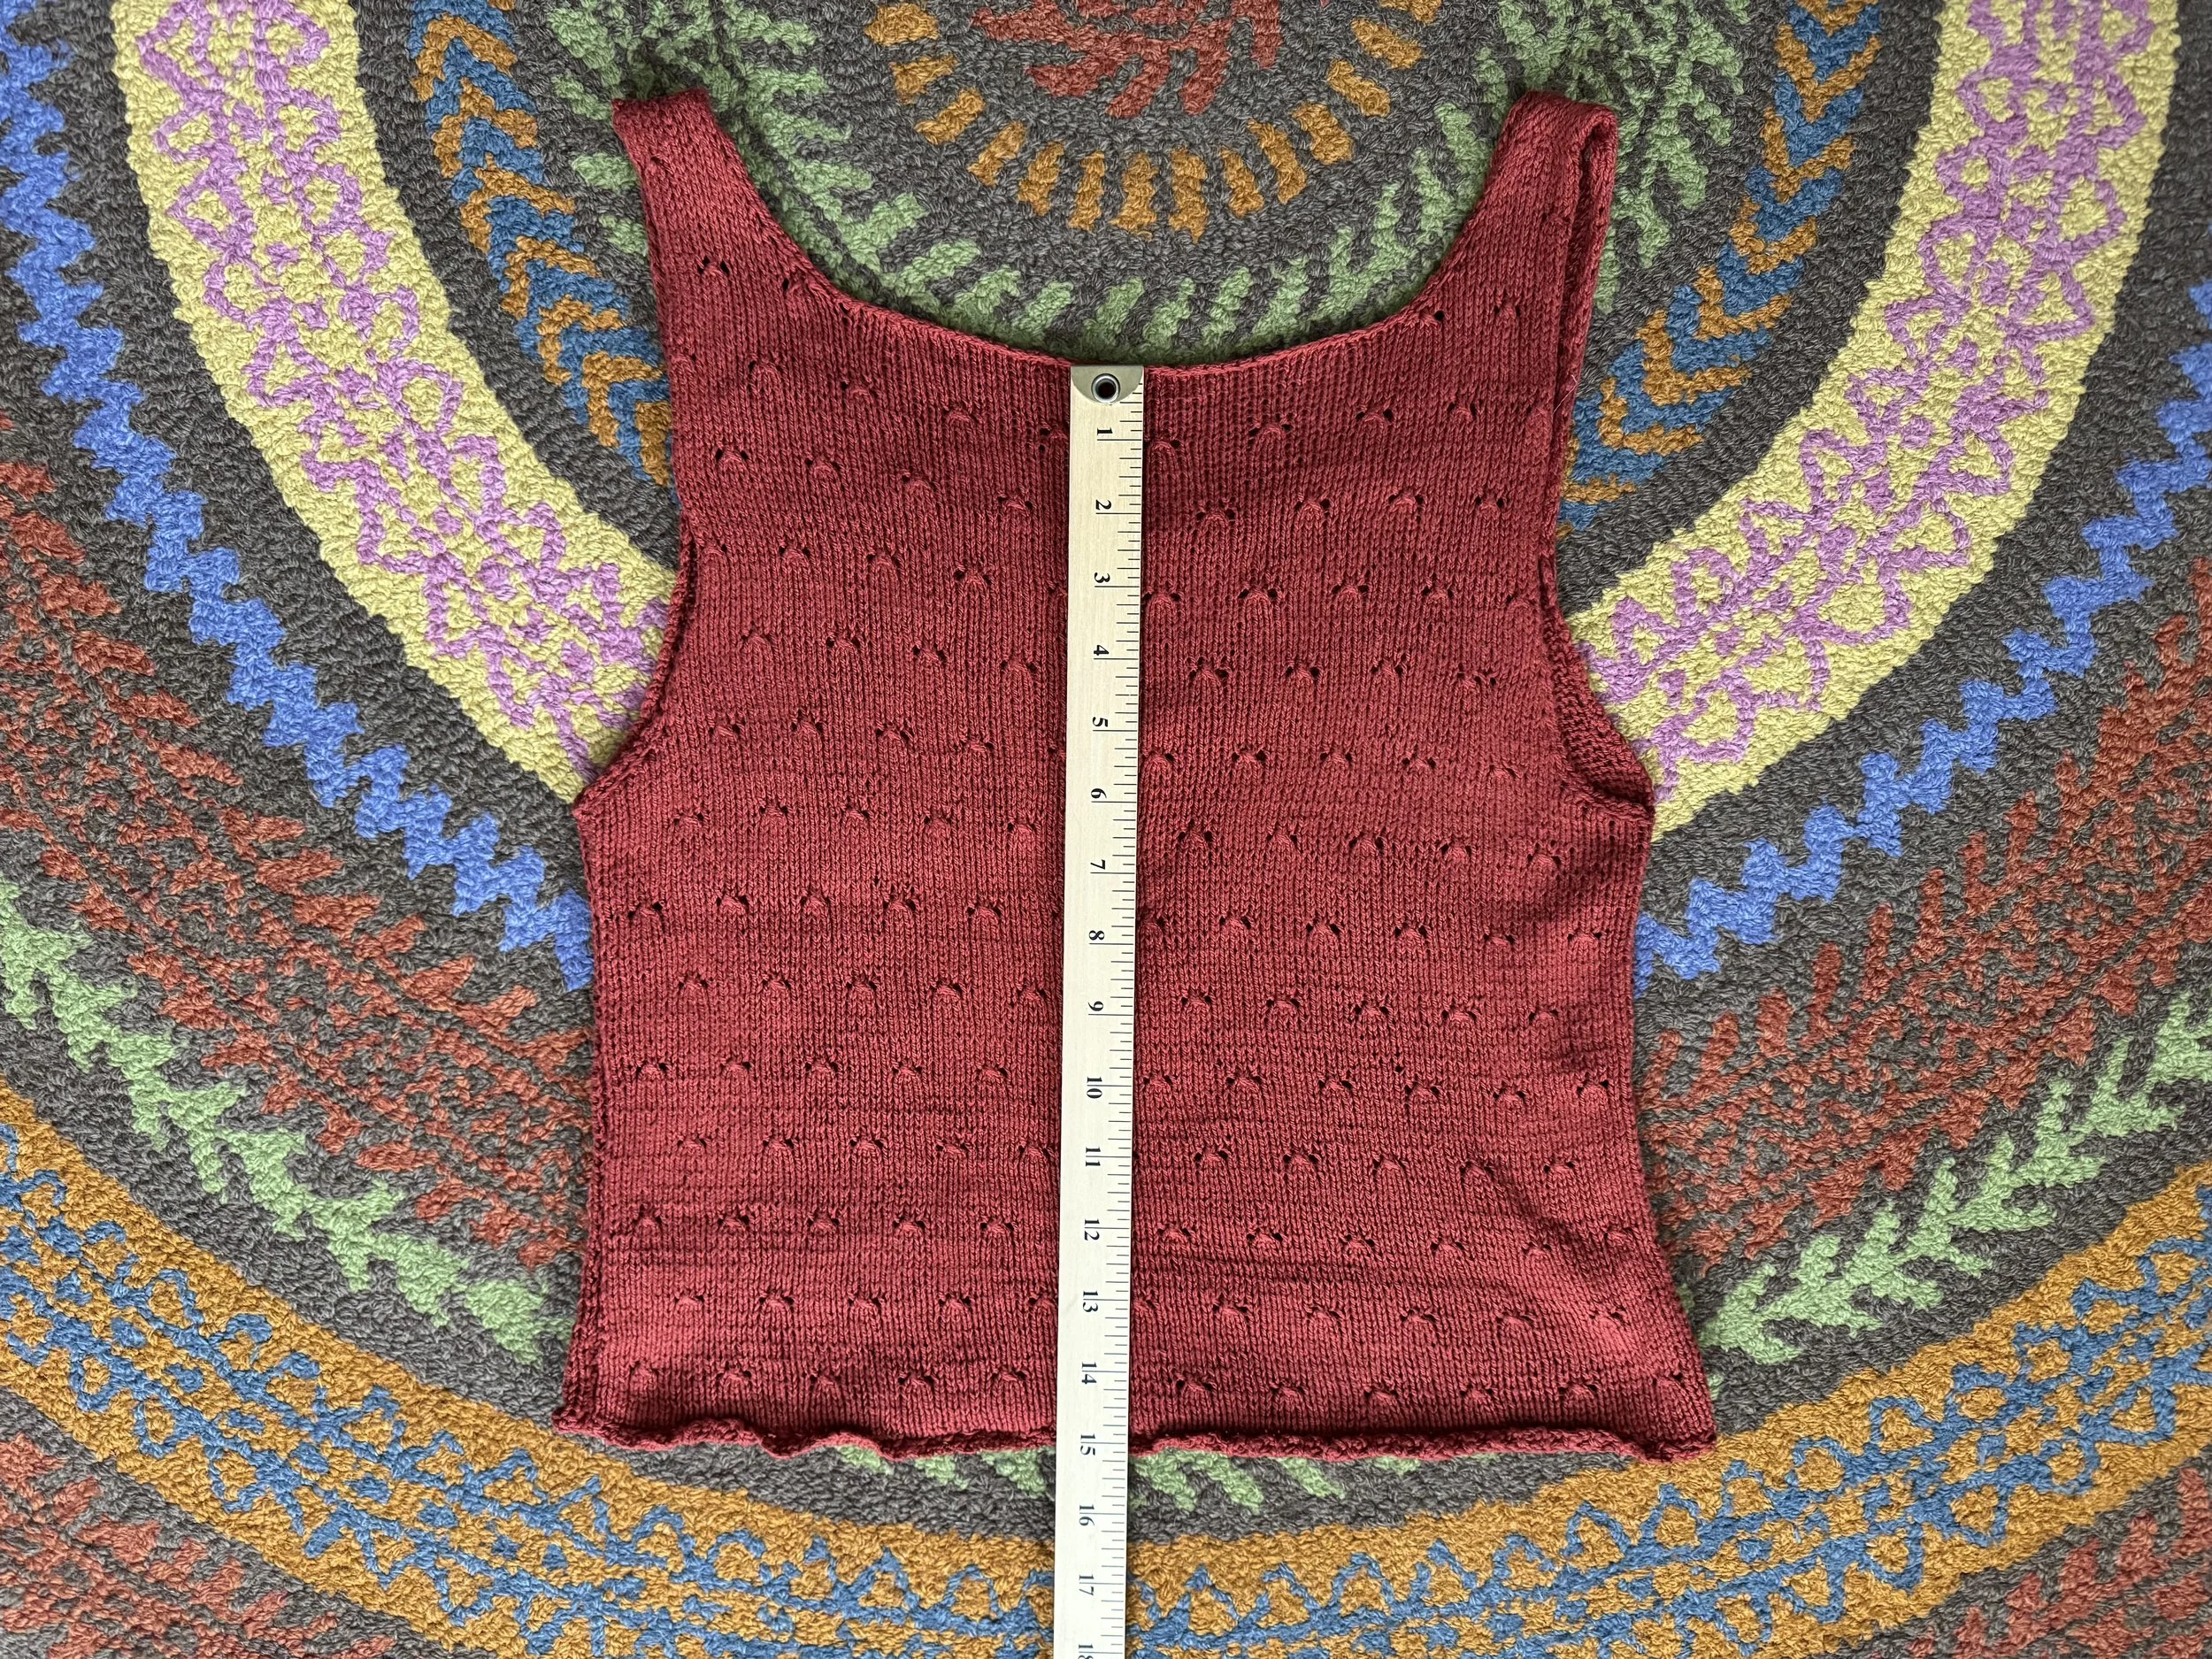
back neck is 2" higher than front
And I like the way this fits, too, so I will keep things the way they are. With the subtraction of 1.5” from both the front and the back neck openings and the addition of 3” to the length, the front length (from neck opening) will be 14.5” and the back will be 16.5” (net gain of 1.5” each).
-
materials and tools
I am going to use Ecobutterfly Organics cotton, two strands of the Tanguis 10/2, in the Seastorm colorway. I bought four of the 125g/1250yard cones, which should be more than enough. Circular knitting needle size 3mm/US 2.5 24” long; and crochet hook size D. My gauge on the rust-colored tank was 24st/4” and 32 rows/4”.
-
the pattern
I am not sure how much I will mess with the pattern but will be sure to note modifications if/when I make them. I do plan to work p3 instead of making eyelets in the body of the tank, thus eliminating holes.
-
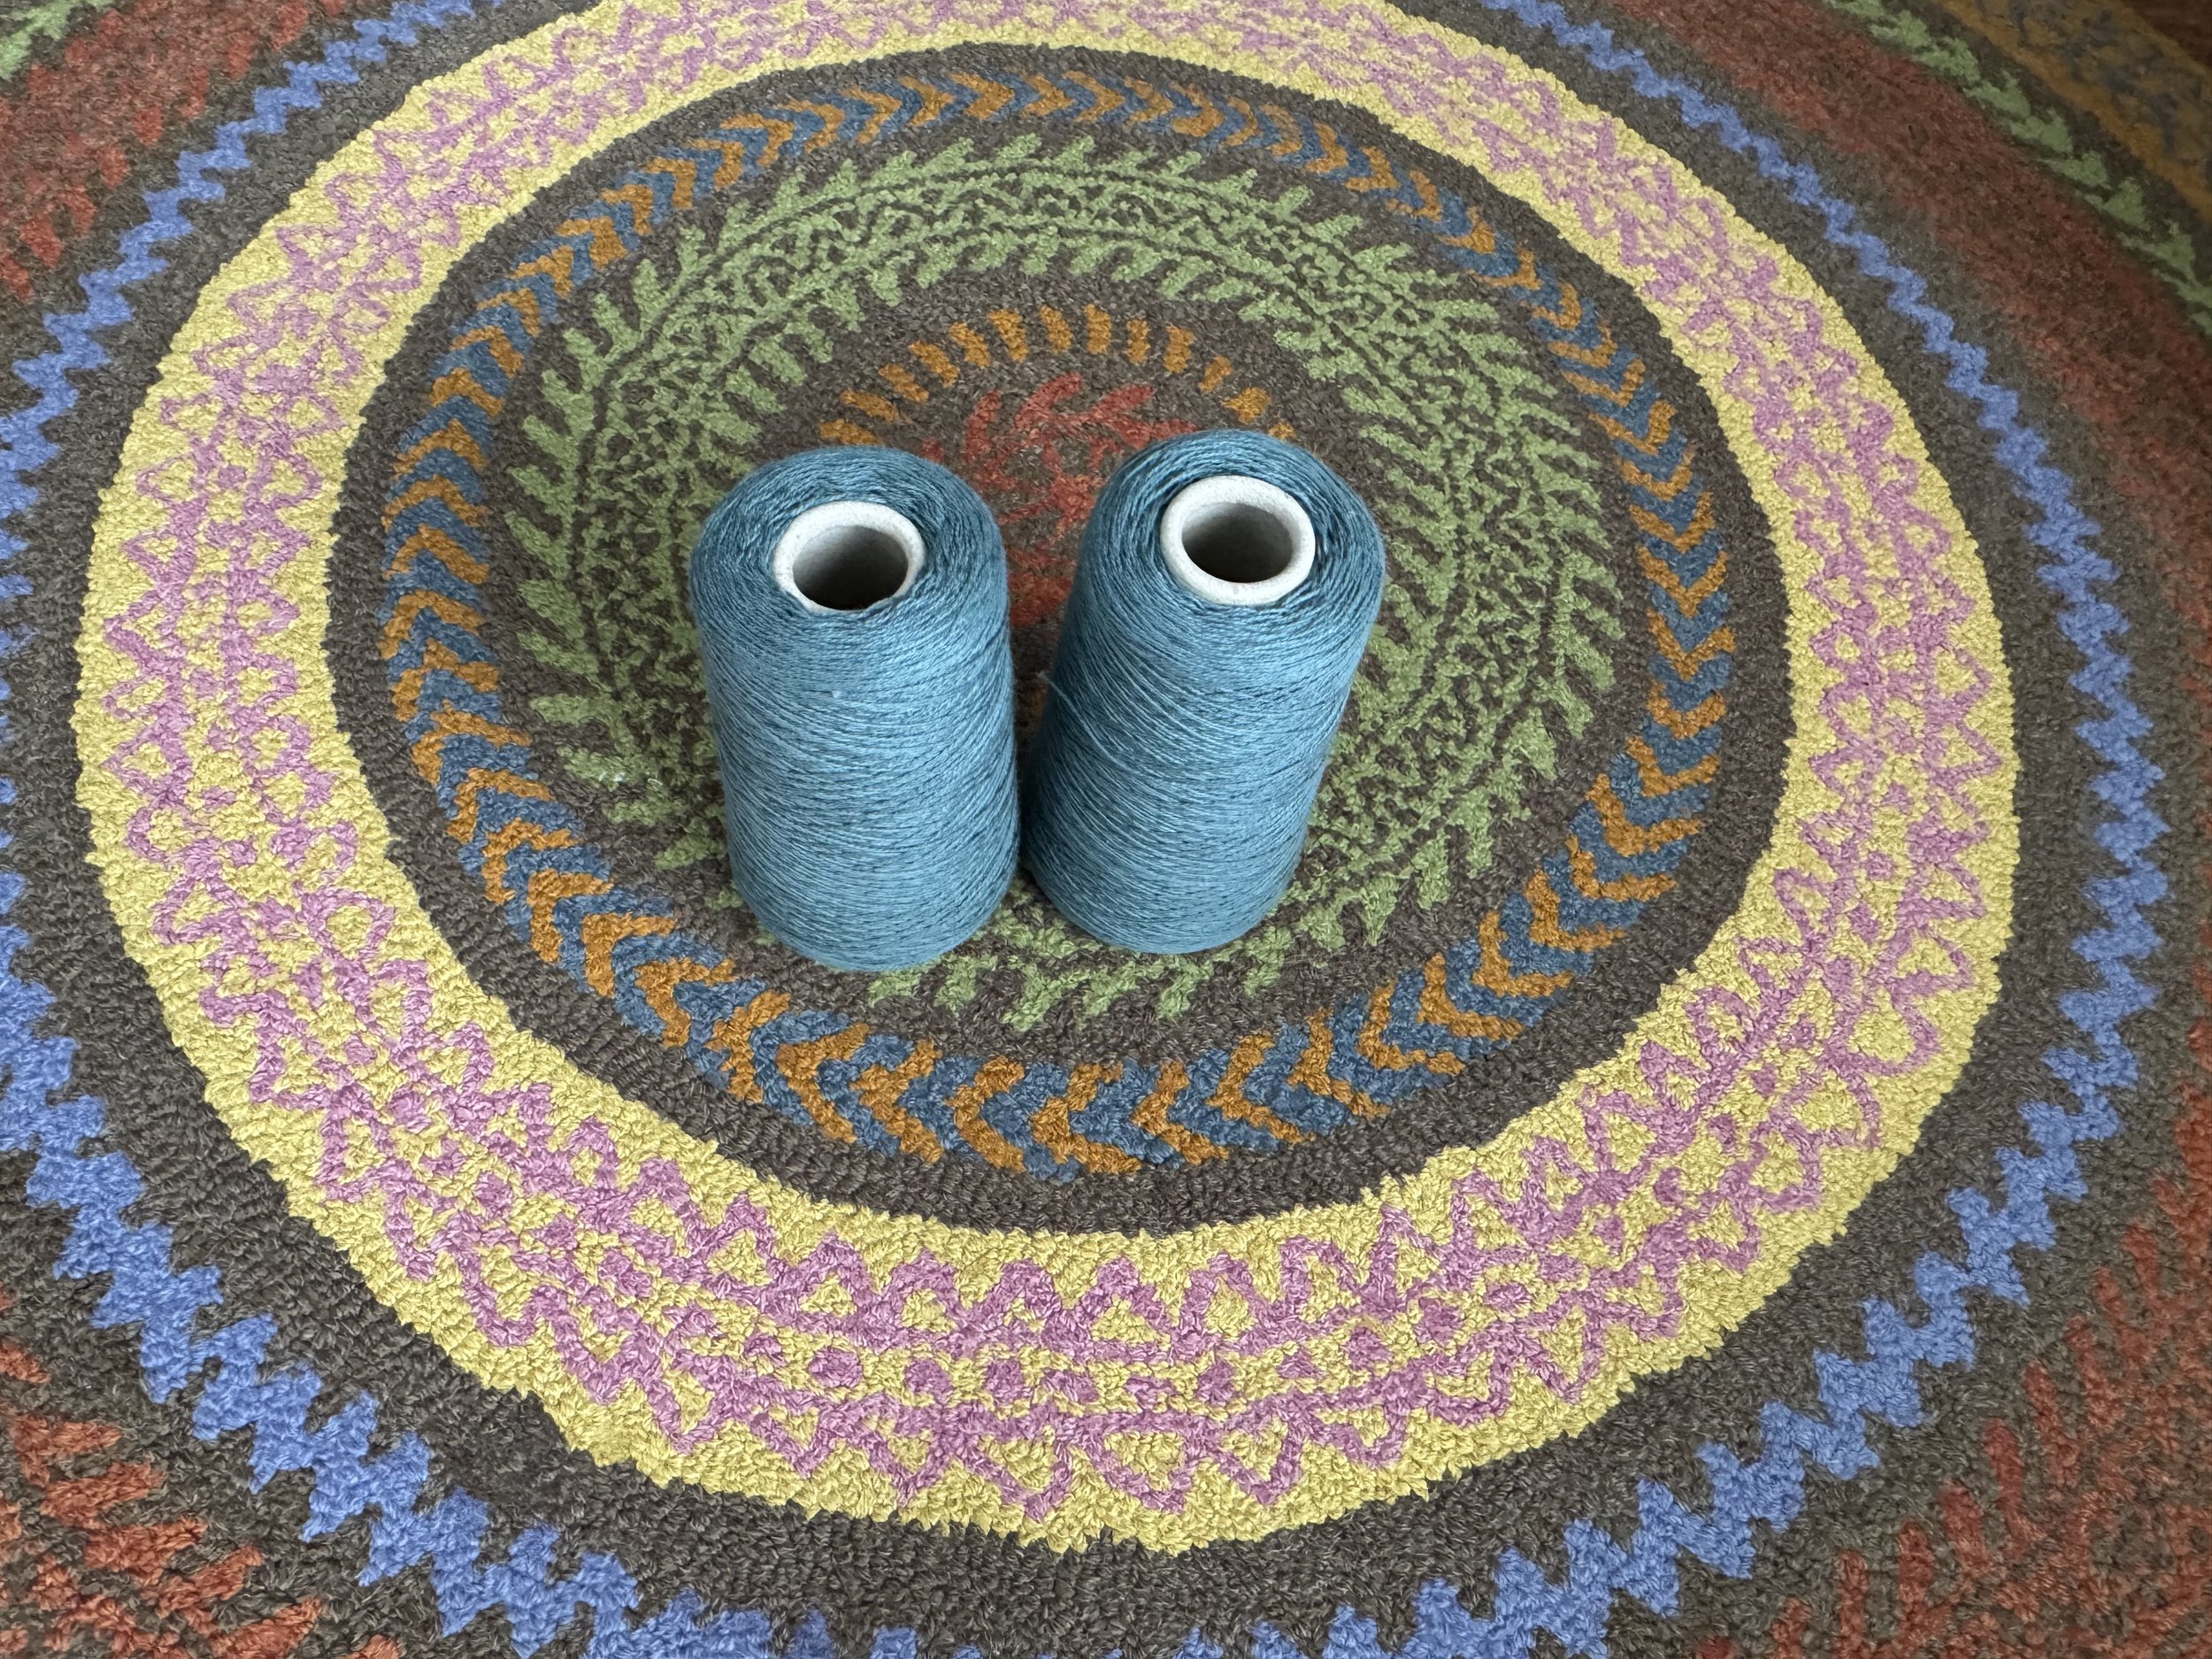
they look kind of lonesome
Here are the cotton skeins, ready to get to work.
-

froggy
And here it is, so far. I cast on 99 stitches and have been knitting in stockinette stitch other than my 3 purl stitches every 8th row. The fabric is curling in on itself and is quite stretchy, but it measures about 15” from side to side. I plan to plow ahead with the knitting until it is about 12” long. Then the underarm decreasing can commence.
-
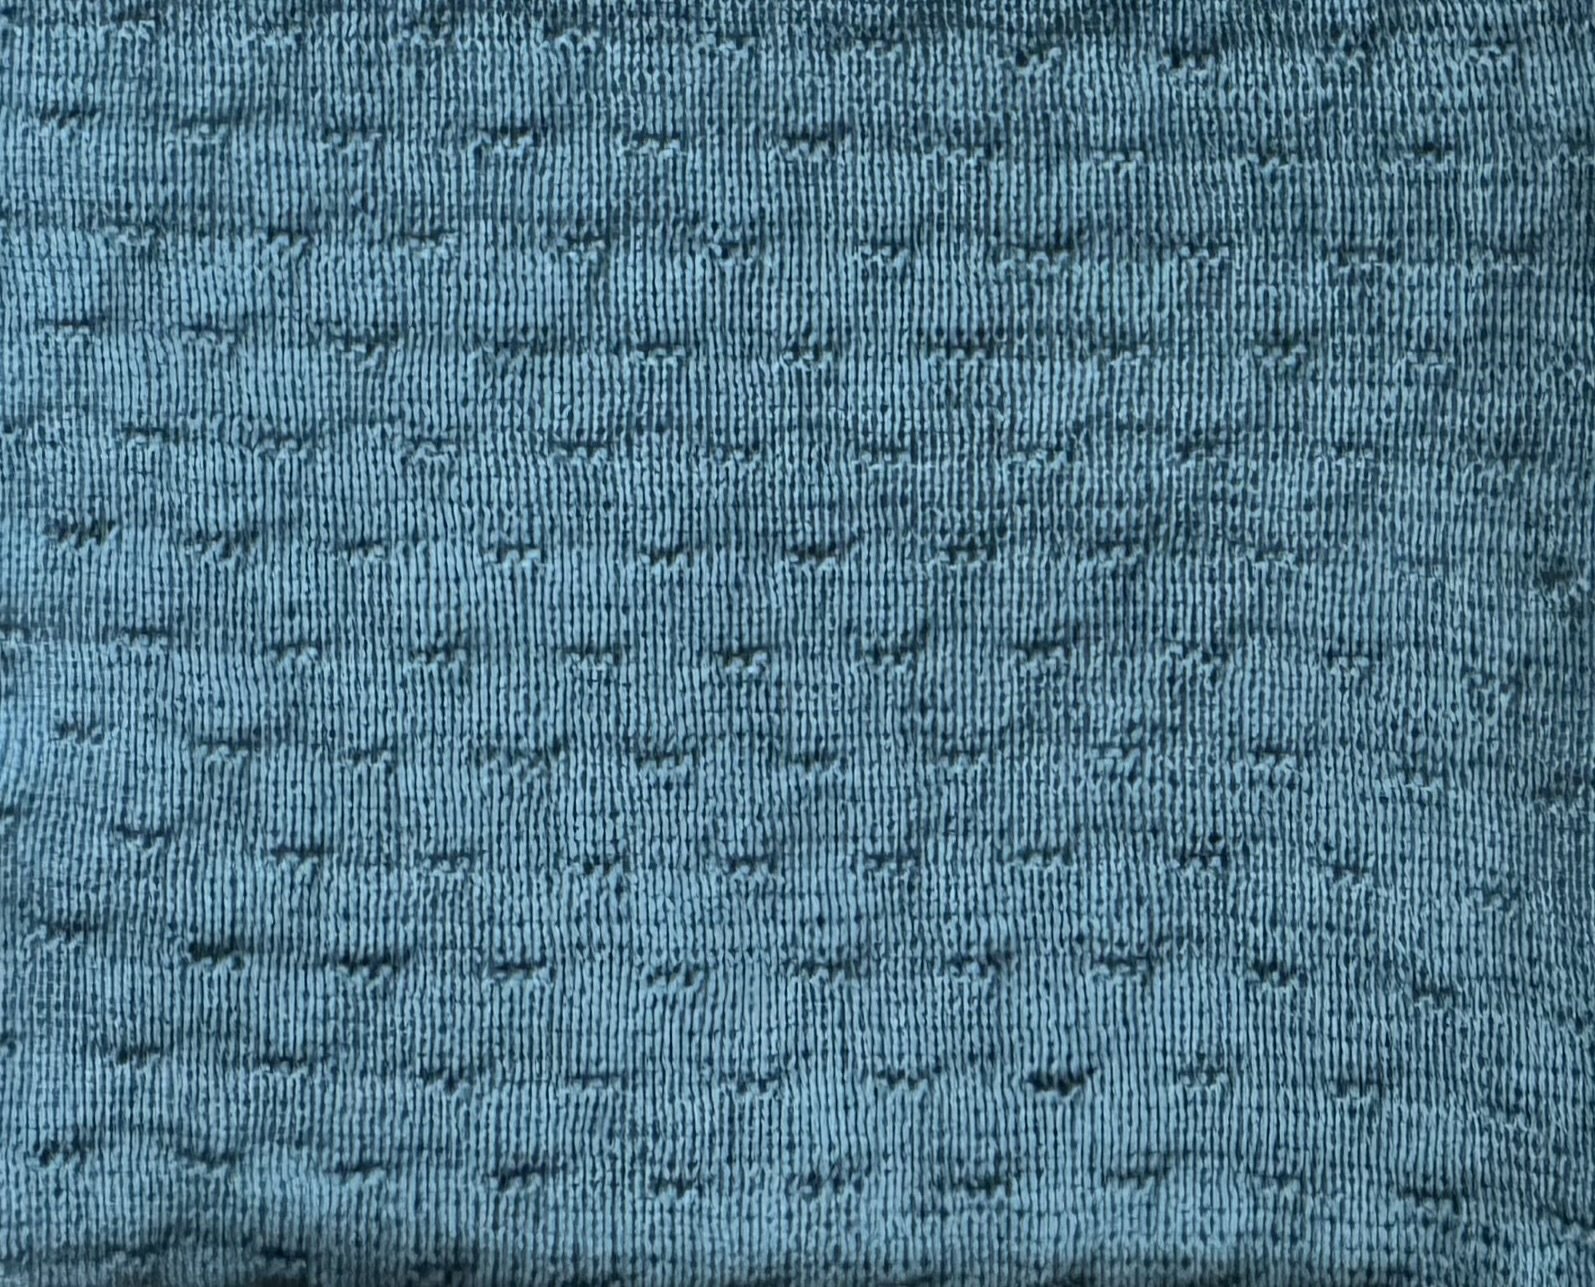
a close-up view
The purl-stitch rows come every 8th row, and the placement of the purls alternates for a sort of basketweave effect.
-

armhole decreases
I got rid of 10 stitches from each side over the course of about 12 rows. Now I will forge ahead on these 79 stitches until it is time to make the neck shaping. I started working the back piece, by the bye.
-

wonky!
I hope you don’t feel queasy looking at this photo. Here I have finished the armhole decreases and have put the center stitches on waste yarn. It is time to work the two sides separately.
-

the back is done
And here it is. My gauge seems slightly different from the gauge at which the red shirt was knitted, but then I made it a few years ago.
-
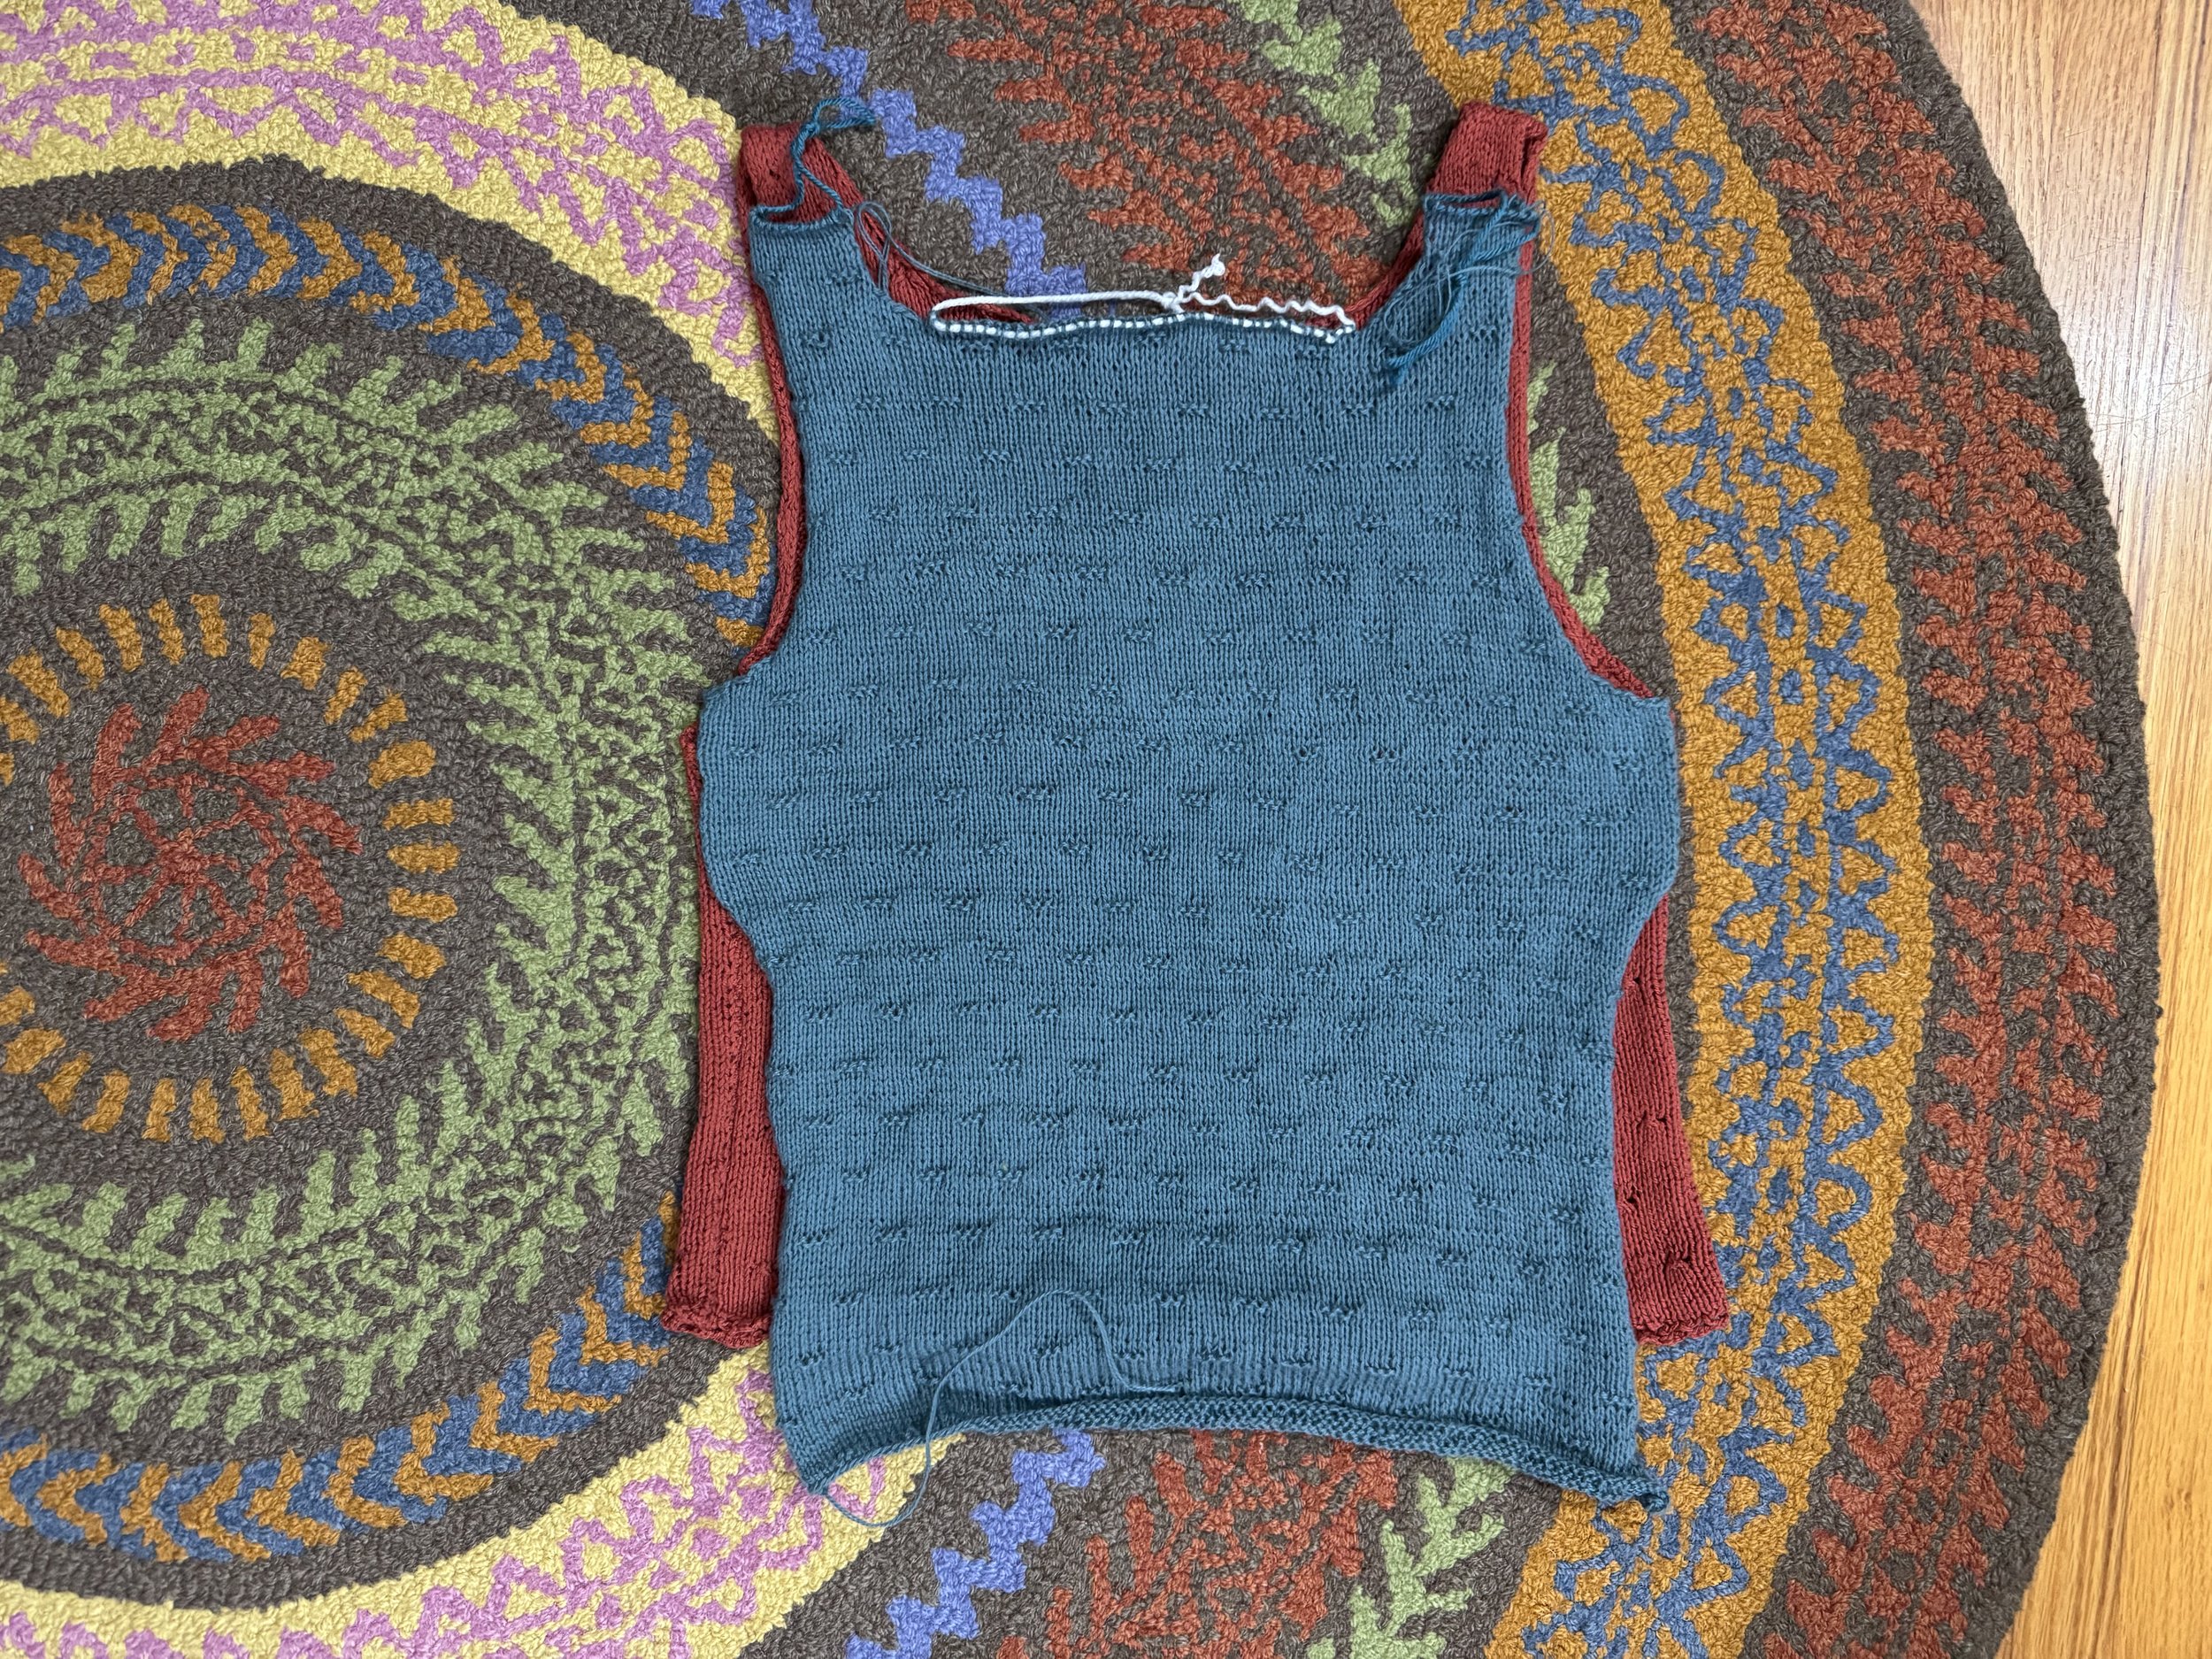
a comparison
Whew, I promise not to take any more part rug-part floor photos. Here you can see that the new shirt is longer in the body but has shorter shoulder straps. So far, so good.
-

Front!
I will make the front the same as the back, as far as the underarm decreases, but will start the neck decreases a bit sooner. No floor in this shot, but it is still Dramamineworthy. I’ll get there.
-

armpit, check
Here is the front, up to the point where I have to knit even for a while, until it is time to put the front neck stitches onto a holder
-

length to said armpit
It looks like it closer to 12.5” than to 12”, but that should be fine. It has stretched out a bit during the knitting and will shrink up a bit after washing. The 3-purl patterning on the front matches the 3-purl patterning on the back, which is really what matters.
-

froggy says, Good!
I want the front neck opening to begin about 2” lower than the back opening did, so I will work about 2” more and then put some neck stitches on a holder.
-
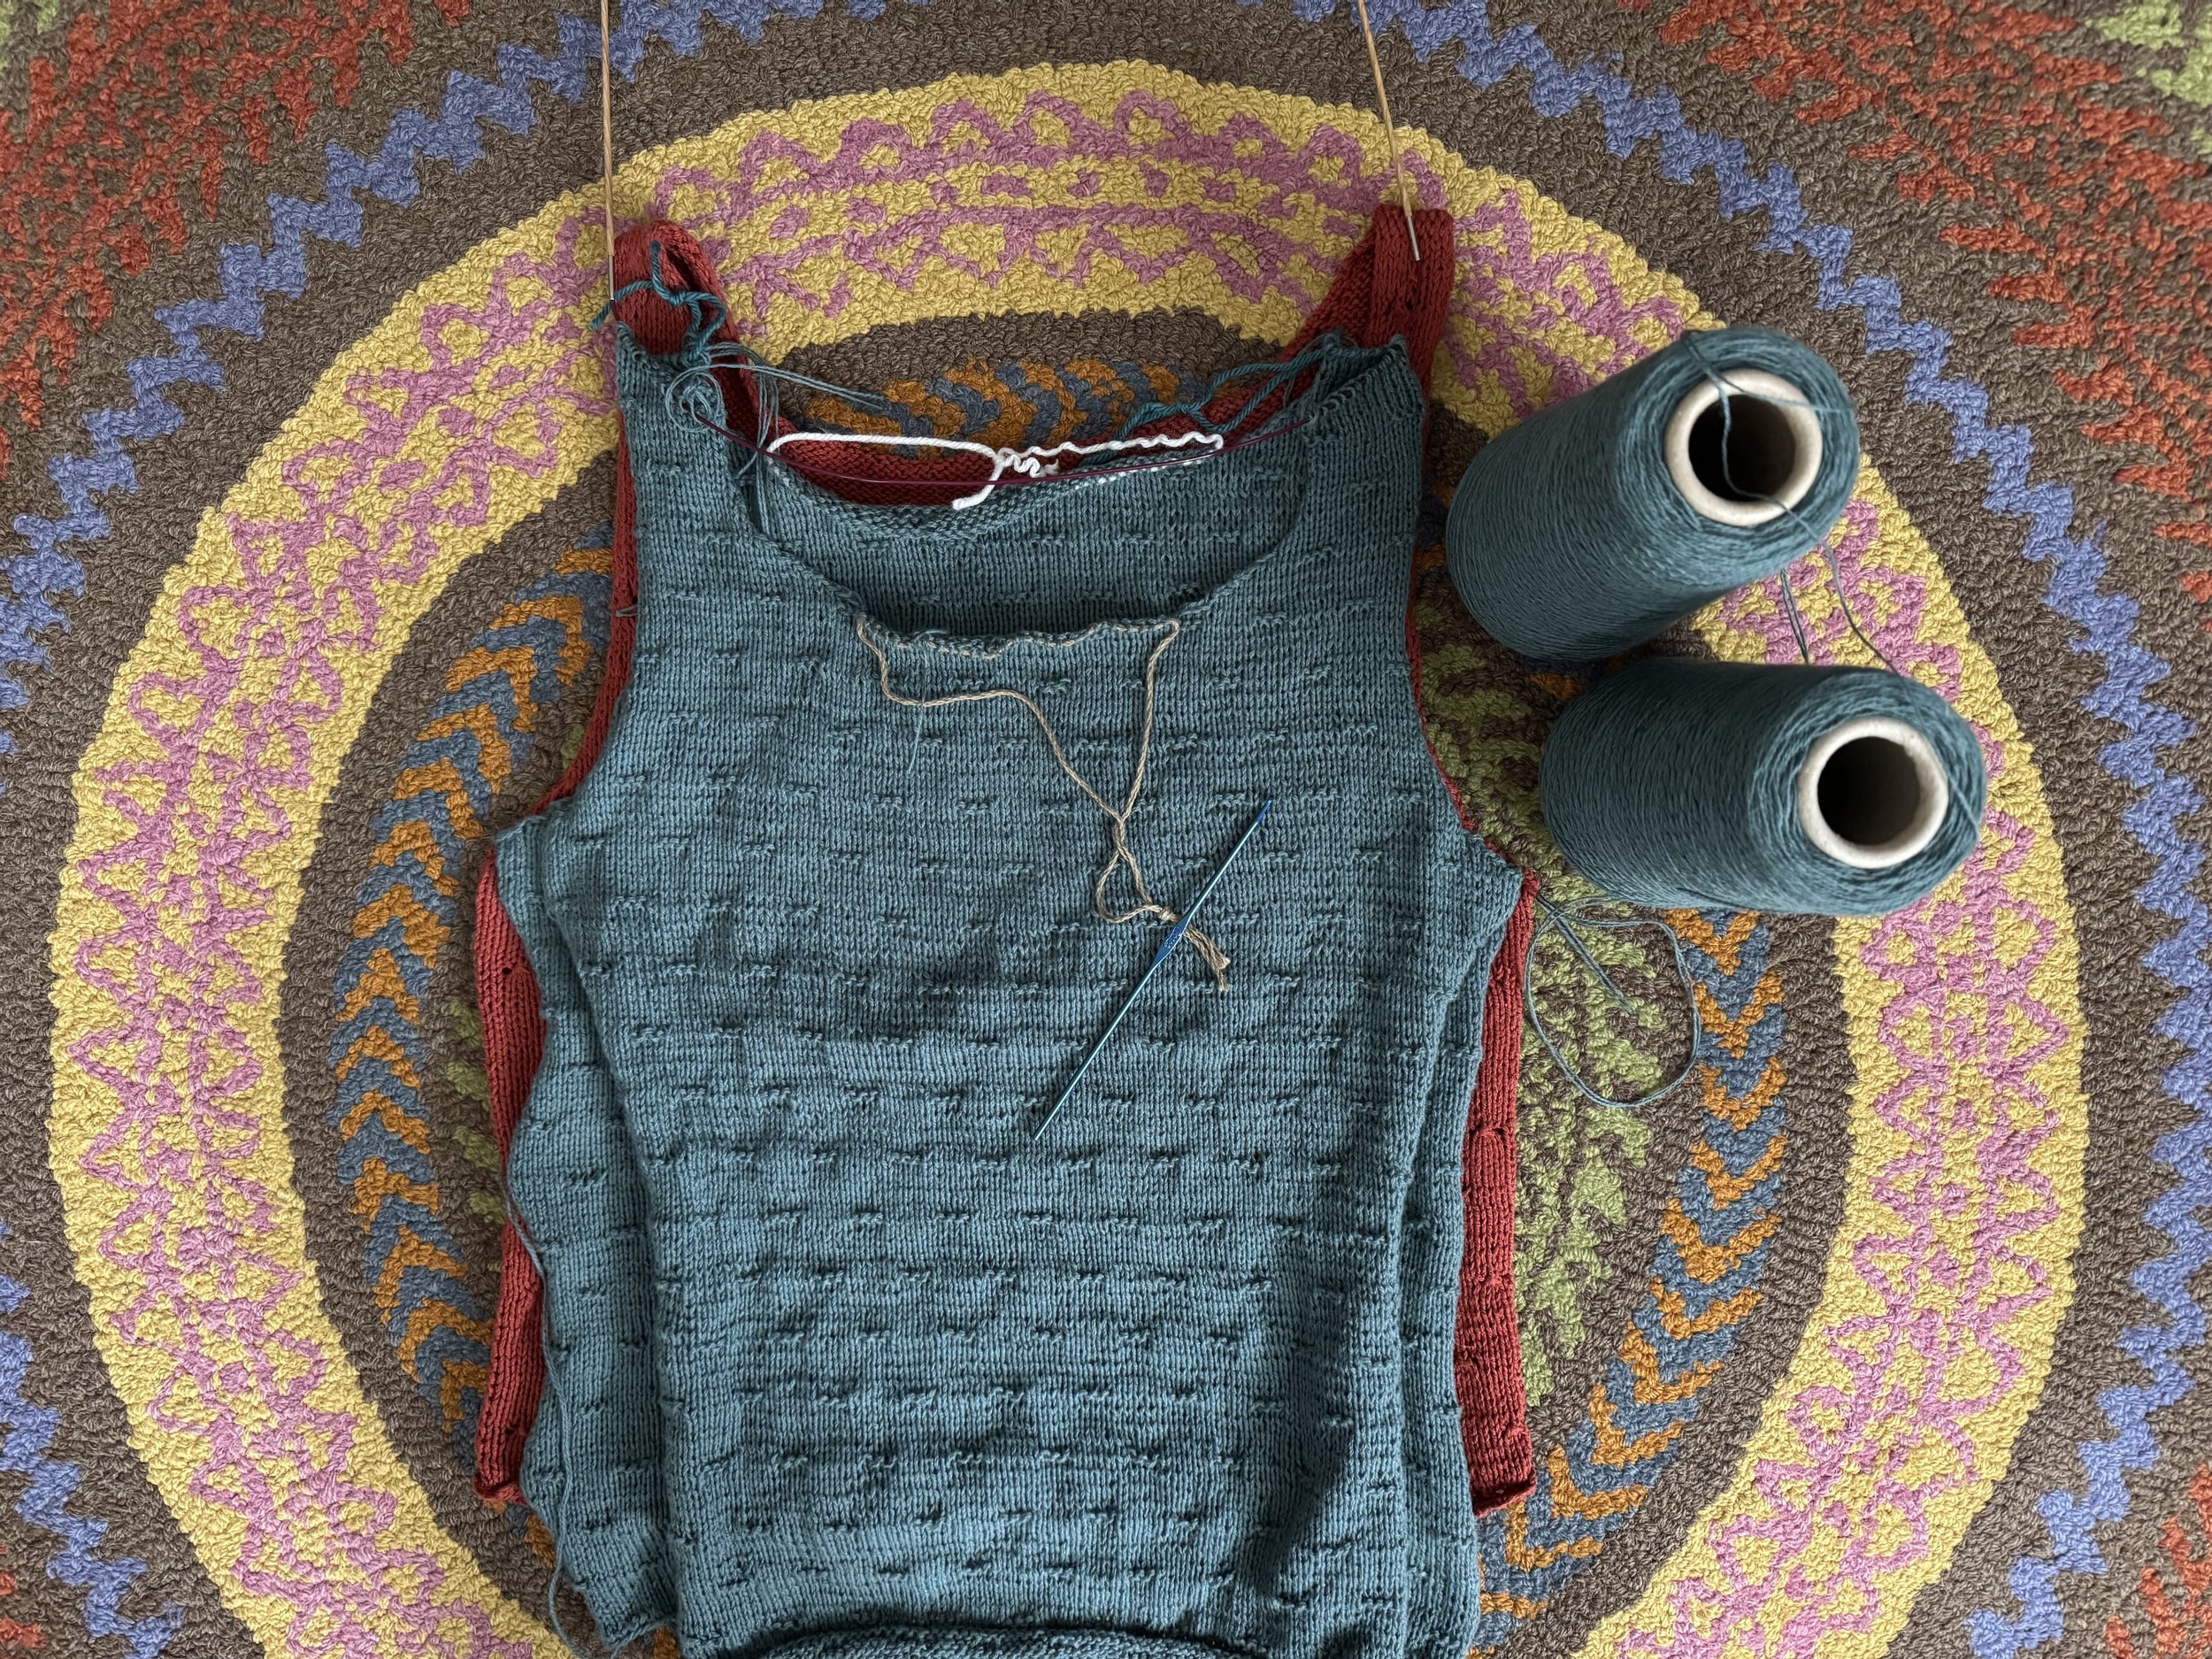
ready for joining
The pattern says to join the shoulder seams with a crochet slip stitch, but I ended up with some extra bulk the first time I made this, so I am going to weave the shoulder seams. I will, however, crochet the side seams together and finish the neck and bottom edges with the crochet stitches. I have a size D hook for the job.