Sewing a pirate shirt
-

pieces of eight
Well, eight pieces of linen. This is my second attempt at a pirate shirt, à la Bernadette Banner’s pattern. The first go was way too big in the body length and width and in the arm length and width. I found a tutorial (https://www.youtube.com/watch?v=AJsAOtJh974) that gave a bunch of helpful information, and I cut my body and sleeve pieces something considerable.
-

the neck opening
Full disclosure, this shirt consists of more than eight pieces of fabric. I am saving as much of my previous sewing as possible, including the collar, sleeve cuffs, and here, the front and back sewed and felled. My neck opening is about 10”.
-

the front opening
I found the center of my neck opening by folding it in half, and put a pin to mark about 6” down the fold. More would have been okay, but that’s where I stopped. I then drew a thread about 4” down to make a cutting line, and cut to my marking pin. I didn’t draw the thread all the way down to my pin, as that would have puckered the fabric below the 6” mark.
-

front opening pinned
I made as tiny a hem as I could. The very bottom of the V might fray, so I will patch it on both sides with a 1” square. I could reinforce it with thread, instead, but since I used the squares on the sleeve openings, I’ll use them here, too.
-

a neck gusset
I used 2.5” squares for the neck gussets but next time I think I’ll use gussets with 3” sides, and I won’t use squares but rather triangles. These gussets work just fine, but they are twice as thick as everything around them, and I’m not sure I need that.
-

neck gusset sewed
See what I mean? The gusset is noticeably thicker than the shirt. And I don’t think that they finished edge is necessary, as it will be incorporated into the collar.
-

progress check
Here it is with the front opening hemmed and one of the gussets safely installed.
-

the collar piece
This is made by folding a thicker piece of fabric longways and then sewing a short end, a long side, and the other short end, leaving one long side open. No felling necessary here, just a clip off of the sewed corners to reduce bulk.
-

an arm!
I am also keeping both sleeve pieces from my previous effort, but I shortened them by 4” at the shoulder. I have a 6” square gusset pinned to the underside of this sleeve piece .
-
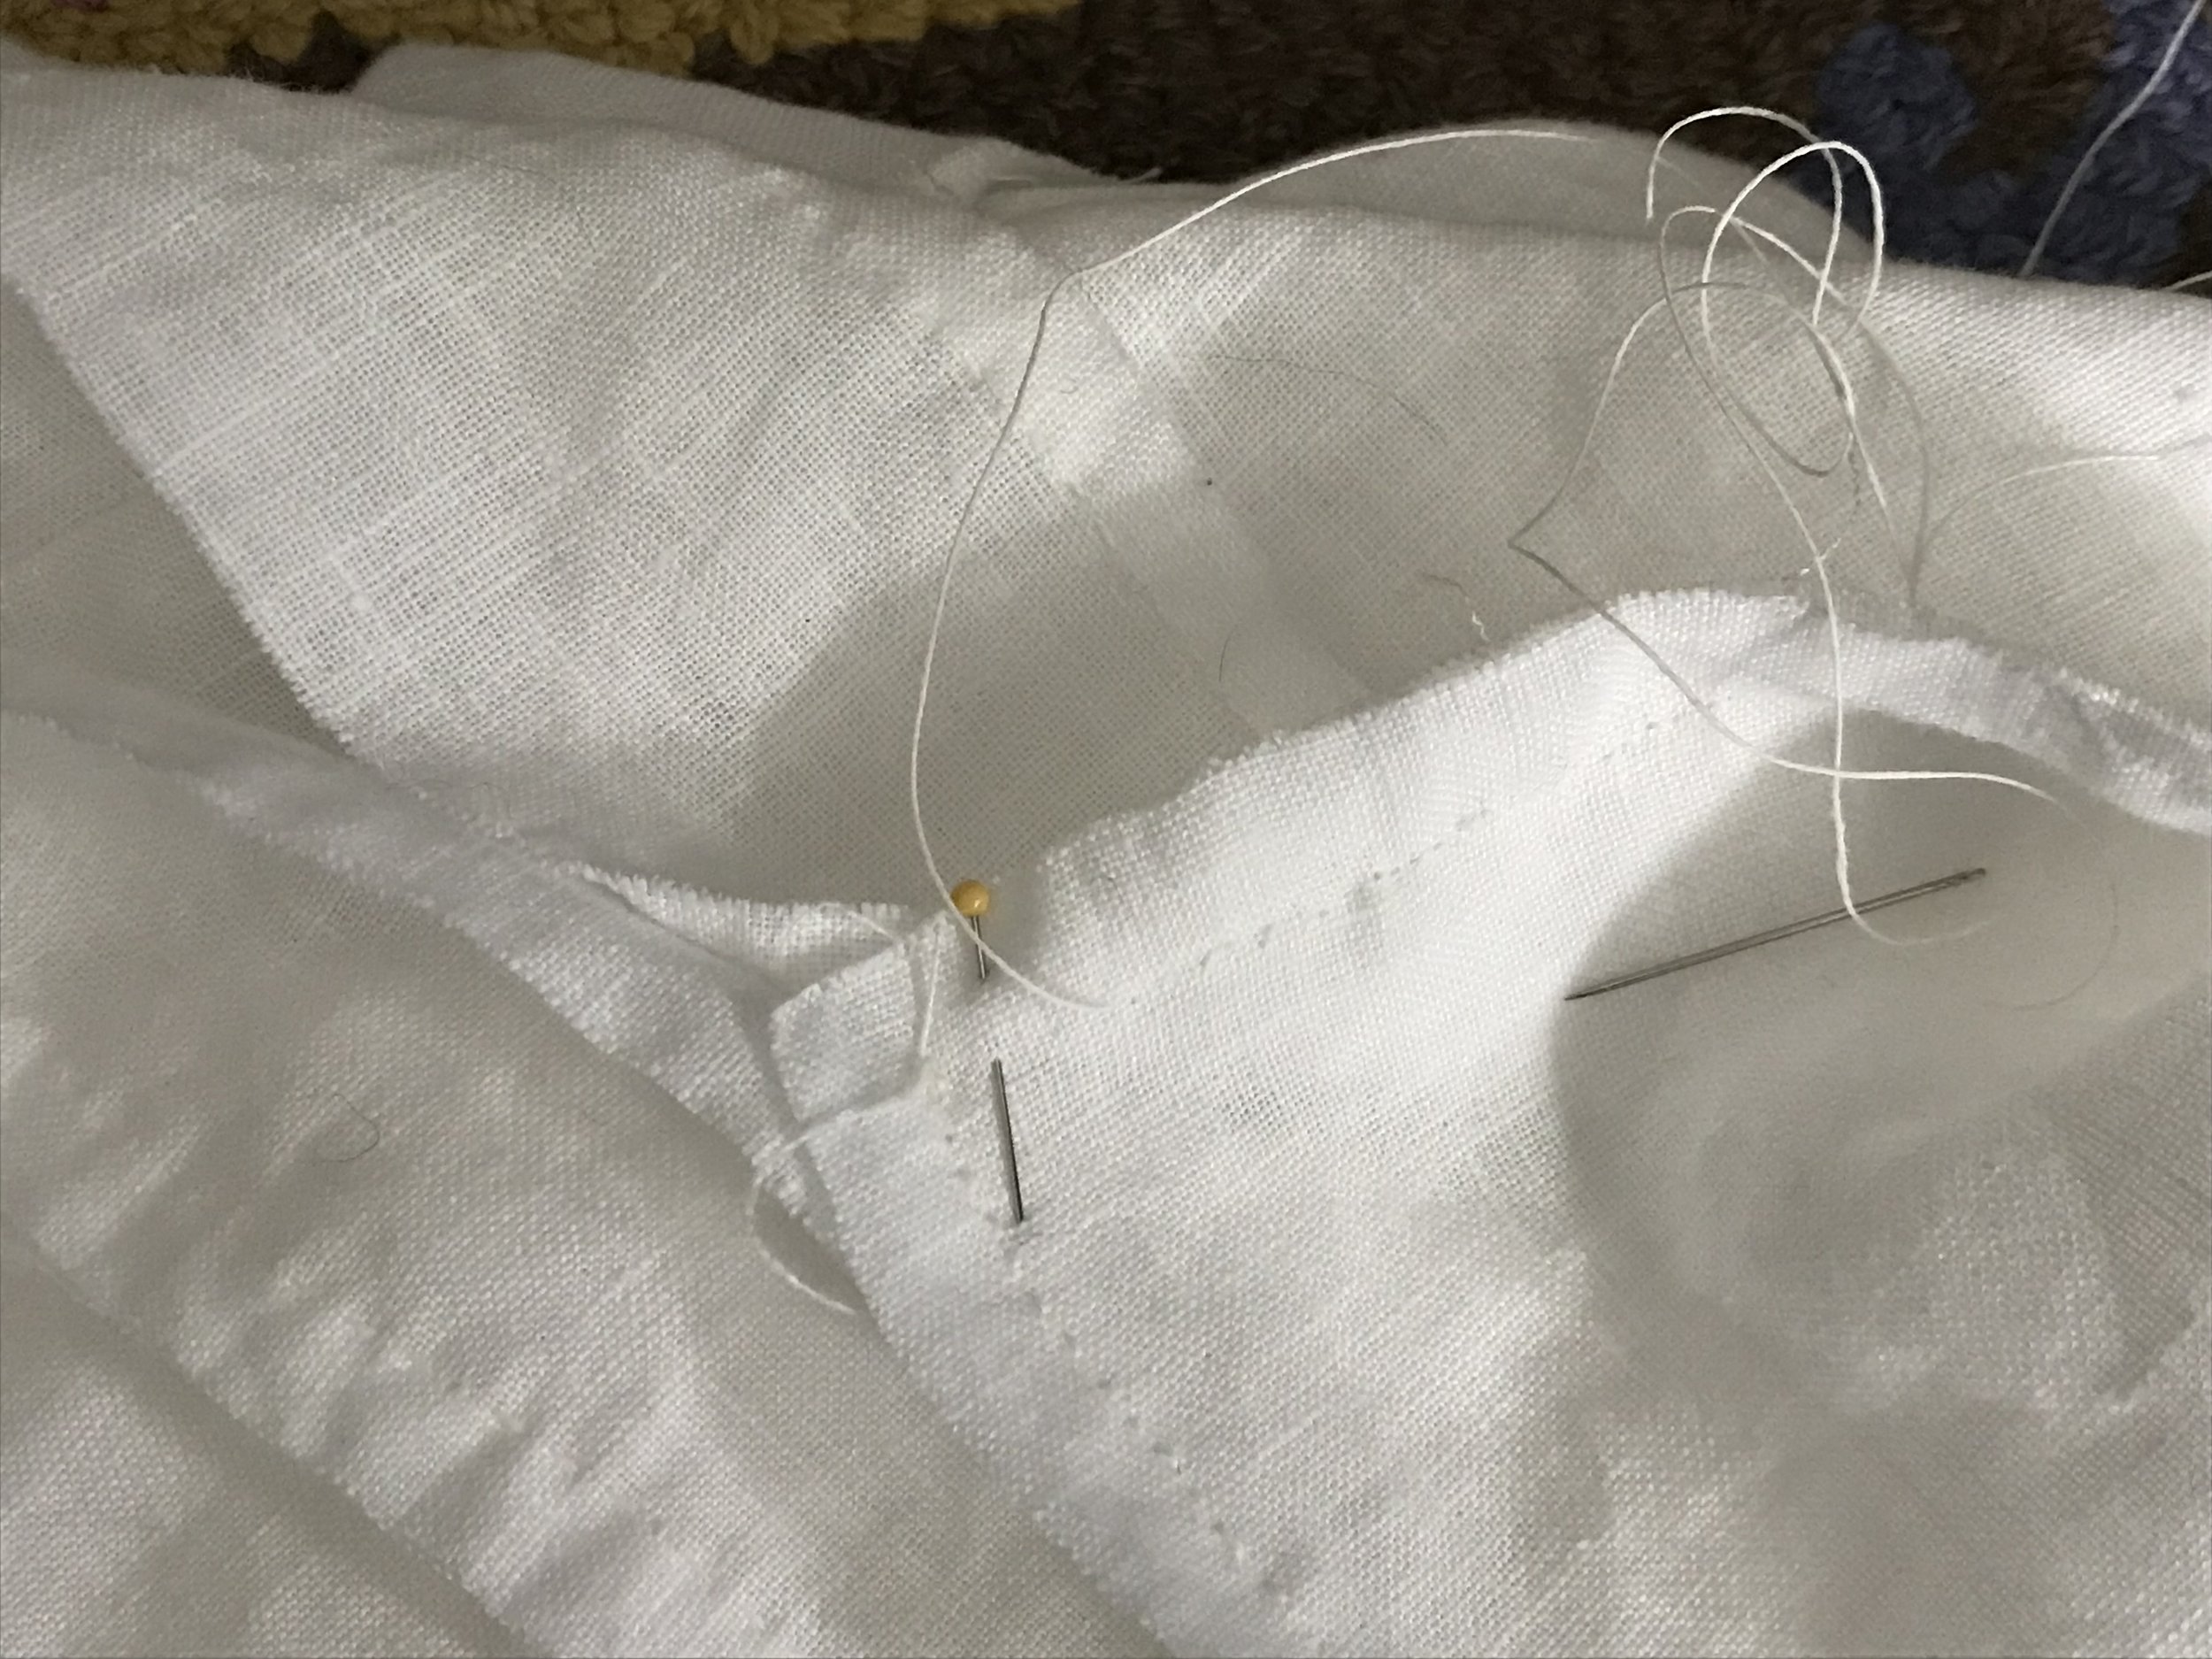
excruciating gusset details coming
I have one side of the gusset sewed to the arm, and here is an exciting photo of the second seam, racing to the finish line. It is important to get this corner sewed fully and flatly.
-

one stitch away
But before I make that stitch and cross the finish line, I need to take a peek at the back of my work to see if things are lining up.
-

this is the right side
The back of my work is the right side of the garment, and it looks like one more stitch should bring all four fabric edges (the two sleeve edges plus the two gusset edges) together into a nice point.
-

holding it all together
that last stitch goes in!
-

back to the right side
If it doesn’t look like I’ve got a nice point on my gusset, I redo those last few stitches.
-

side seams next
Now that both sleeve gussets are in place, the side seams come next. I’m sewing down from the armpit (gusset-pit?) and am leaving the bottom 4” open for a slit. I had to piece an extra inch or so on each side, as I overpruned the fabric width when I made my modifications. Piecing saves the day!
-

gusset geometry
Here is the gusset, surrounded by the sleeve (on the left) and the body of the shirt (on the right).
-

felling
I cut the seam allowance just past the corner of the gusset so that it now lies flat when folded for felling.
-

and more felling
Here is the sewing in progrss. That vertical pin to the far right is keeping the gusset seam allowances out of the way.
-
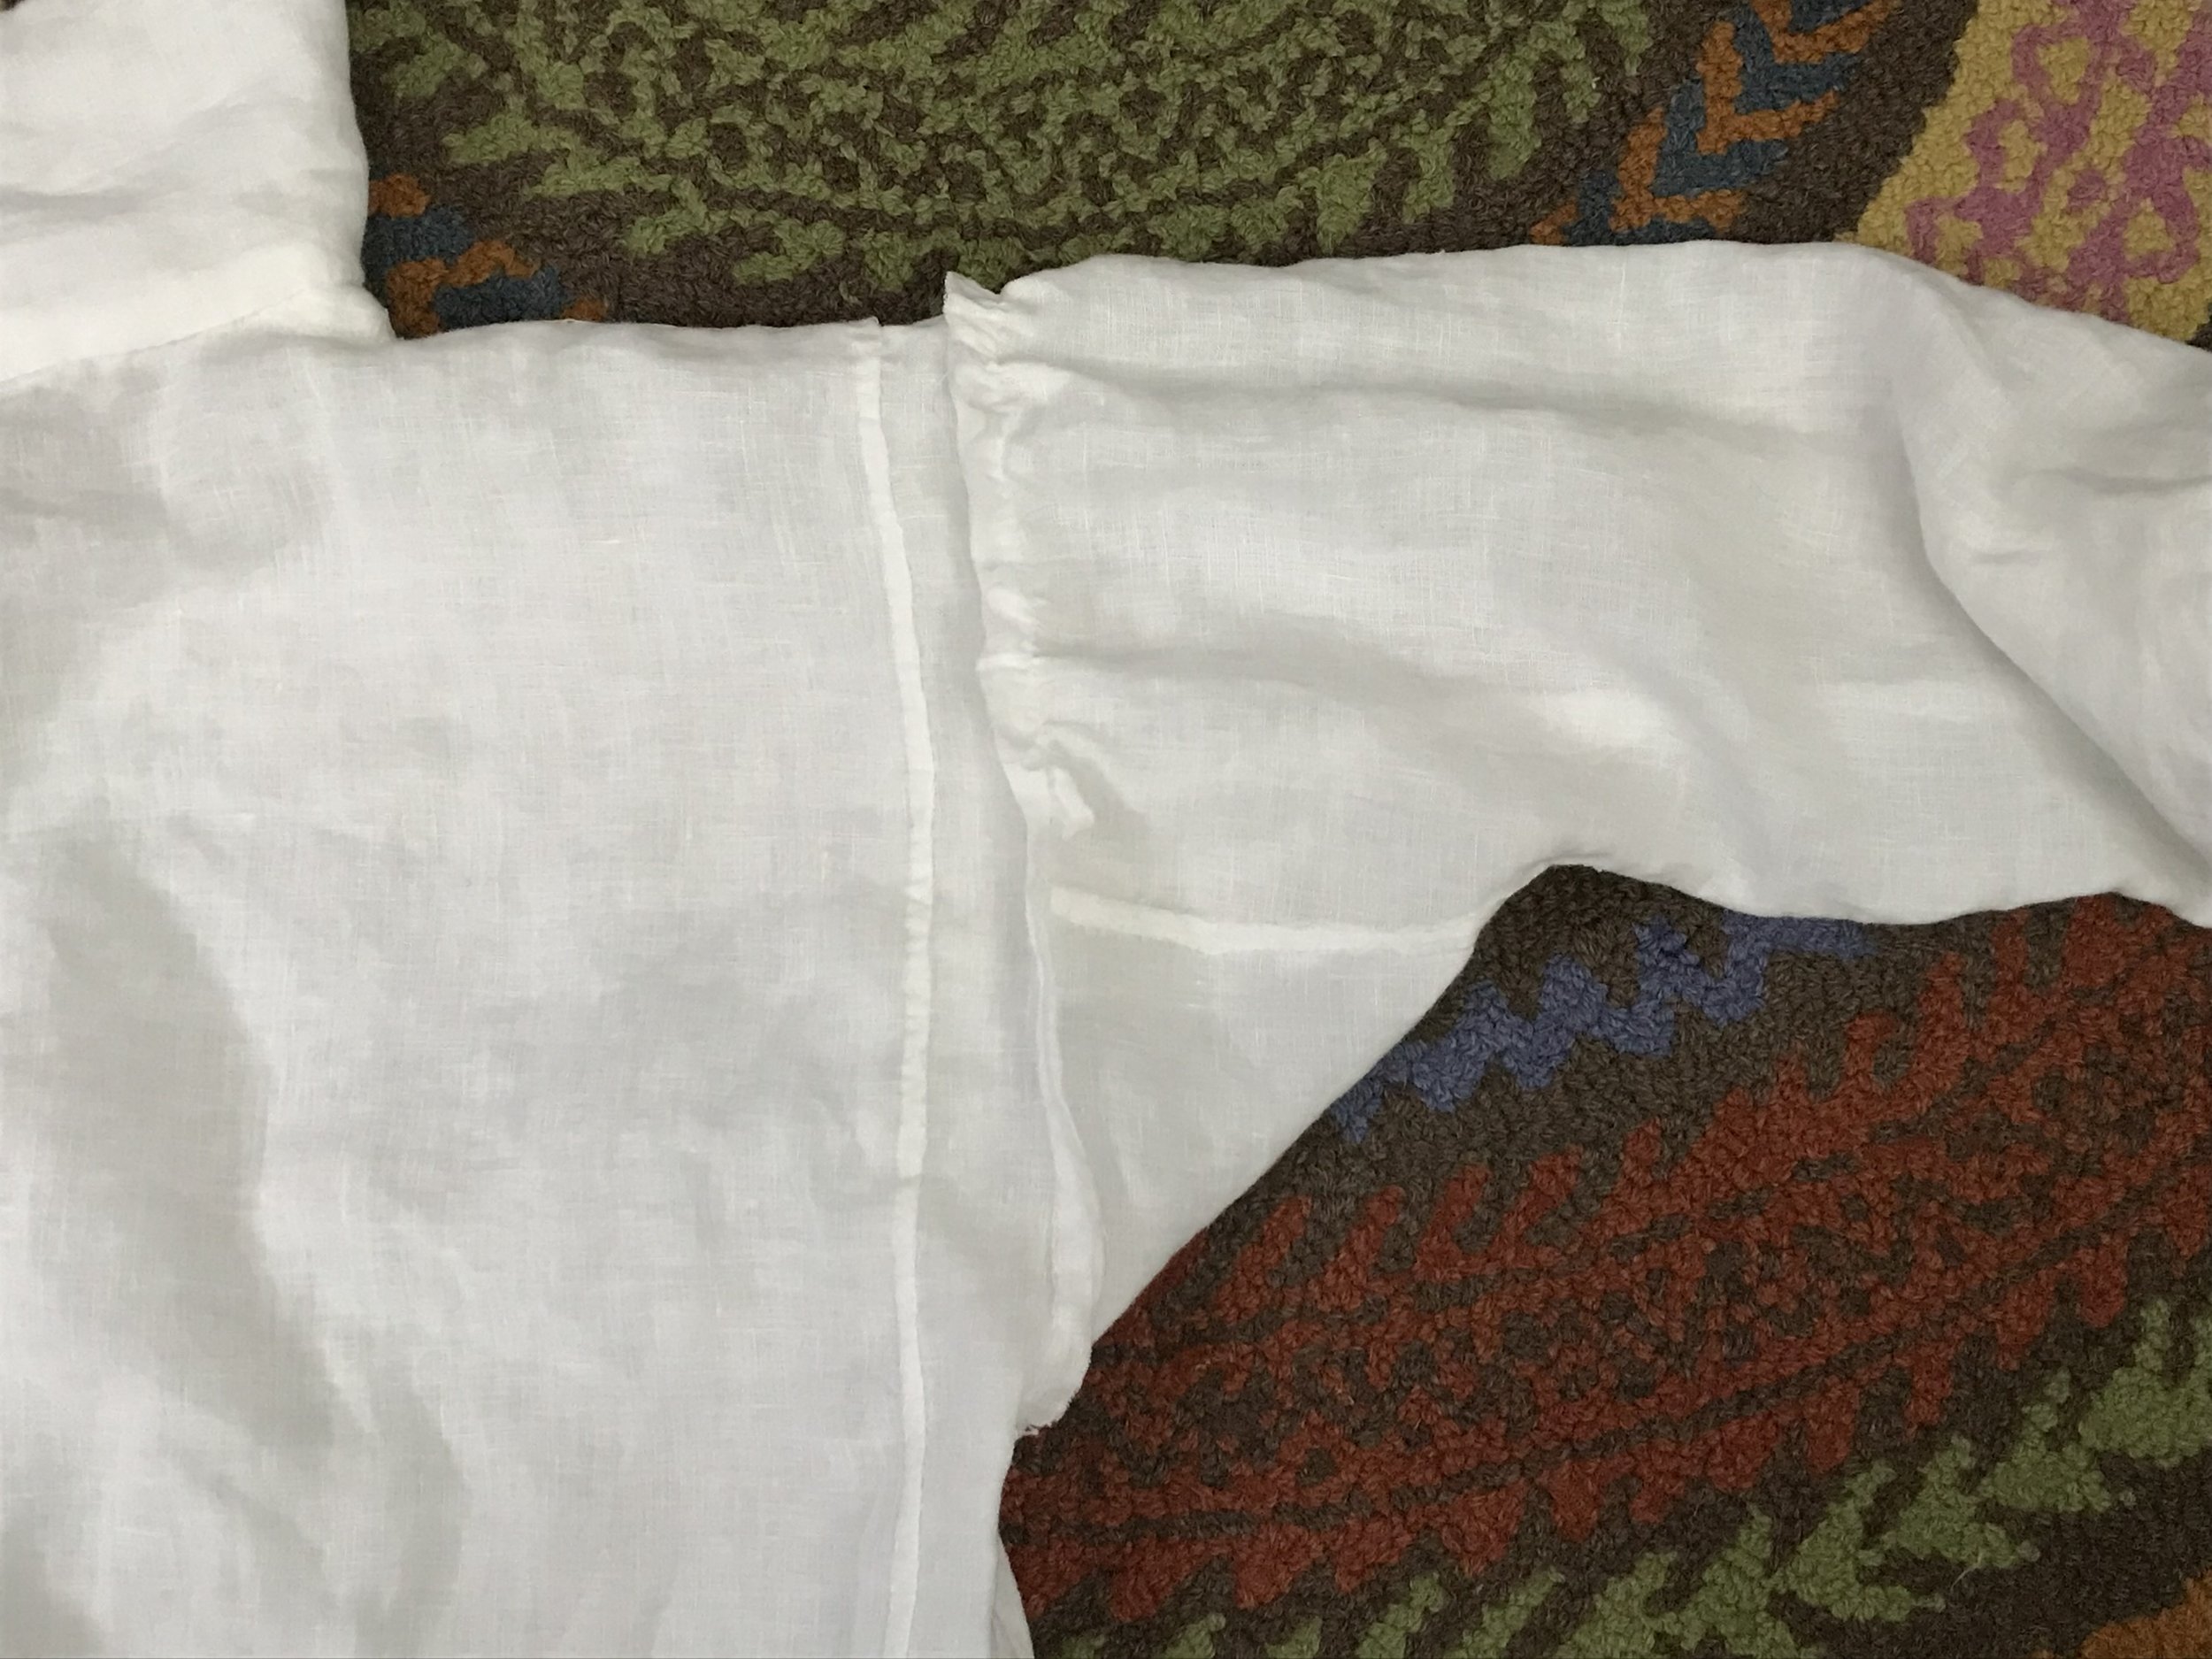
now we tackle this
I still have to finish off the armscye seam. This will be accomplished by a slight of hand involving . . .
-

another rectangle of fabric
After I fold in seam allowances, this long piece of fabric gets folded in half and is pinned in the middle to the middle of the shoulder-top (on the wrong side).
-

I start by pinning it over the armscye seam
I sewed this seam before pinning around the rest of the rectangle. I figured that this way I’d have a fighting chance of getting the thing on straight.
-
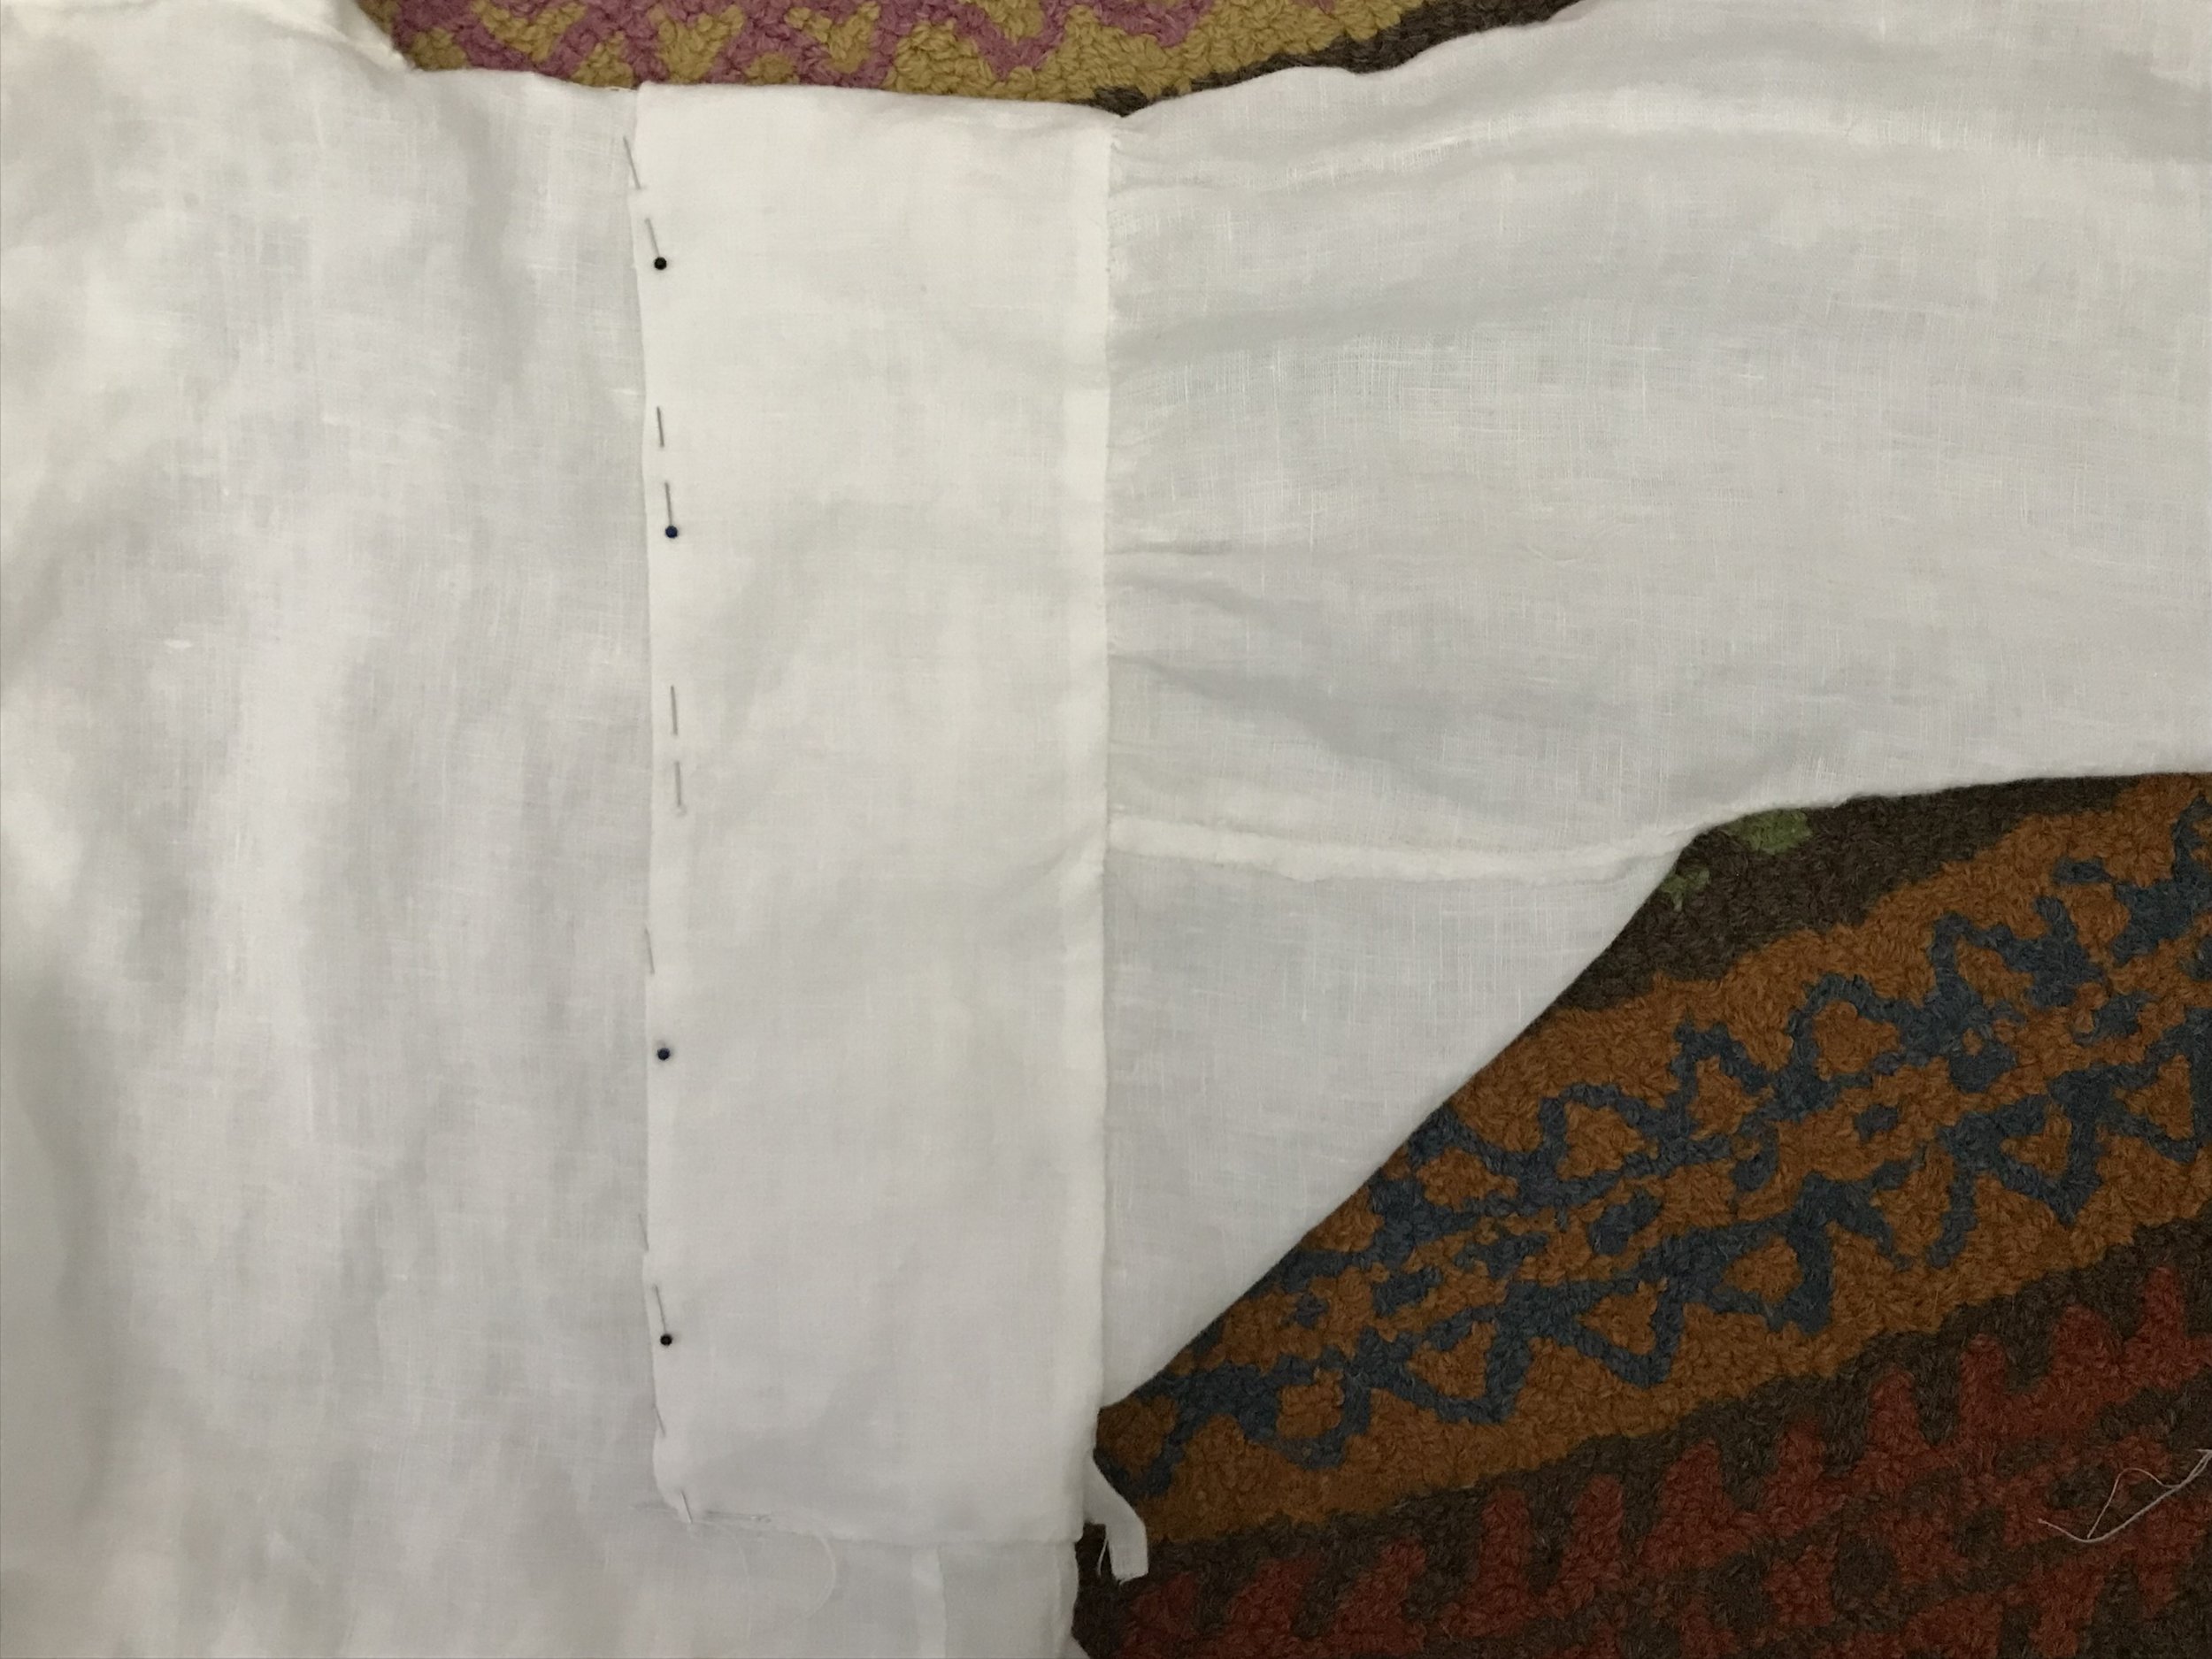
then pin the rest
Once that first seam is done, it is a bit easier to smooth out the fabric onto the inside of the body piece.
-
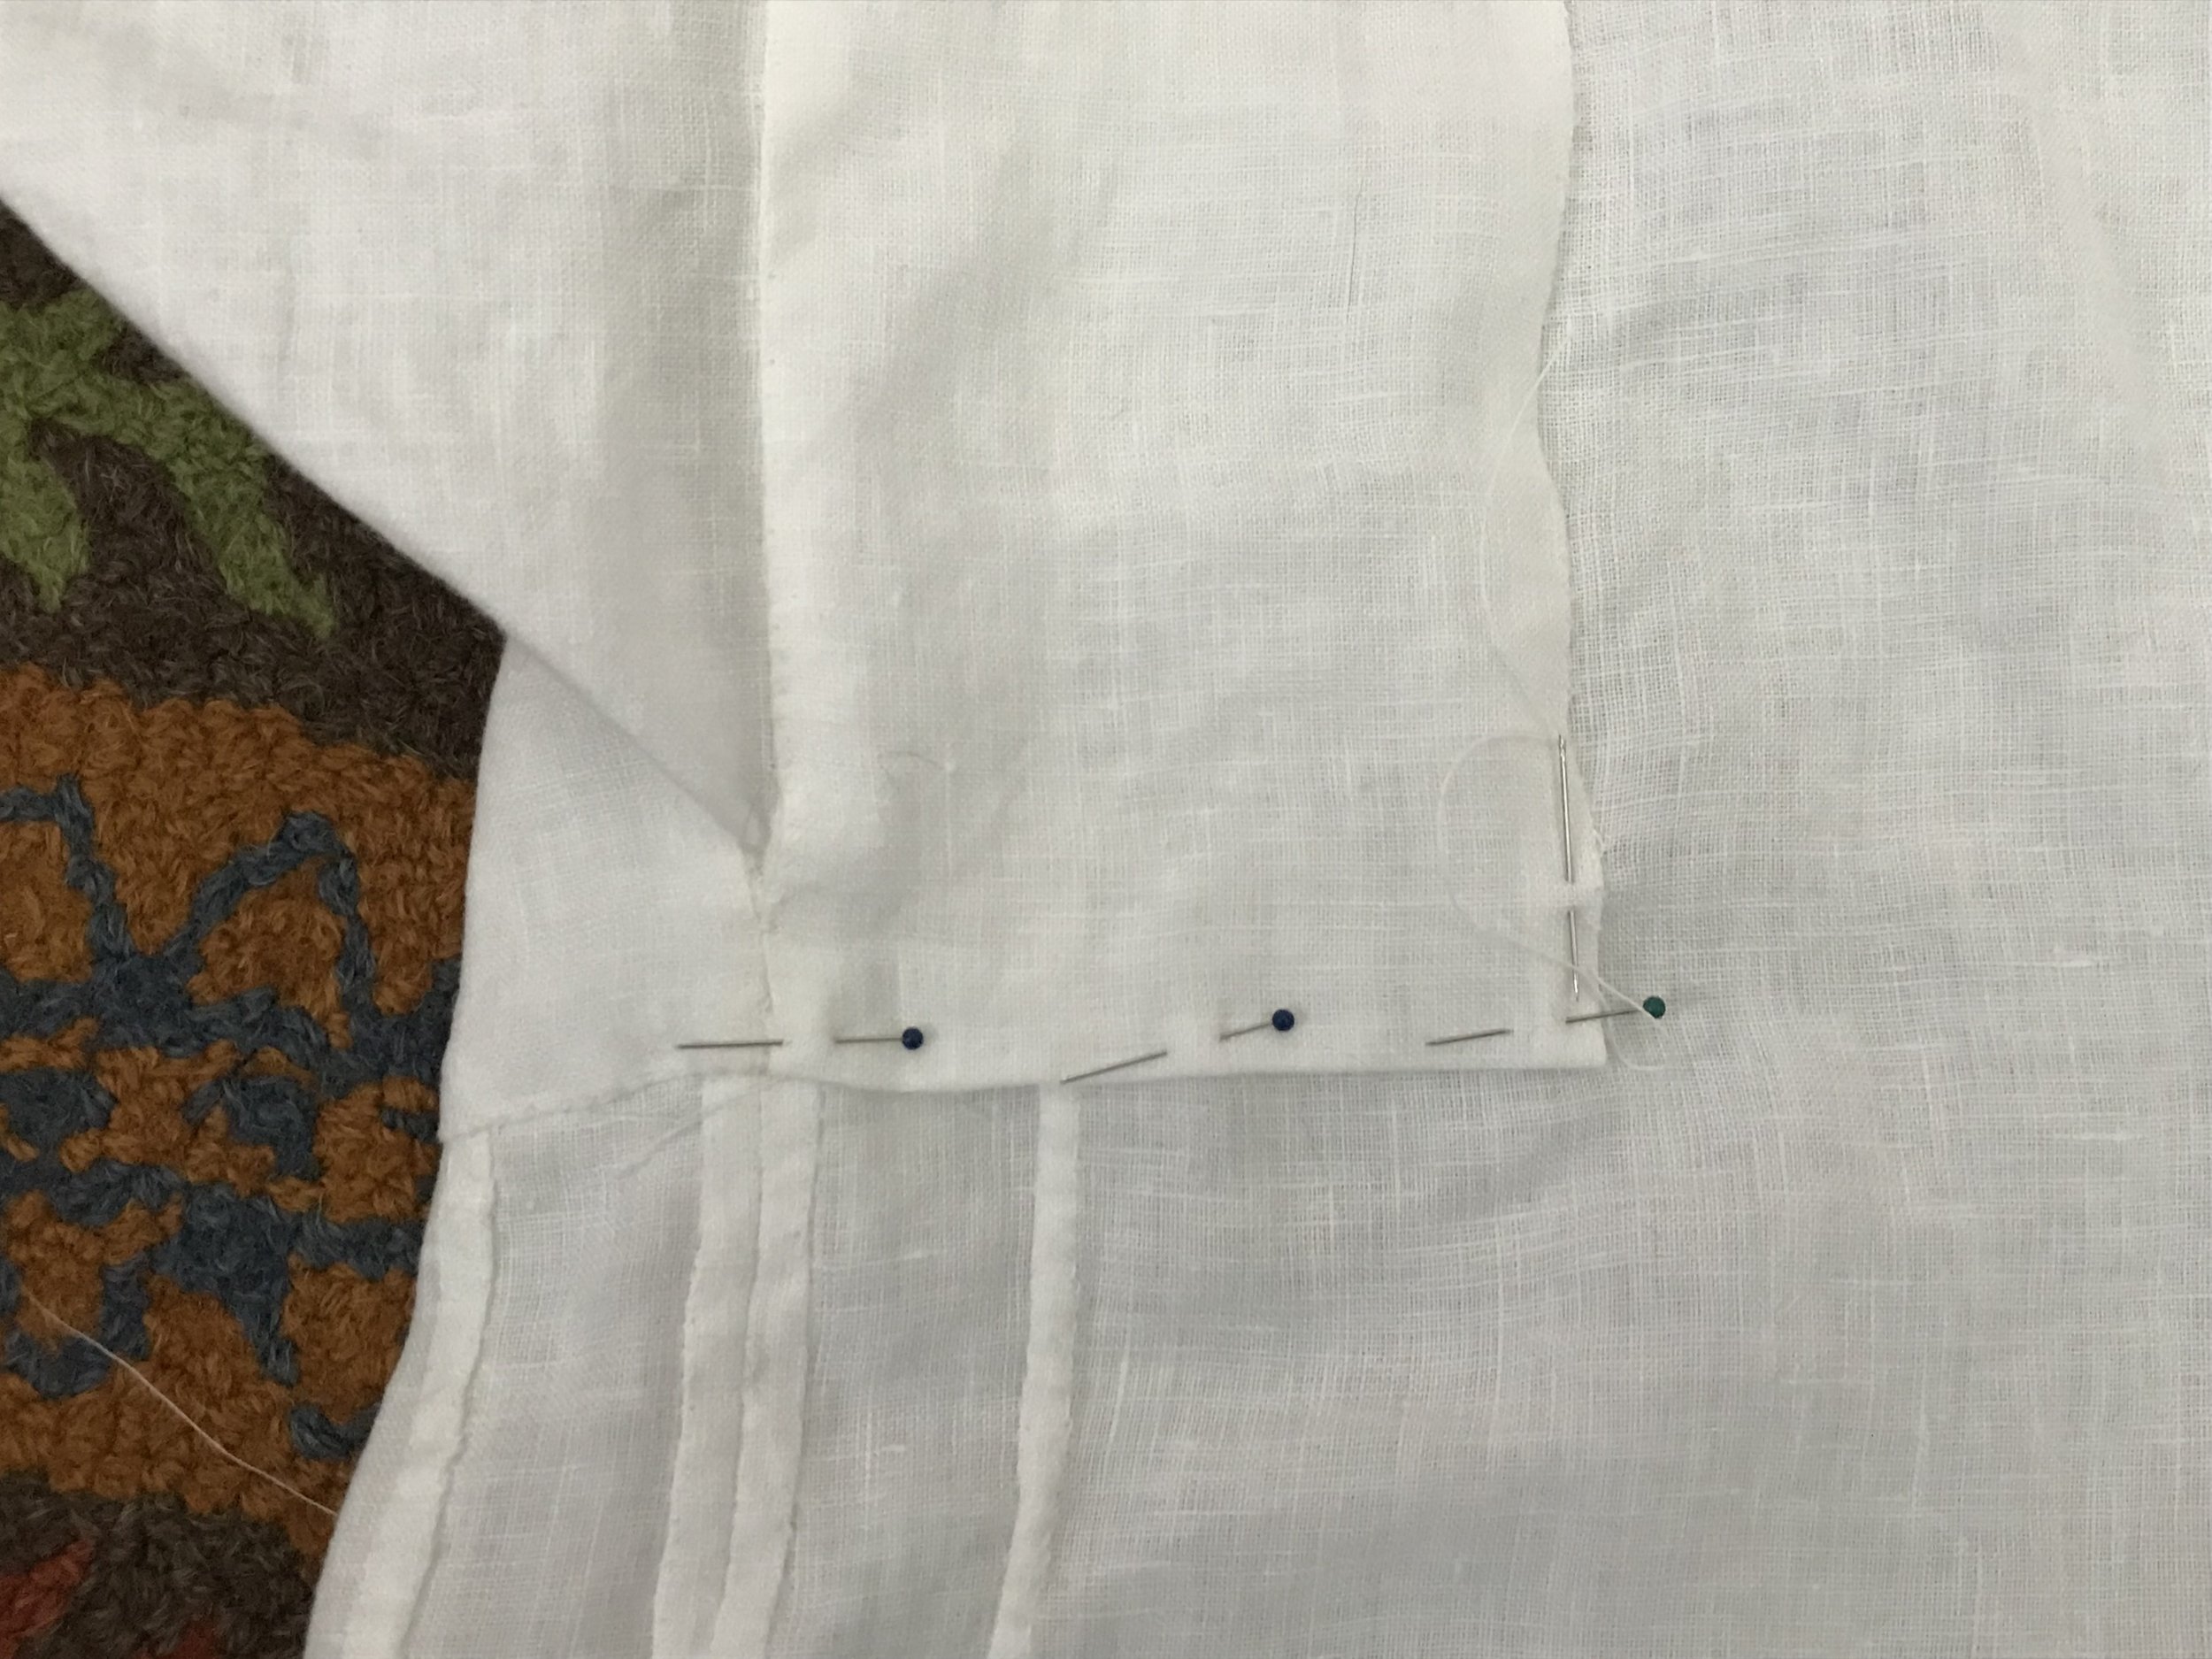
"half" is relative, I guess
One side of my rectangle was longer than the other, so I pulled a thread (I do that every chance I get), cut, and re-pinned.
-

this is why I love hand sewing
If I were trying to do this on a machine I’d be in too much of a hurry to worry about the details. My me when I sew by hand is willing to do things, to get things right, to enjoy the process, that my machine-sewing me would either blow over or give up on.
-
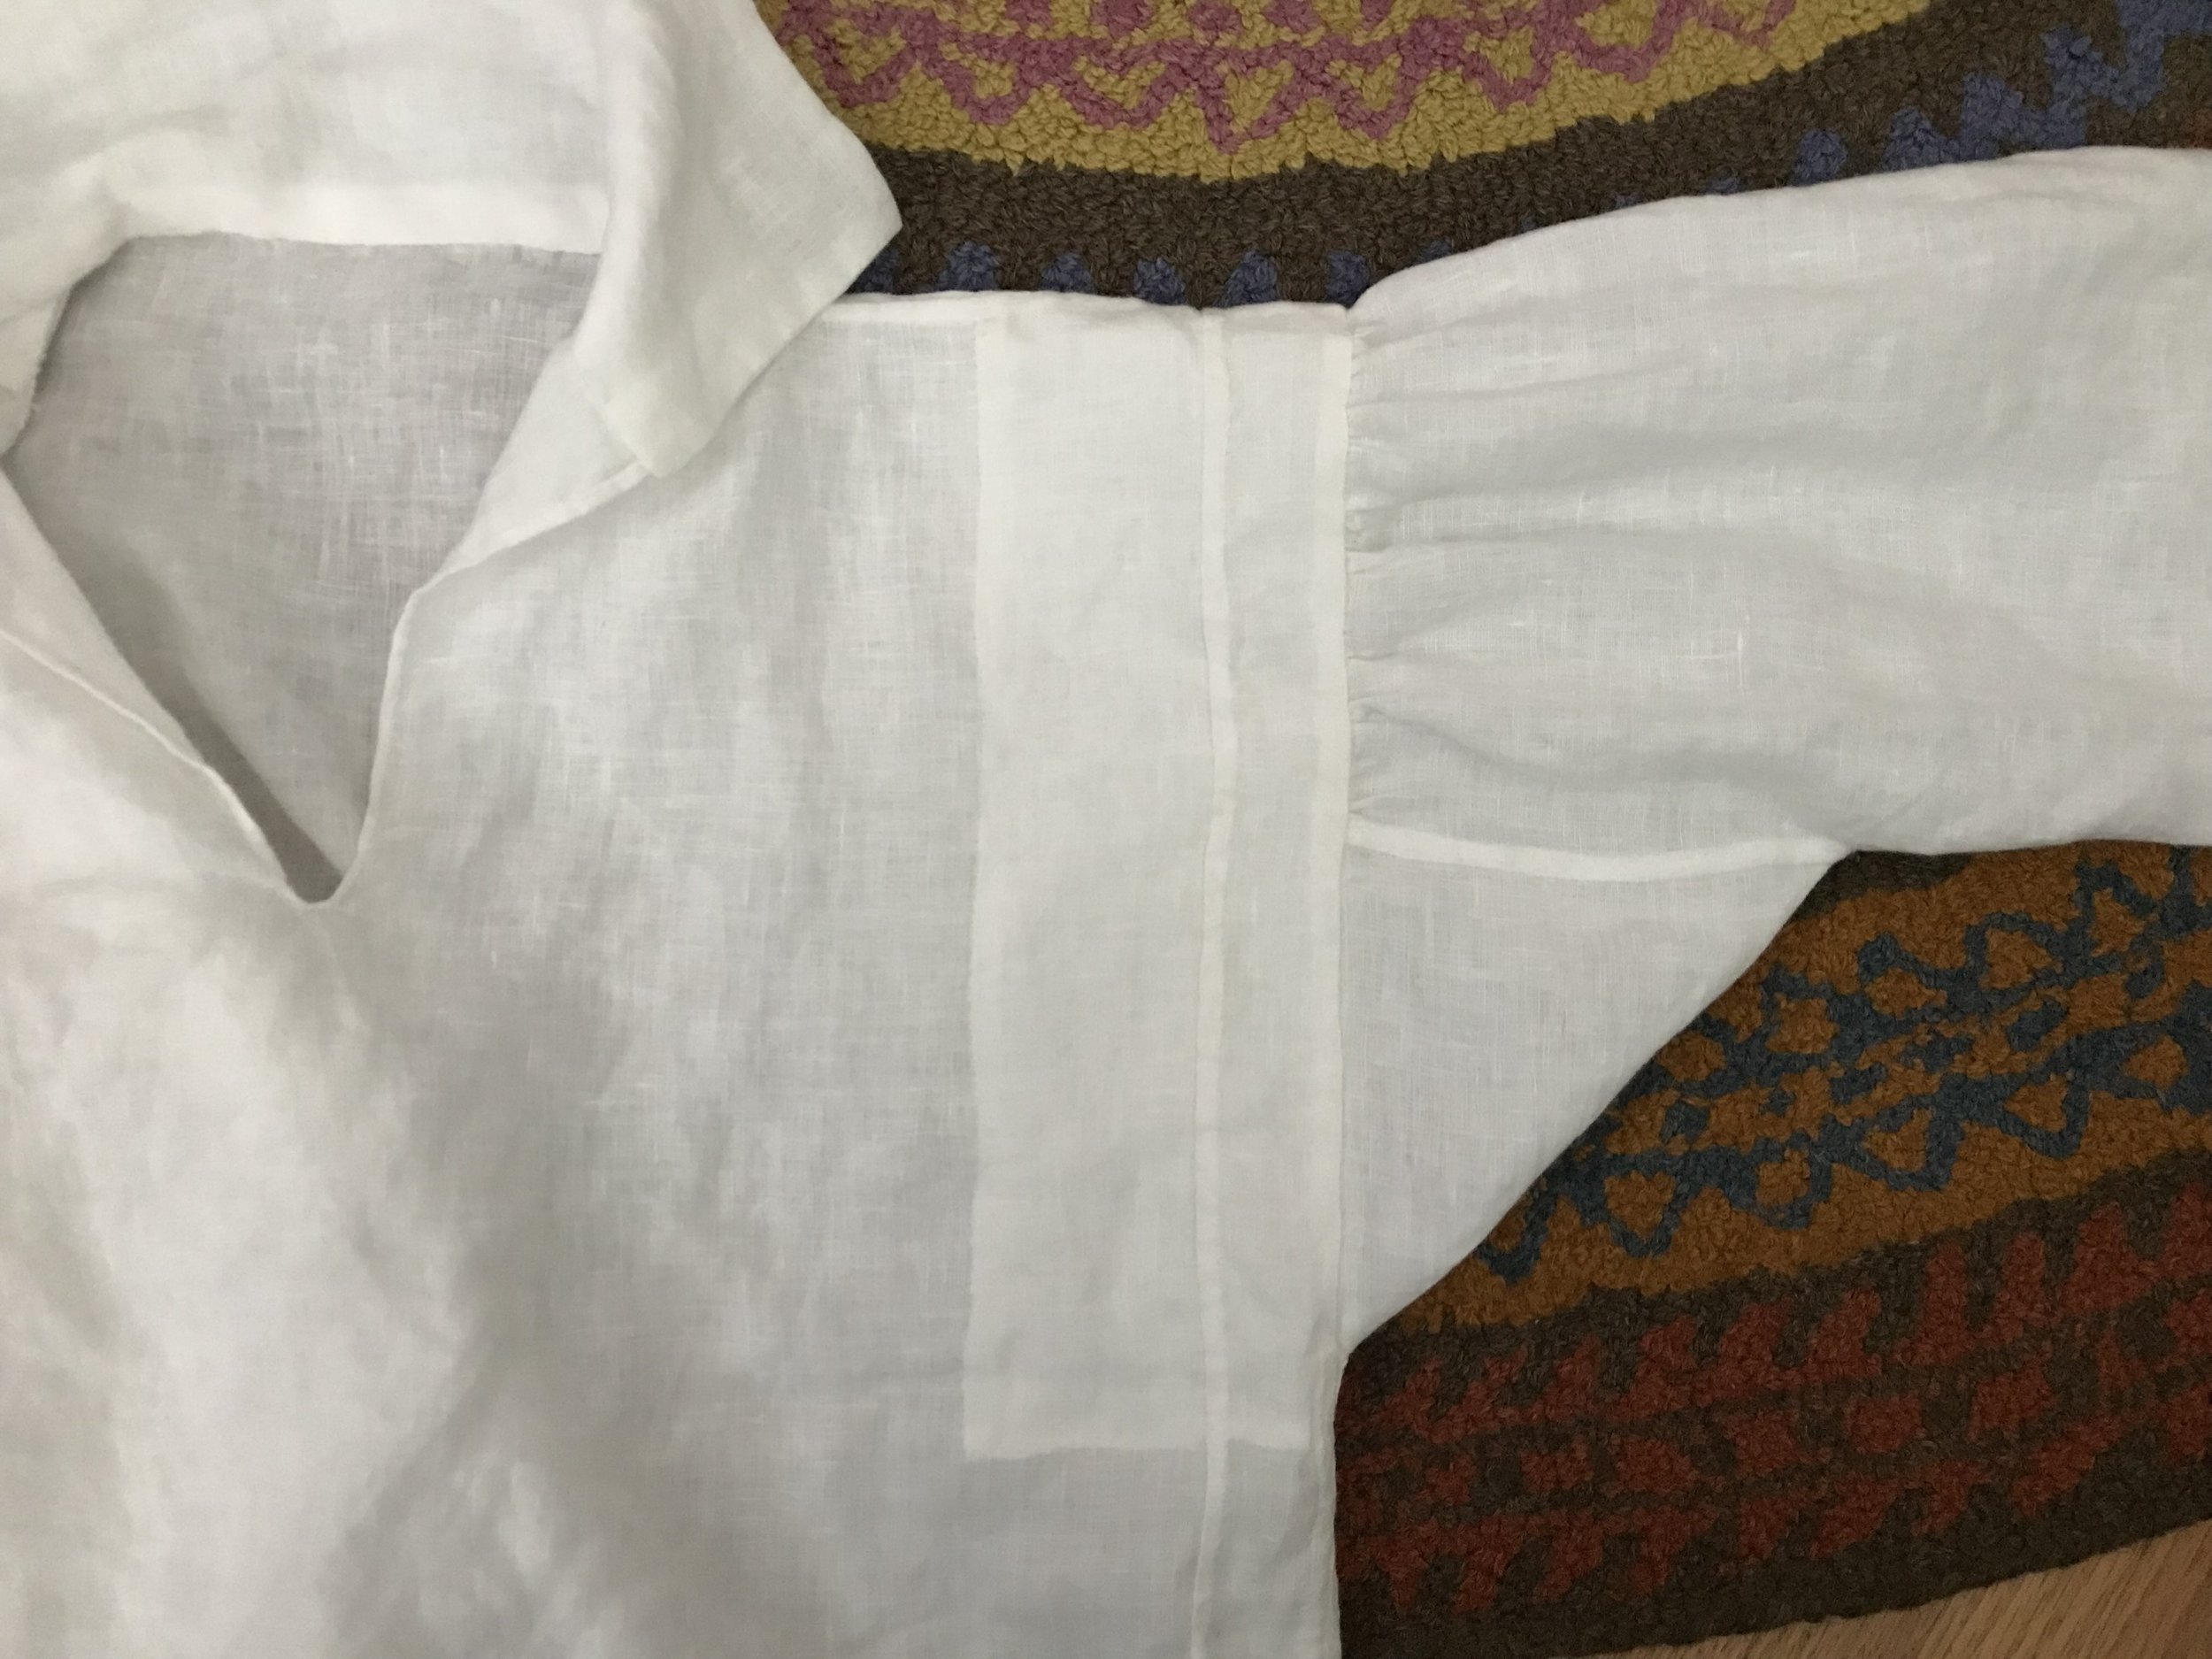
isn't she a beauty?
One done, one to go!
-
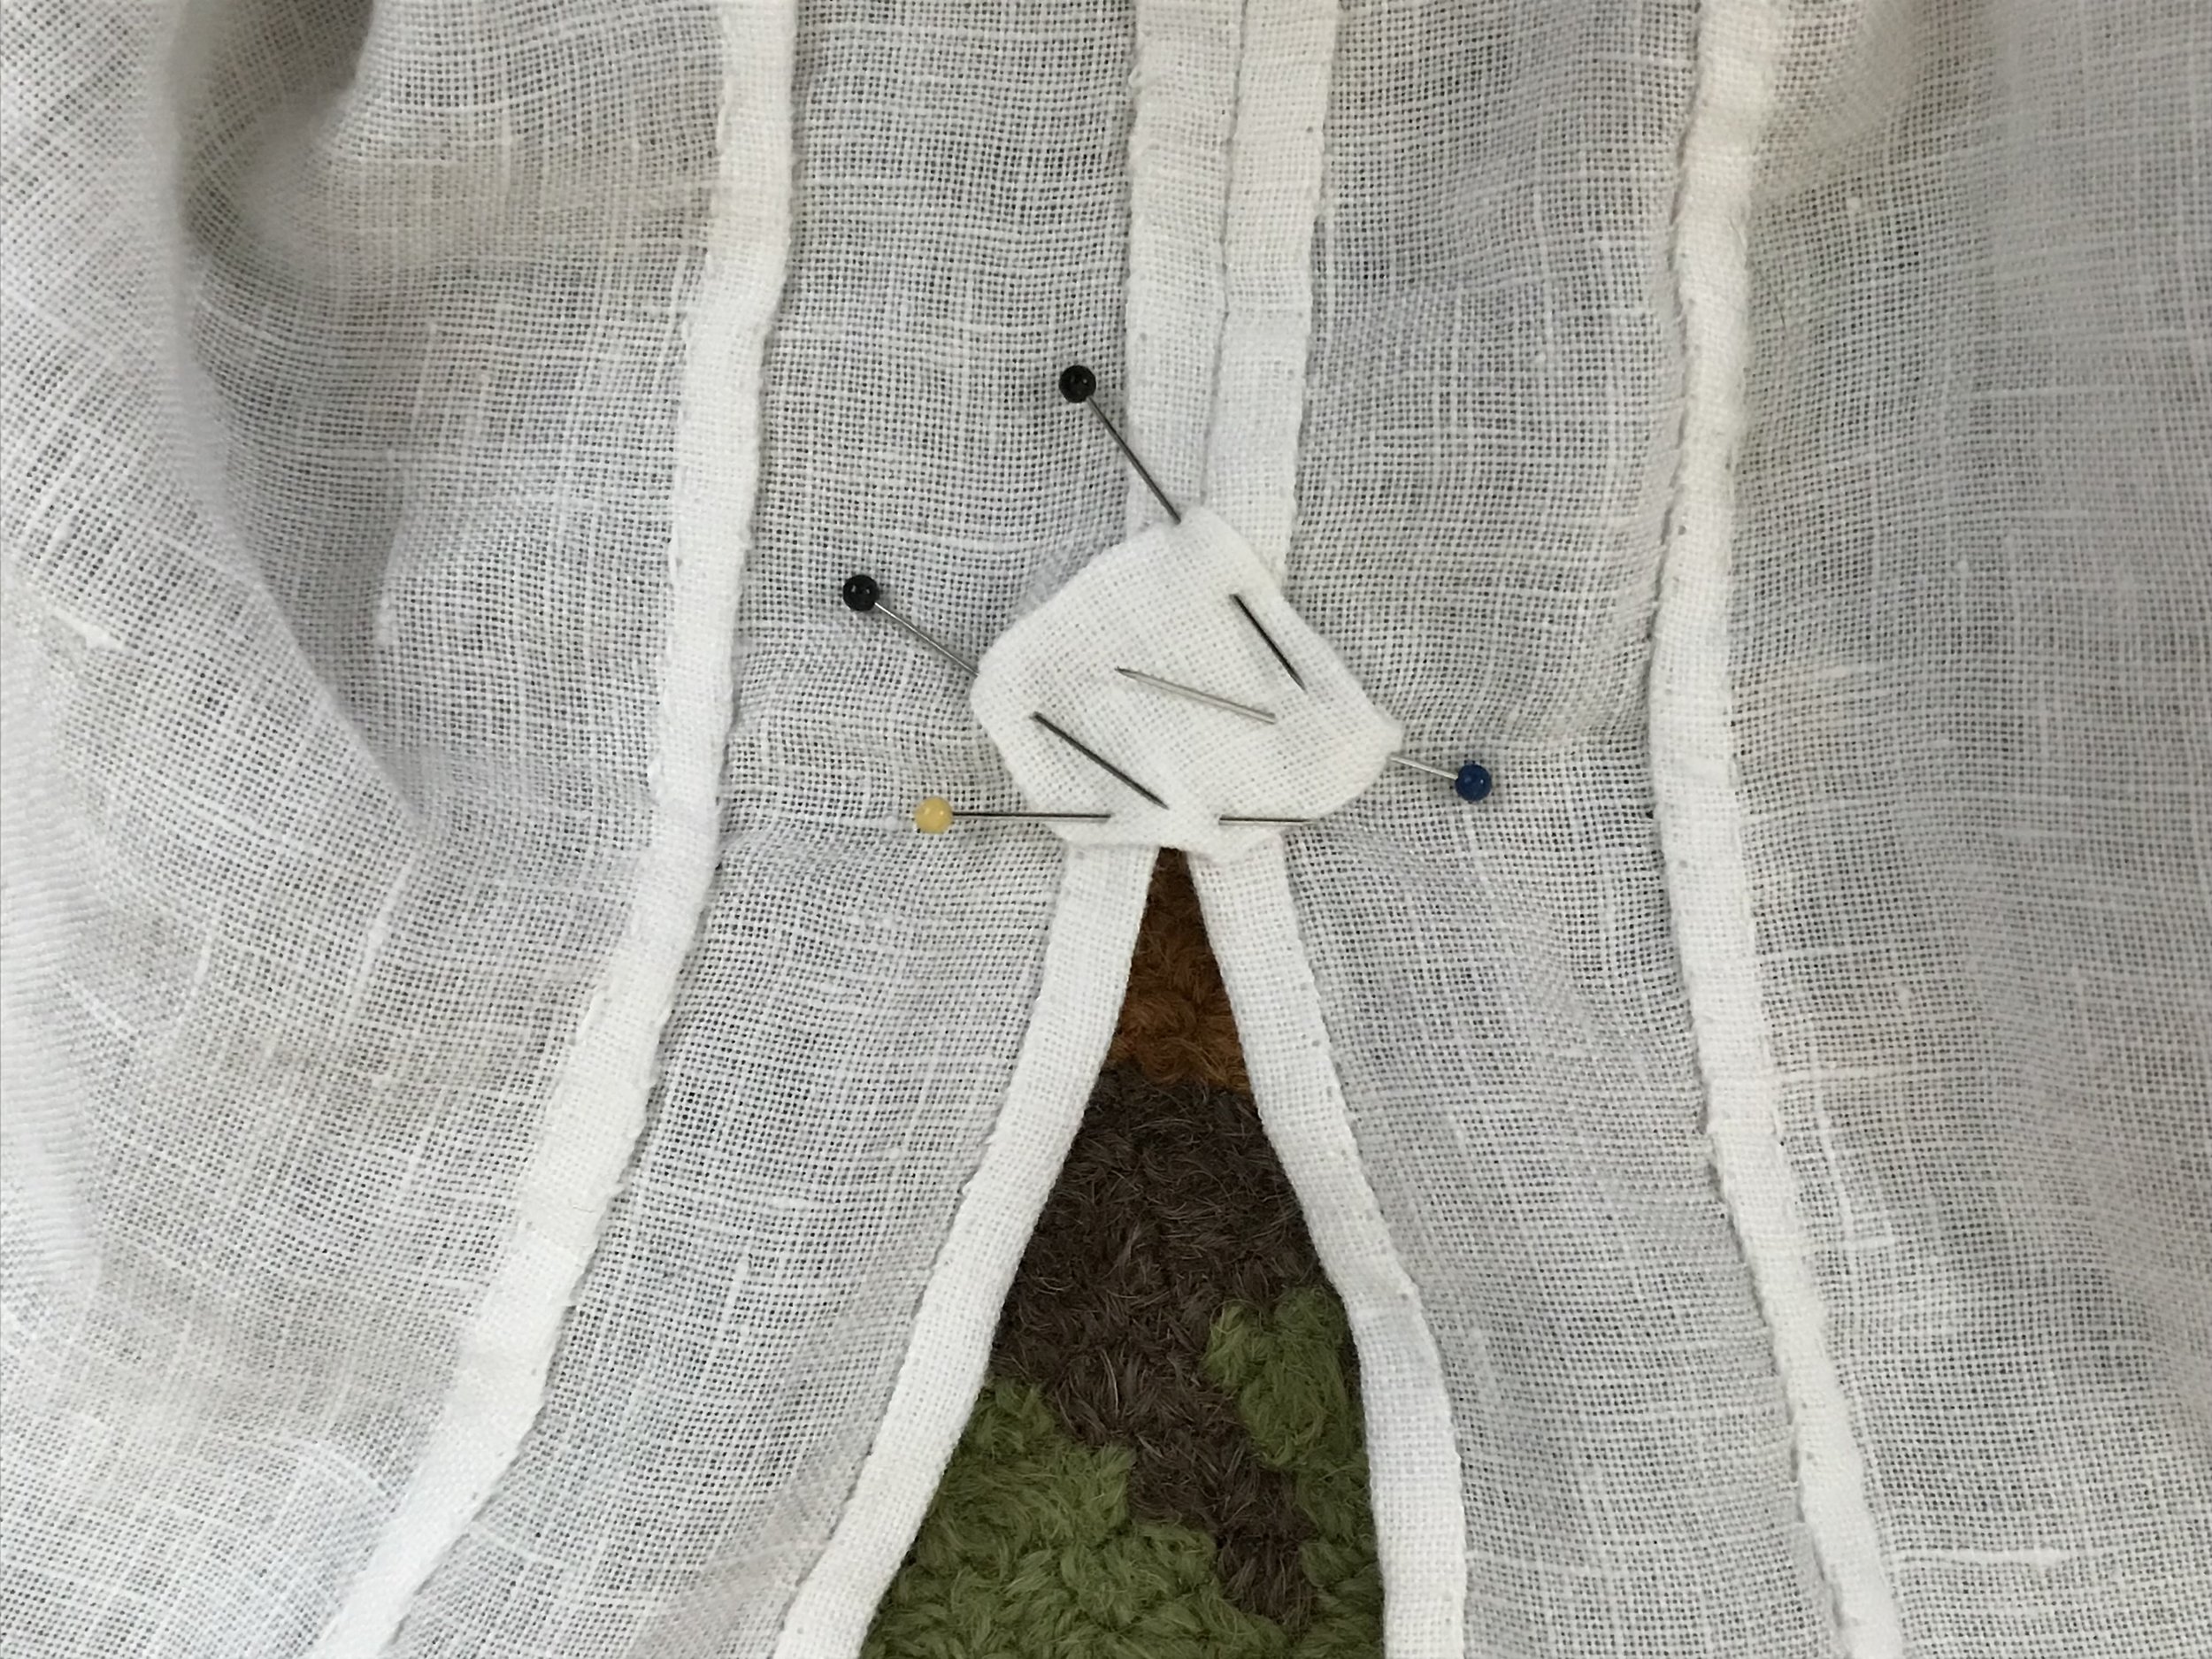
a reinforcing patch
I add these pieces (originally 1" square) to each side of each spot on the shirt that has a slit: the two arm slits above the cuffs and the two side slits.