ribbed hat with five decreases
-

ready for decreases
This ribbed tube is going to be a hat when it grows up. Using a no. 3 (3.25 mm) circular needle (16”), work about 65 rounds/9”/23 cm of k1p1 ribbing on 120 stitches with a sport-weight yarn (I used KnitPicks Wool of the Andes, dyed very lightly with ground walnut husks).
-

first set of decreases done
Decrease by dividing the 120 stitches into 5 sections of 24; k2tog at the beginning of each section. For the first row, k2tog, rib 22, and repeat around. After this round, work 1 round even. You will have 2 knit stitches bumped up against one another where you made the decreases in the previous round.
-
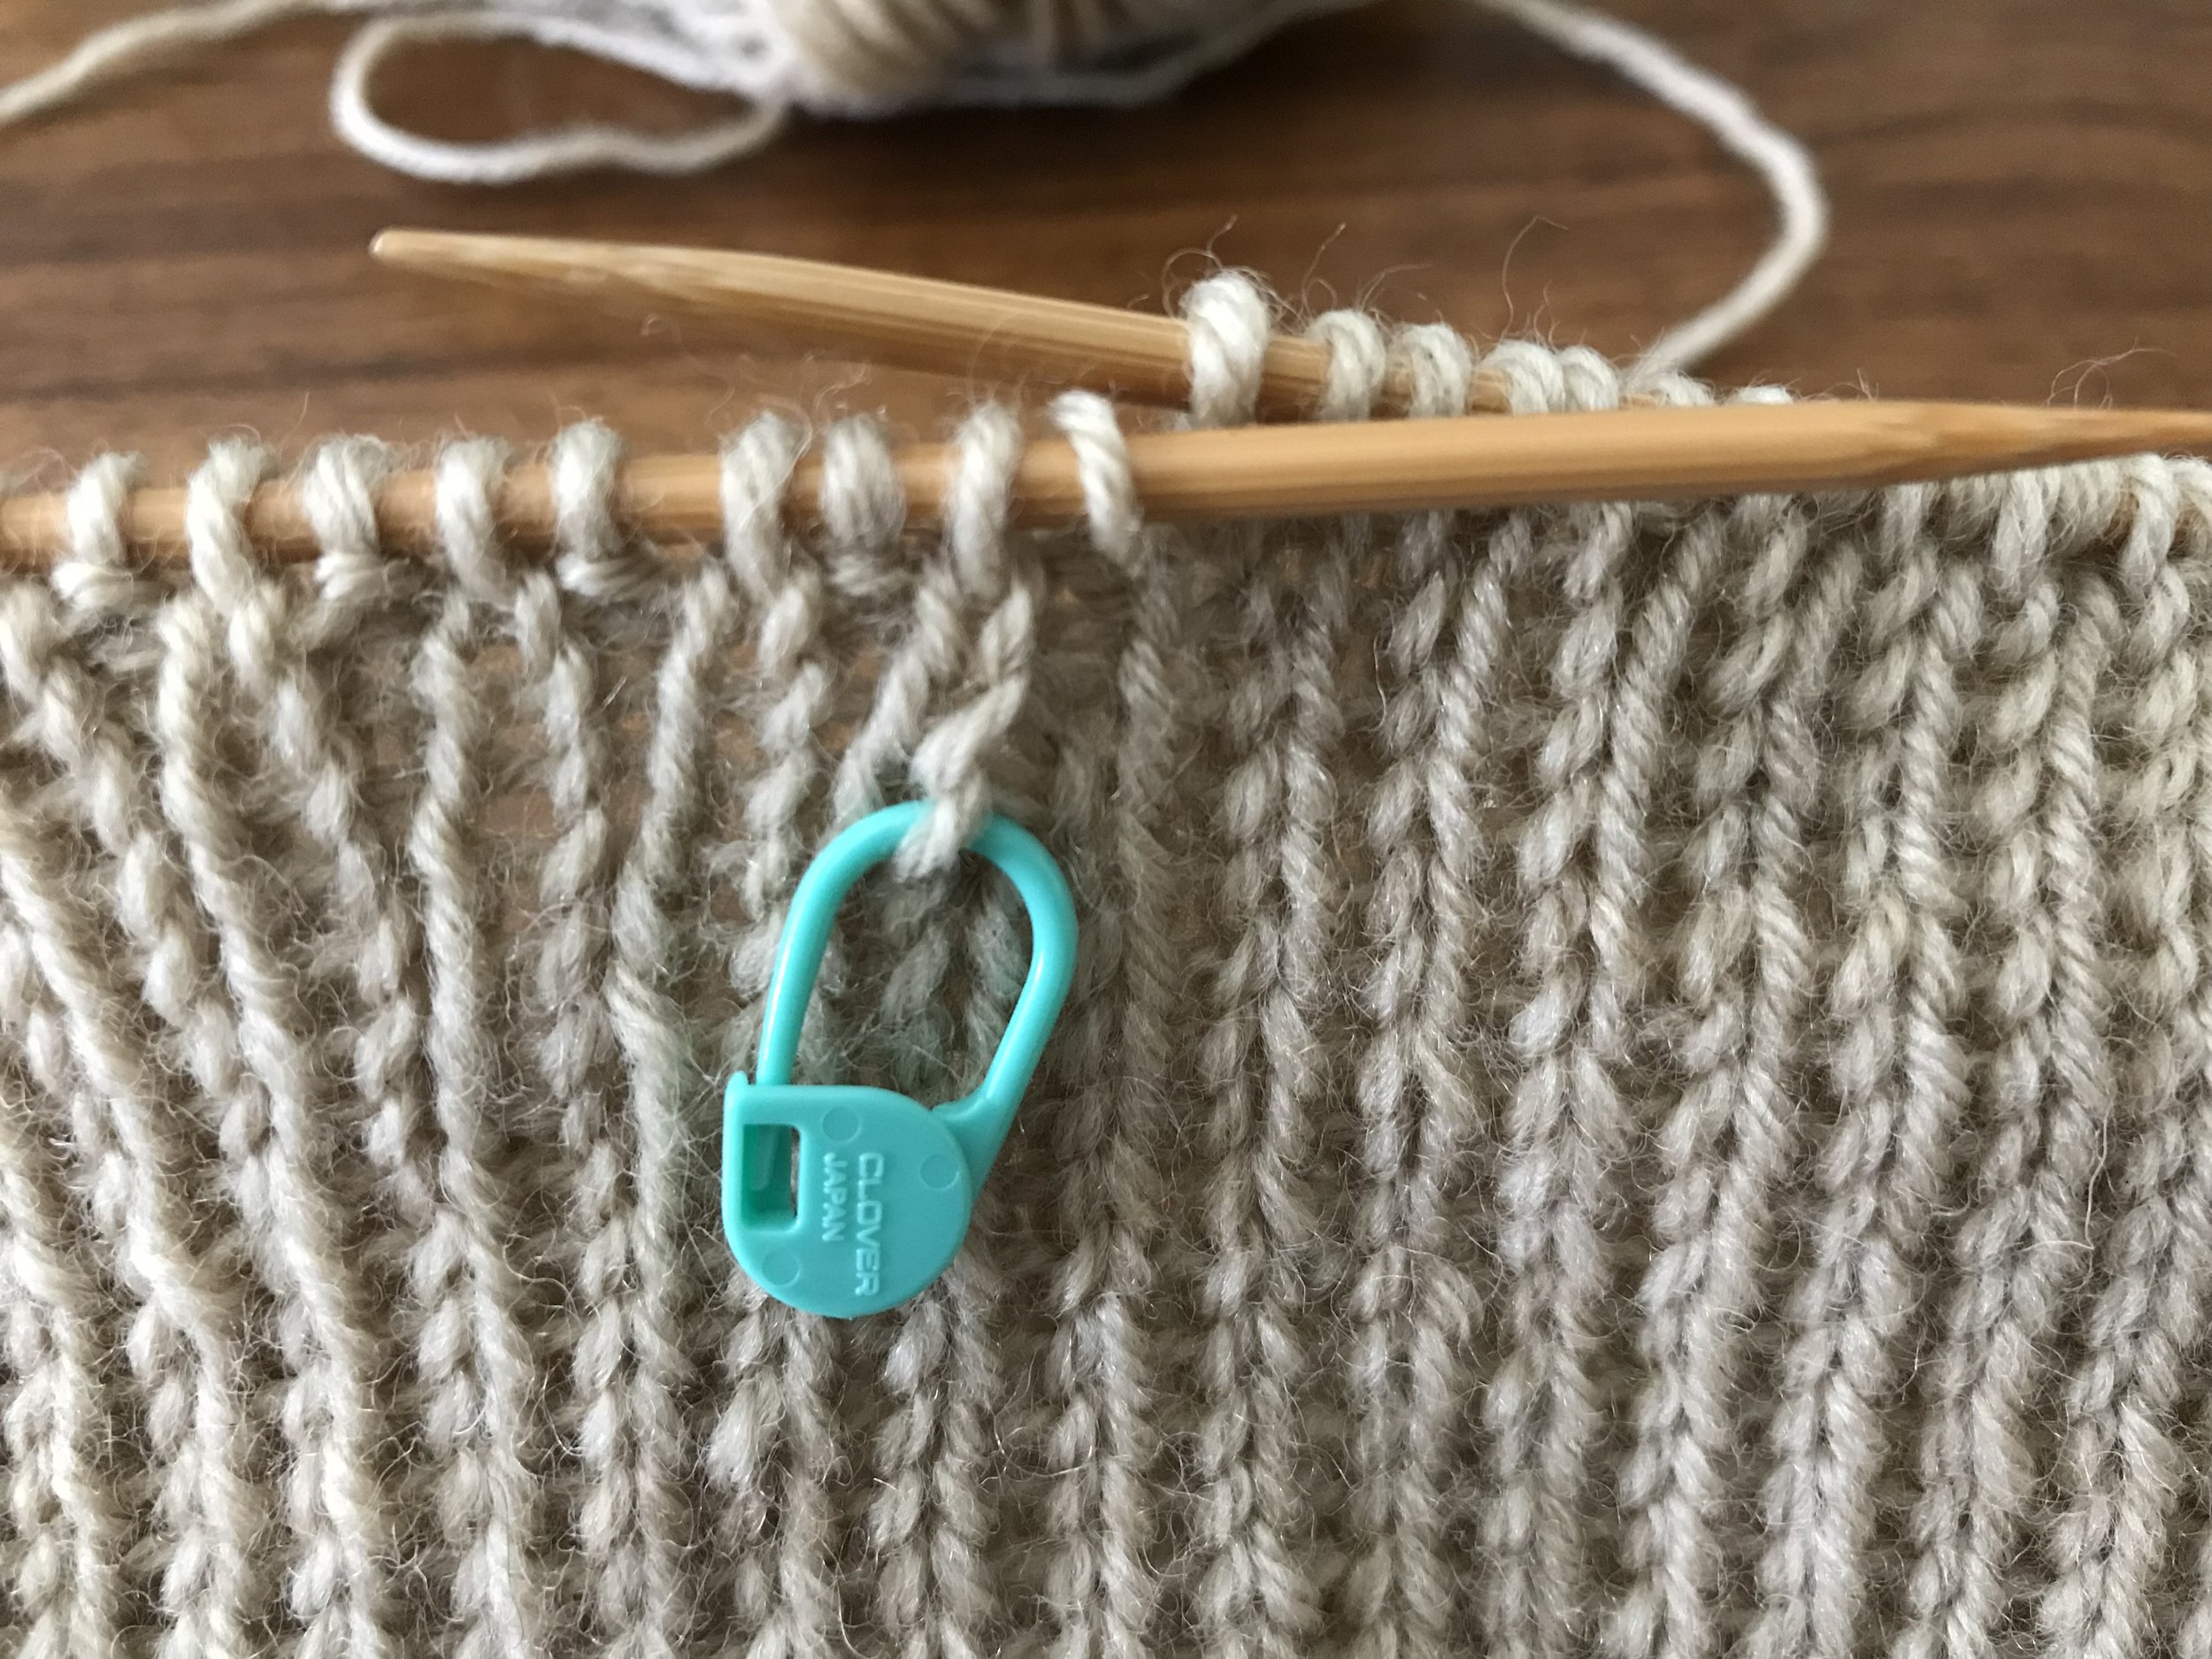
two sets of decreases done
Here you can see how the decreases have begun to slant to the right. After the first two sets of decreases, start decreasing on every round.
-
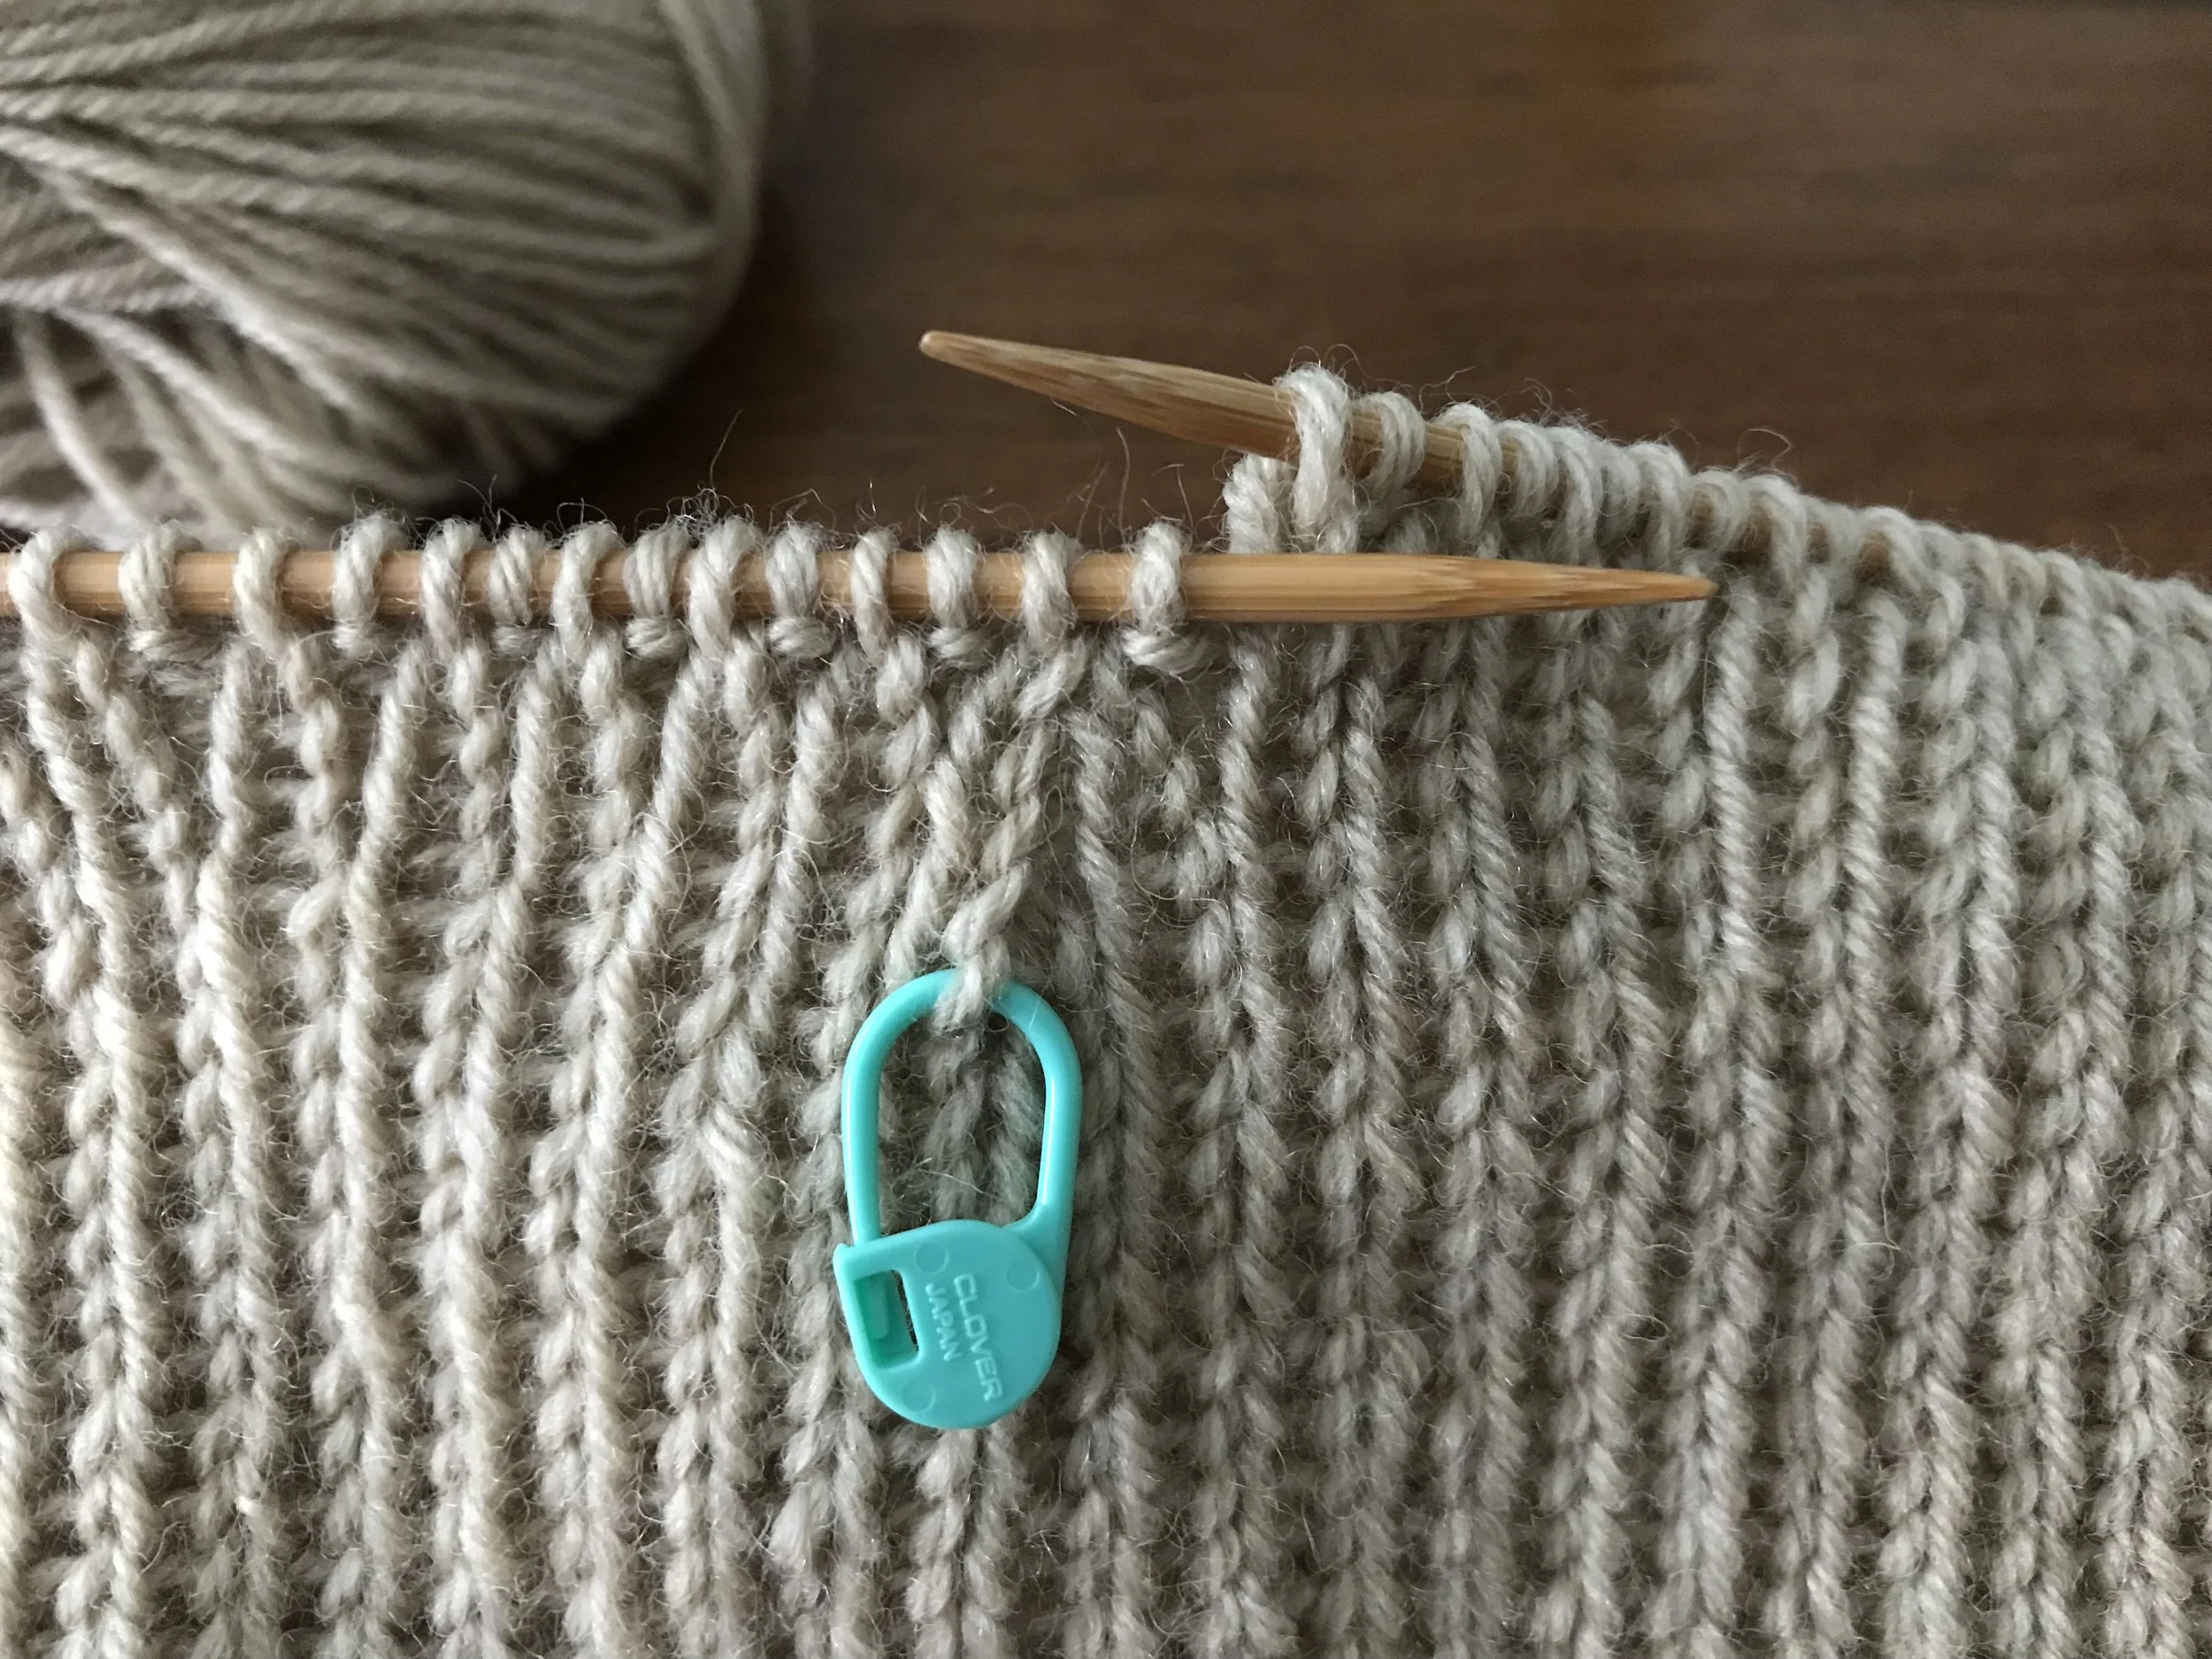
round 6 of the decreases
Moving along now! As the work progresses you will find that your hat becomes too small for the circular needle. I tend to switch to dpns when there are about 15 stitches in each section.
-

on dpns
This is how I arrange the knitting on the dpns: I end each needle with a k2tog, p1. That way the next needle can begin with a k stitch, which is easier to manage than starting the needle with a purl. Because the first stitch of the first decrease round has a marker on it, you will always have a landmark.
-
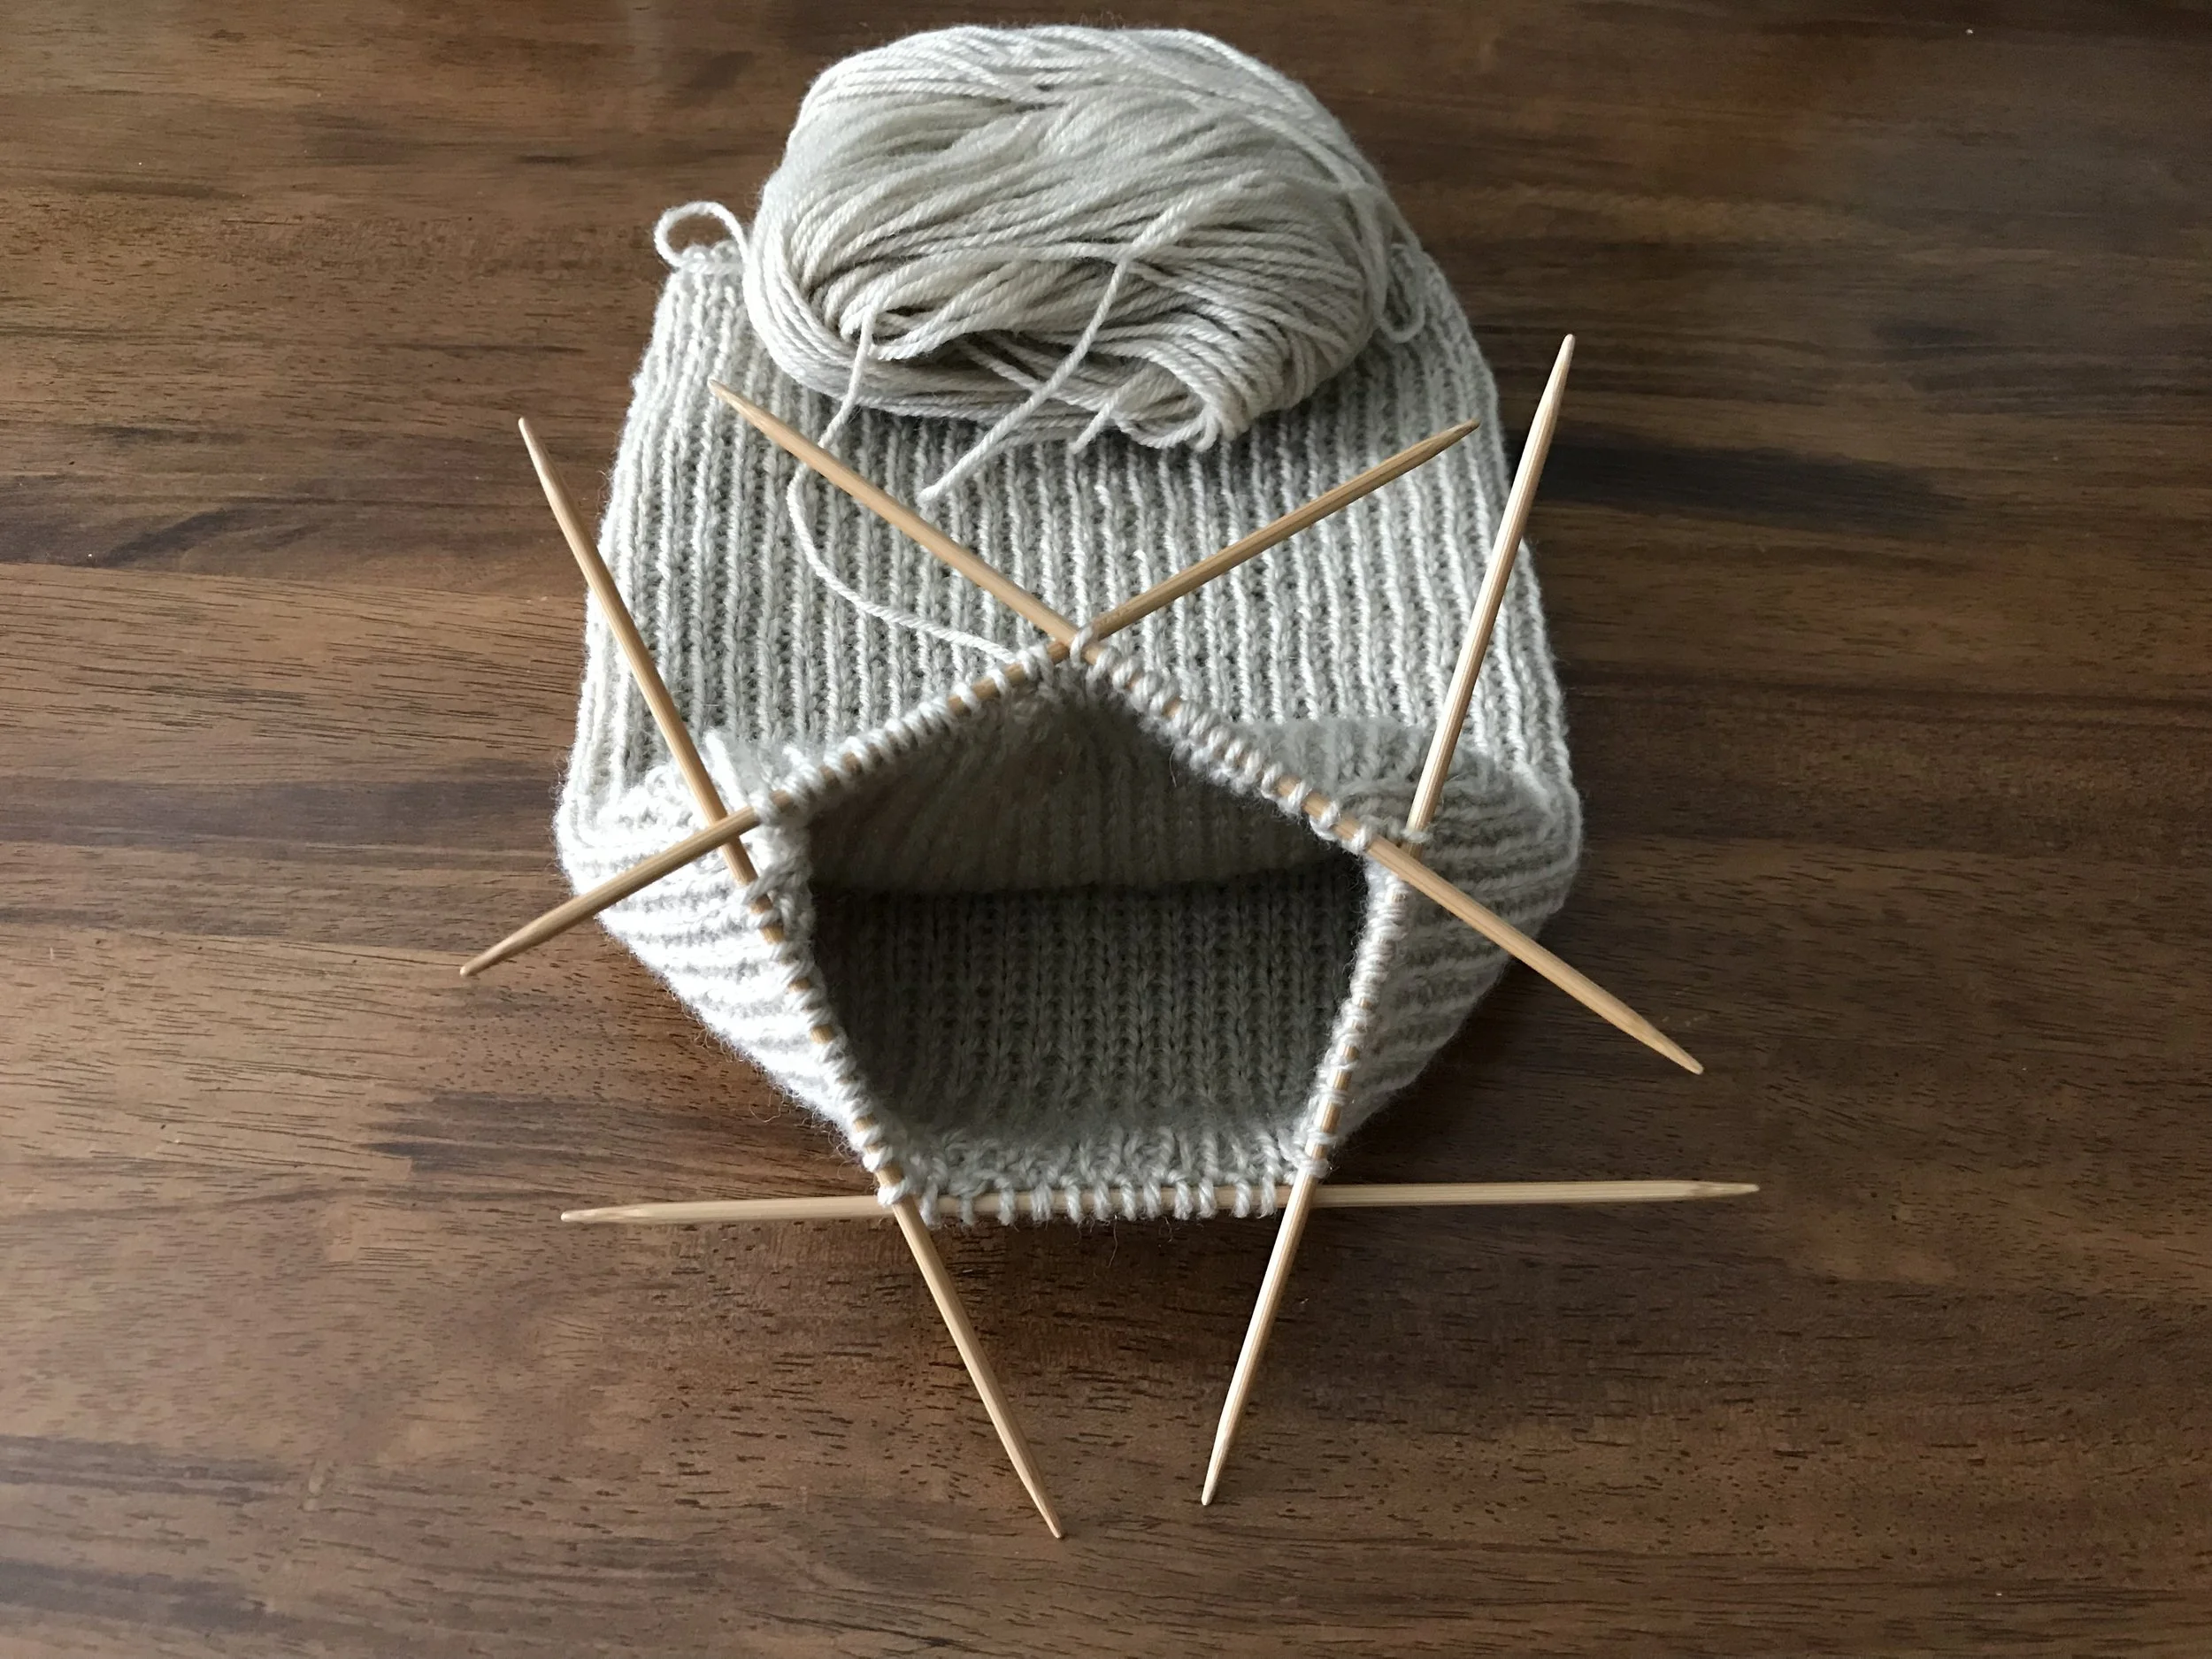
the maw
If you happen to have 6 dpns, each of the five decrease sections can have its own needle. If not, I recommend that you put the last two sections on the same dpn.
-
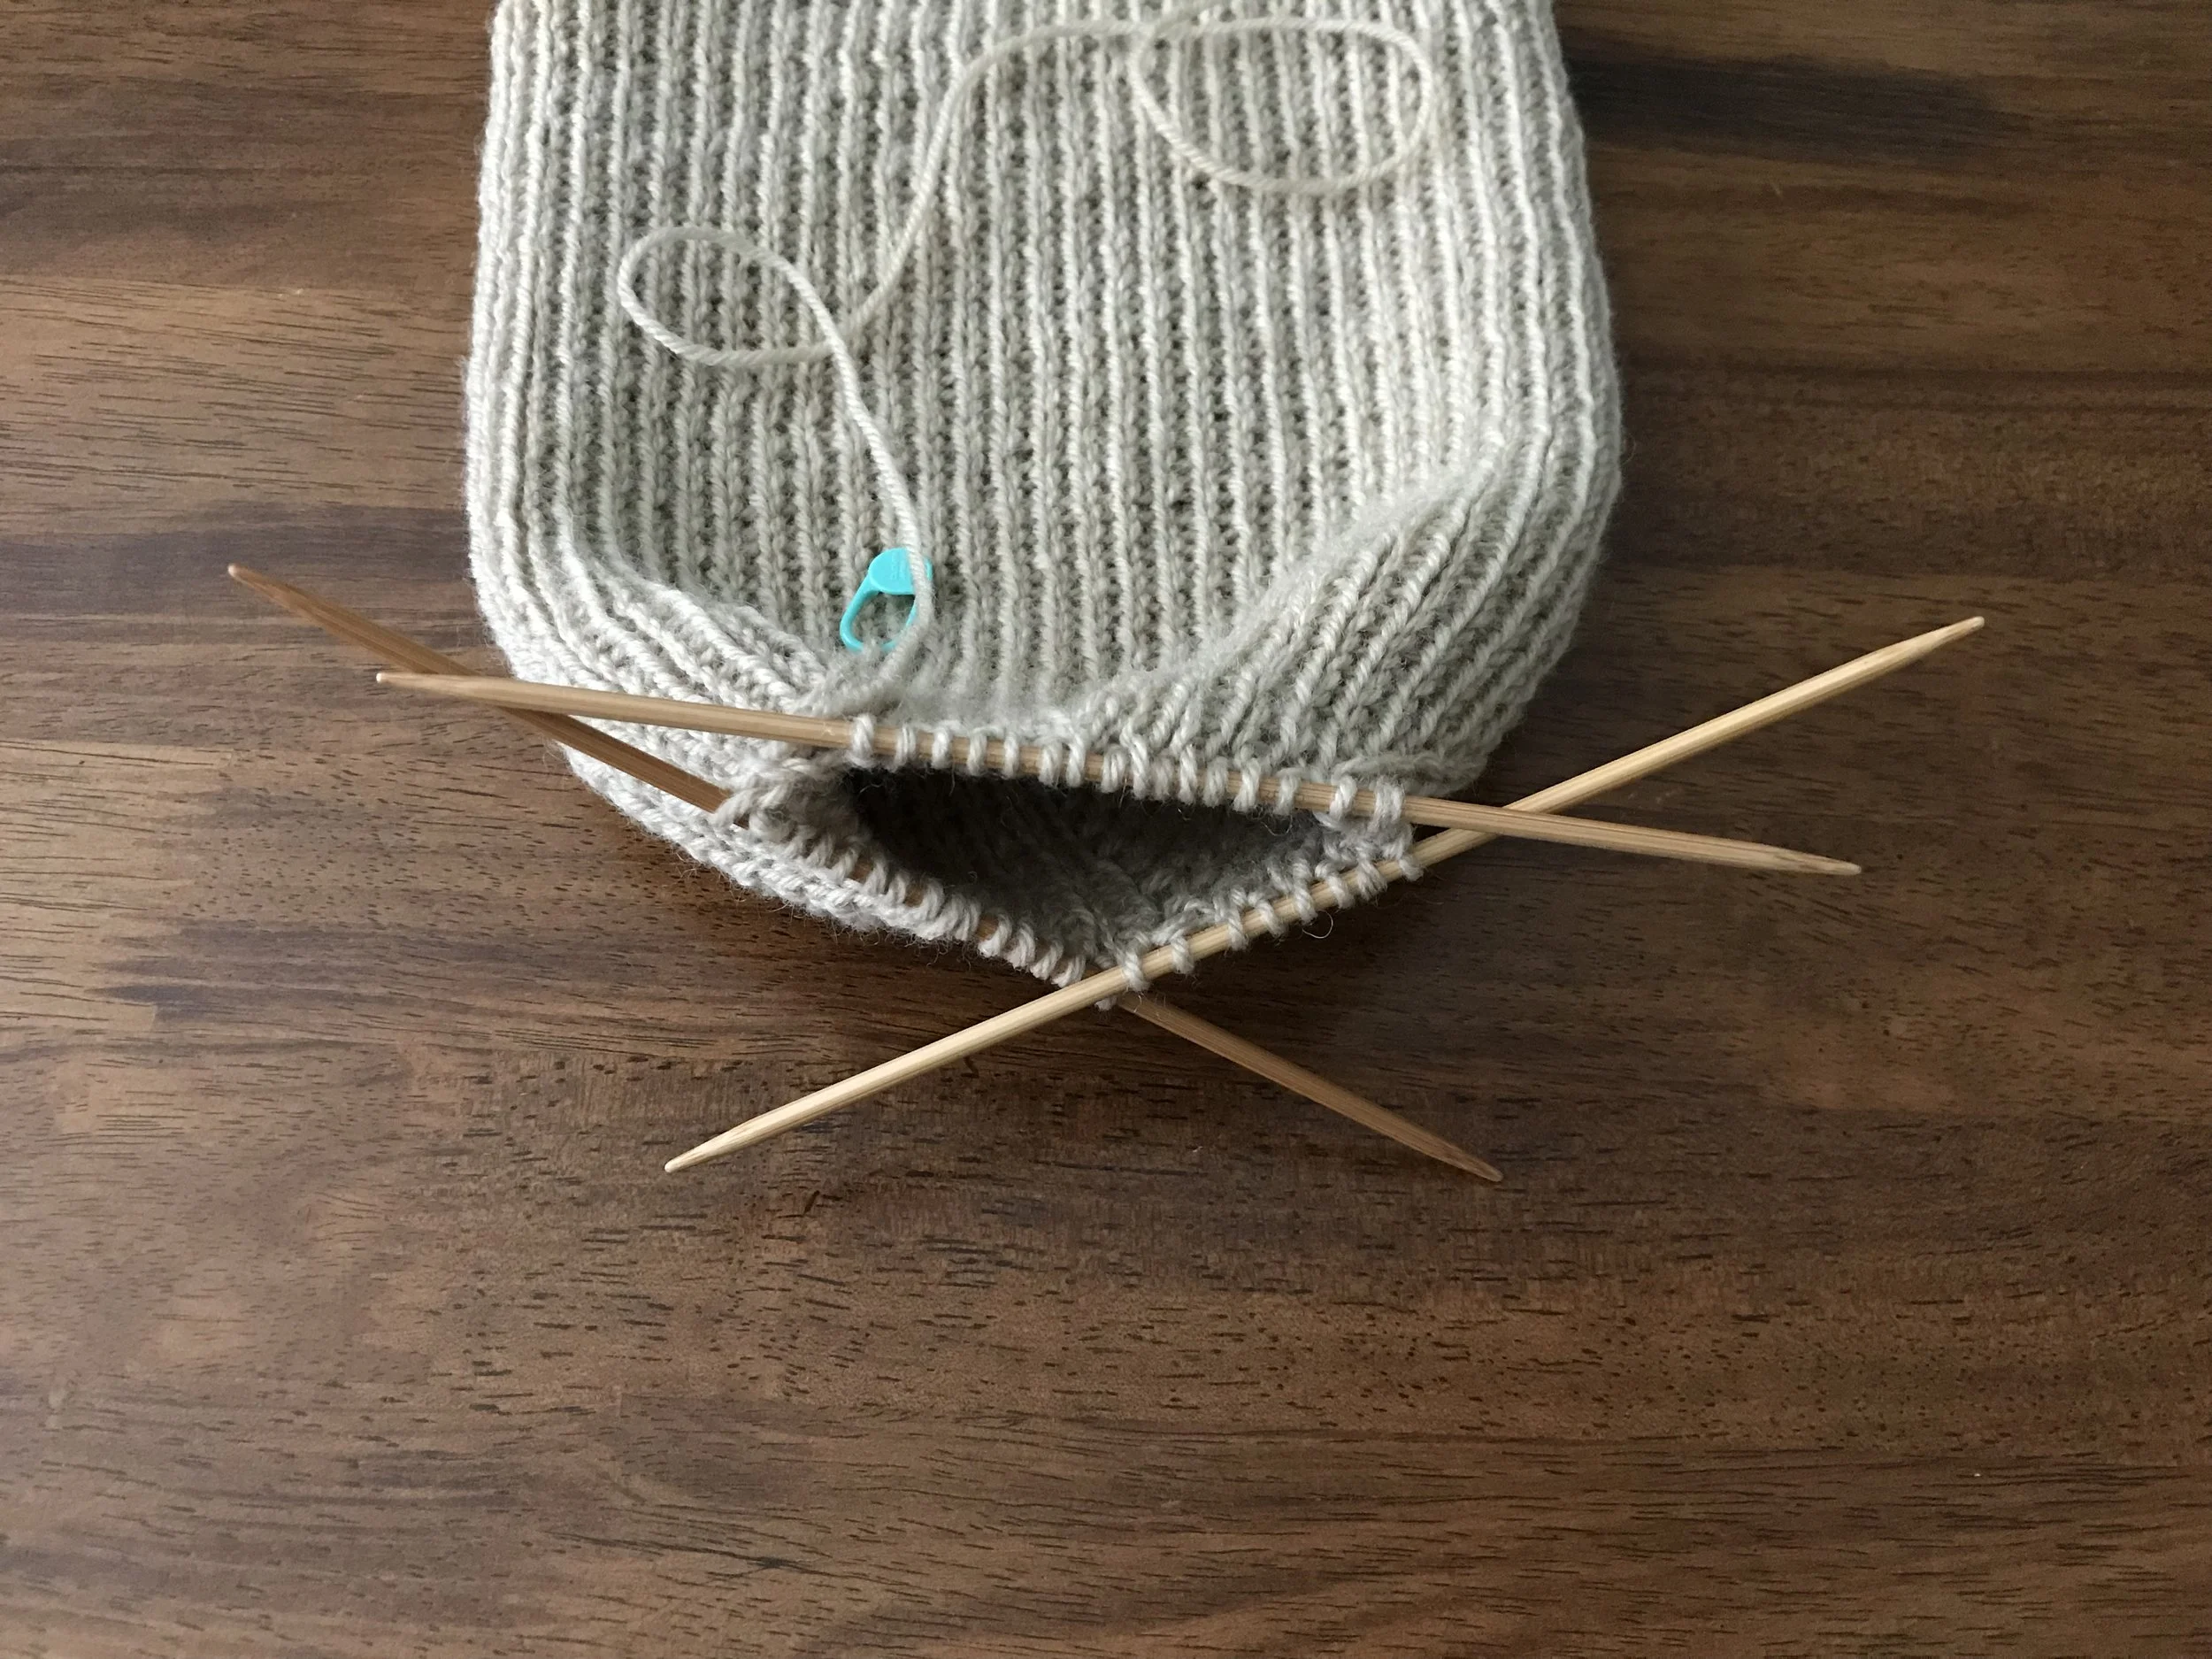
on three dpns
At some point you will feel that you have more needles than stitches. This is a good time to remove one of the dpns; now you’ll have two needles that are holding two decrease sections.
-

15 stitches left
When you have whittled your count down to 15 stitches, you’re done knitting. It’s time to readjust your stitches so that the first stitch is at the beginning of a needle
-
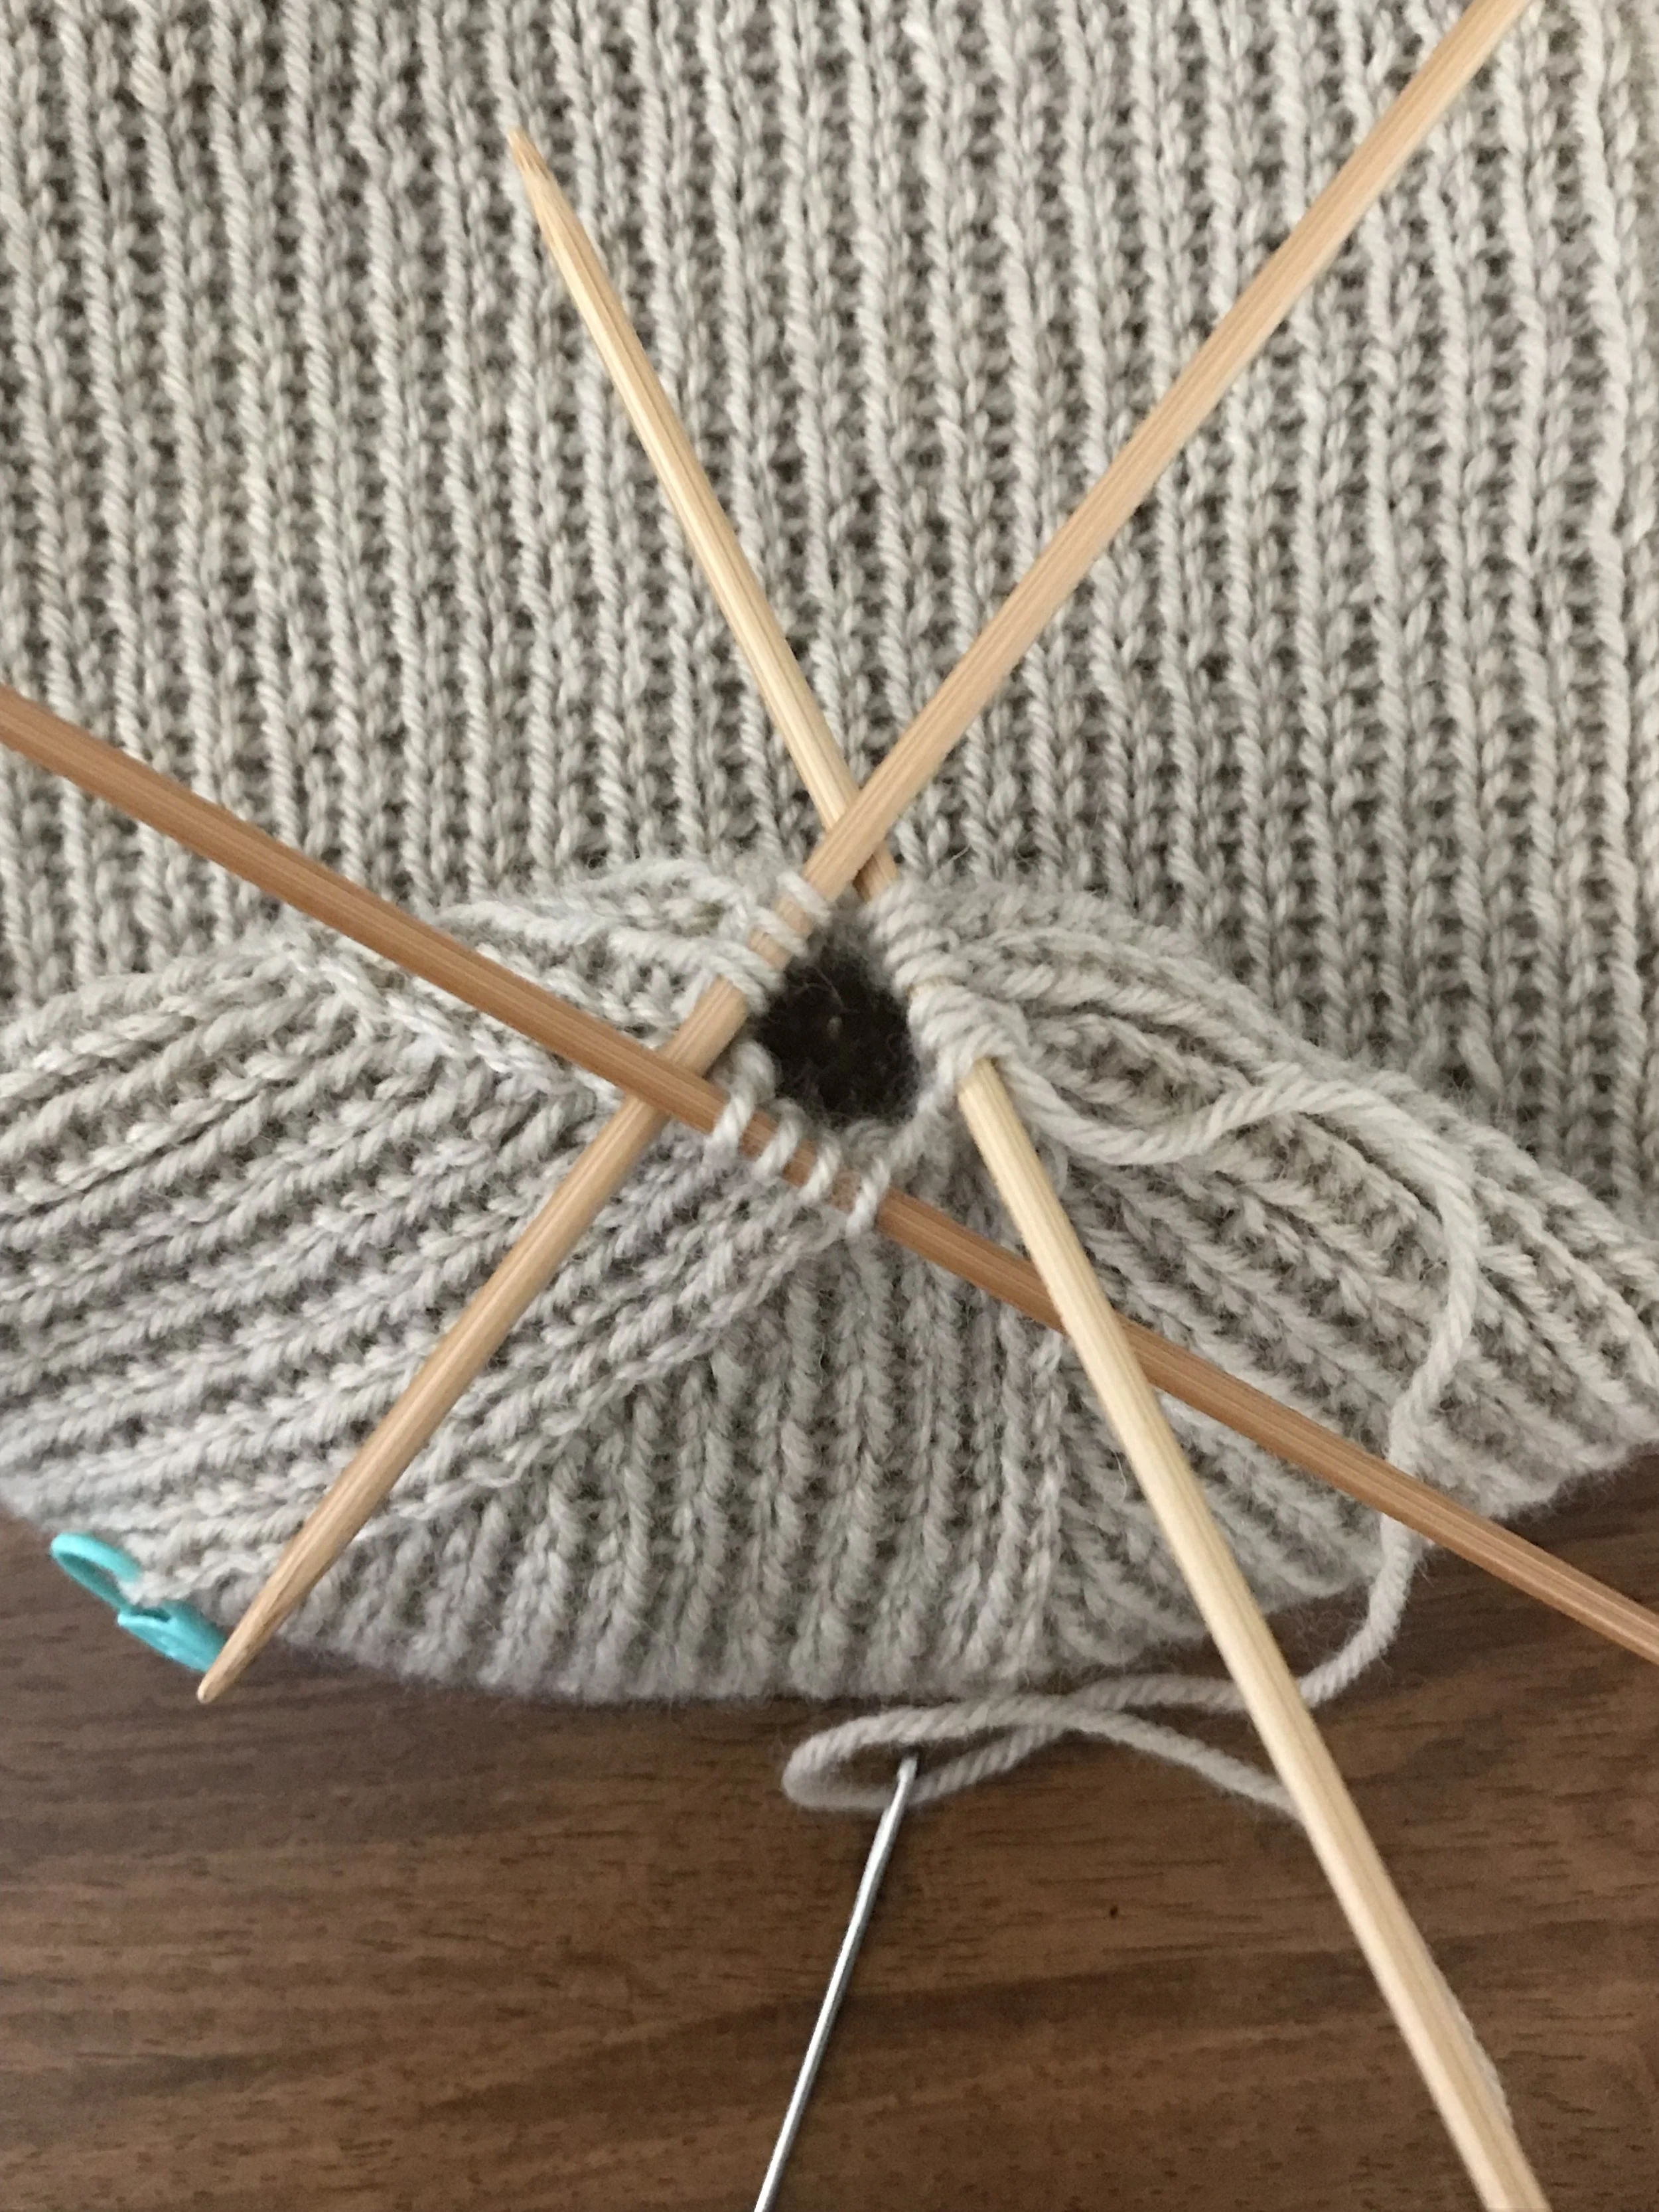
Finishing off the top
Cut the yarn, leaving a tail that is about 10”/4cm long. Thread it onto a needle and run it through all 15 stitches twice, leaving the stitches on the dpns until the second time through. This photo shows the yarn after the first time through the stitches.
-
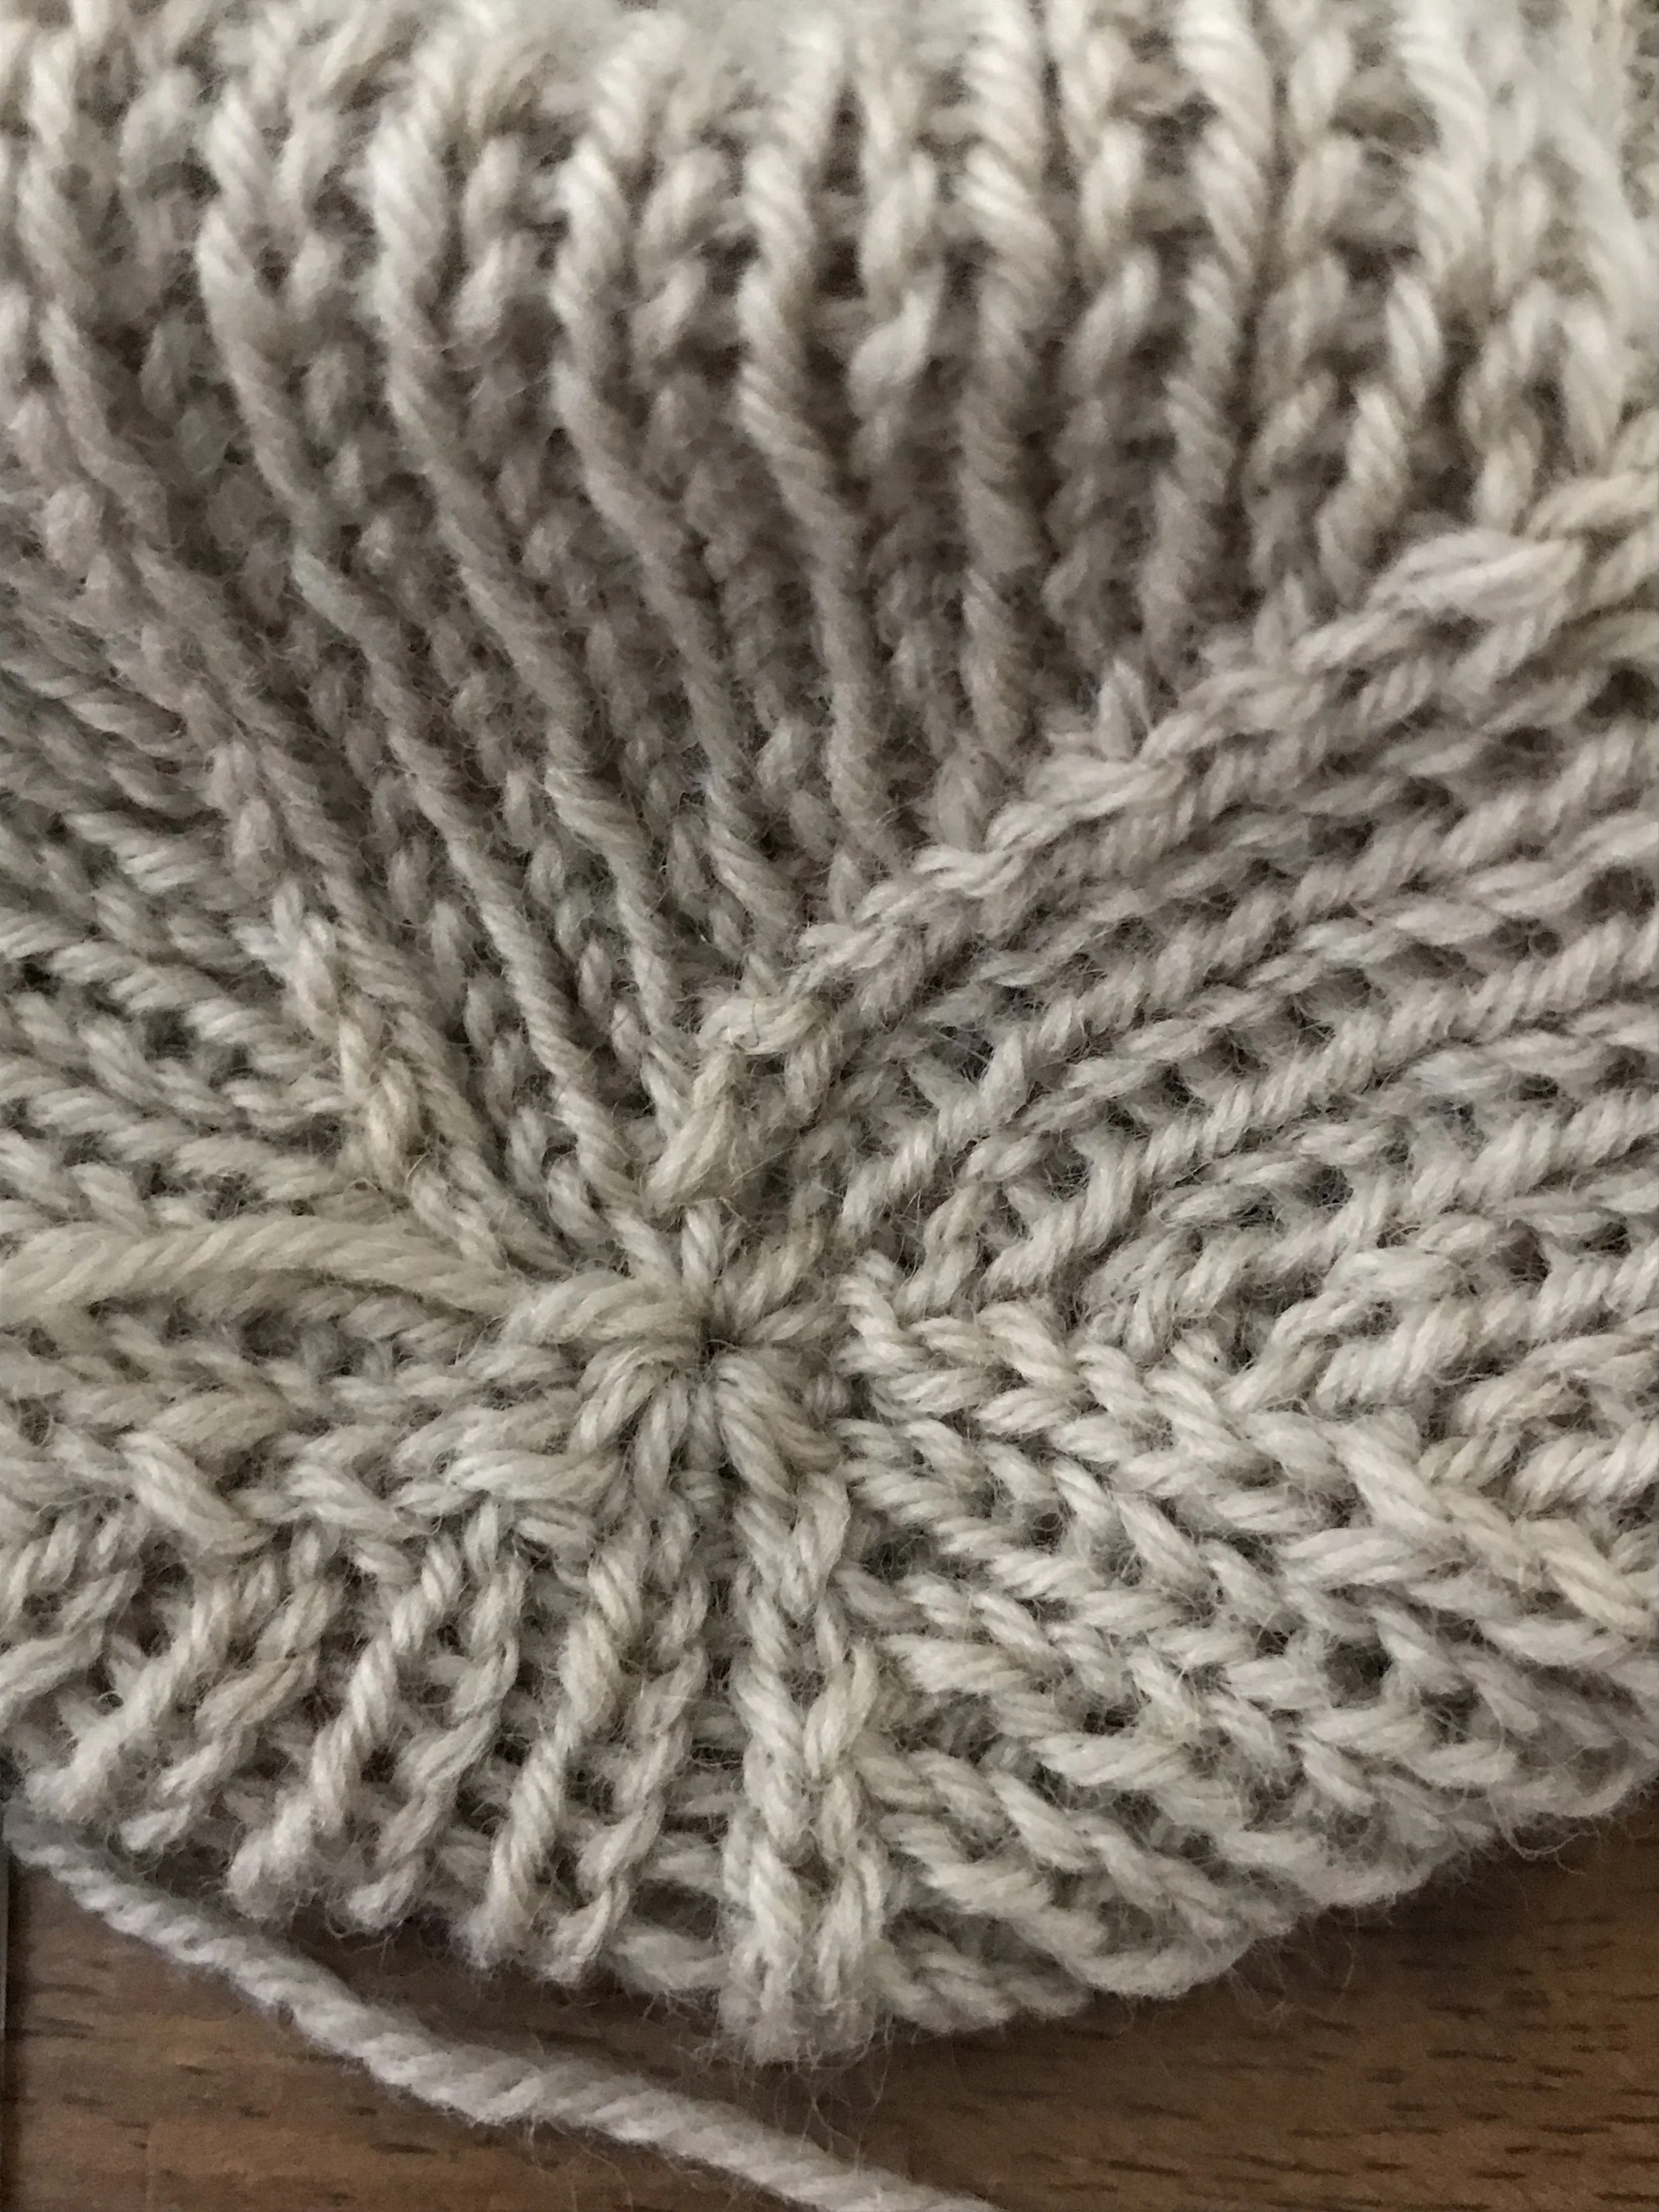
pull it tight
After the dpns have been removed, pull the yarn tightly to close up the hole. Finish off on the inside.
-
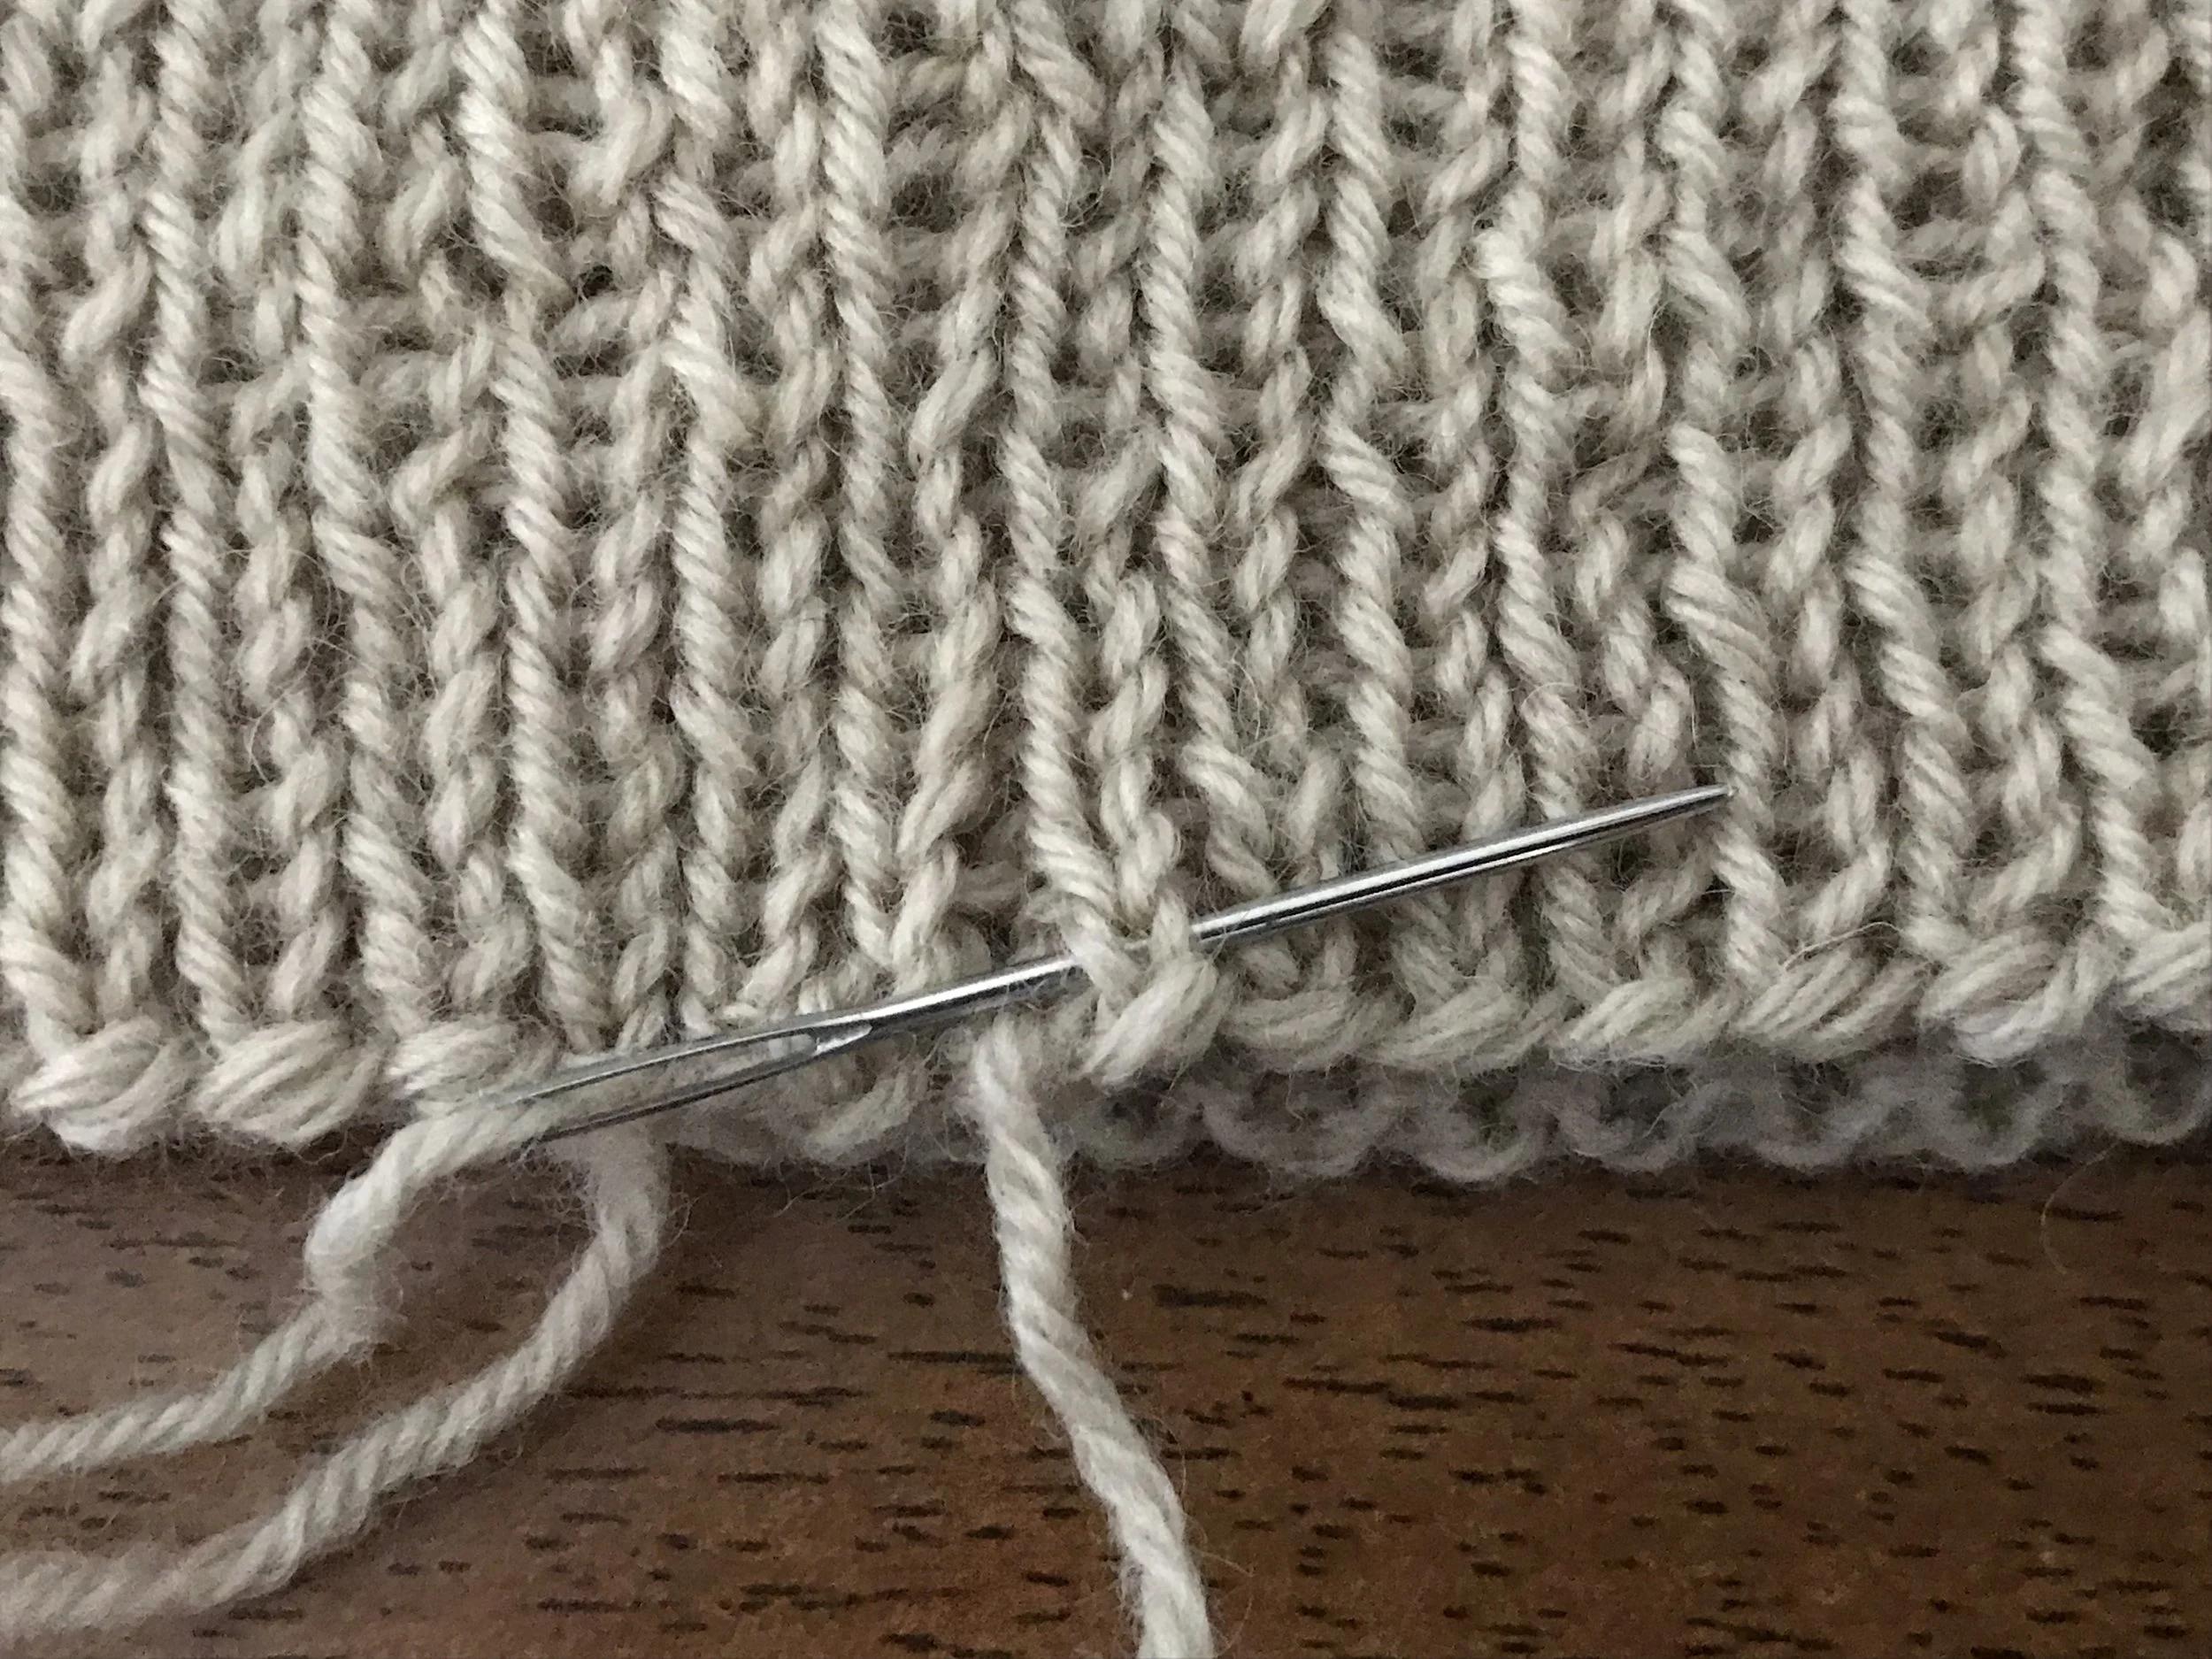
Finishing the brim
Weave in your original cast-on tail on the outside of the hat; this way when you fold up the brim the woven-in end will be on the inside.
-
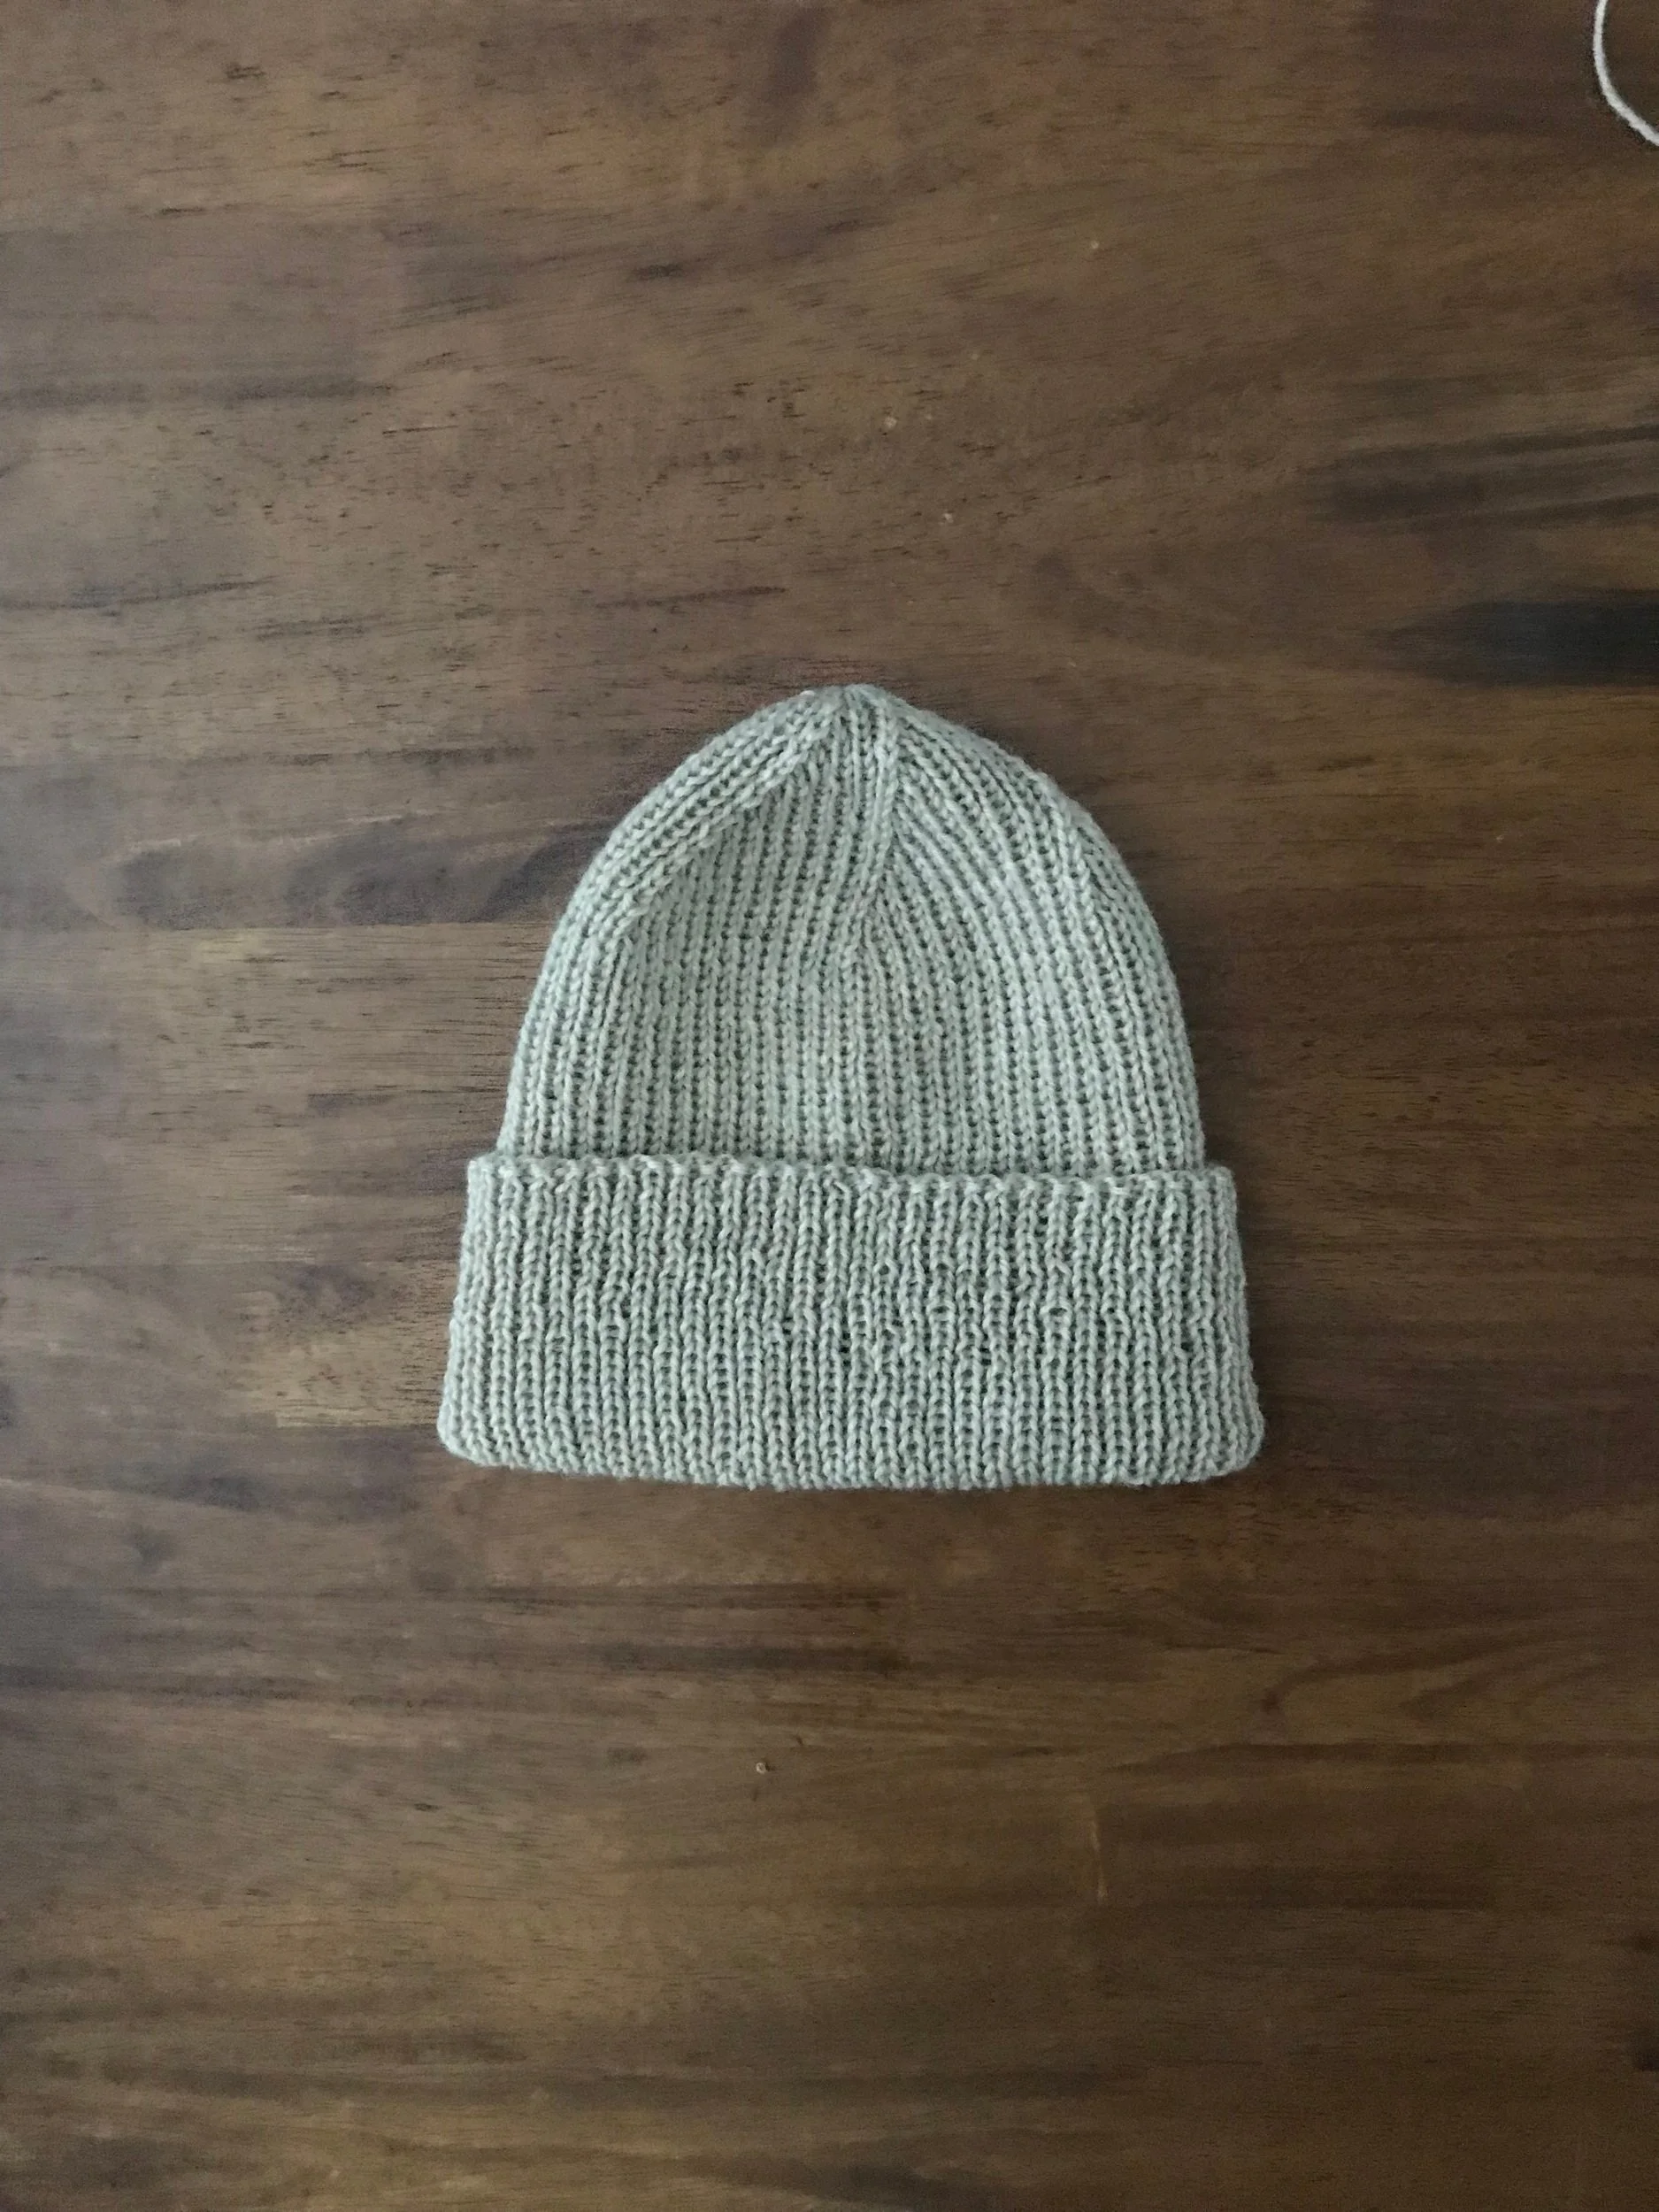
ready for a wash
I finally realized why the first two or so inches of this hat look so wonky! I started a project last year but never got past the first few rows, and then unraveled and reknitted the yarn without washing it. So now you can see how important it is to use balanced yarn when you knit! The knitting should even out pretty well when I wash the hat.