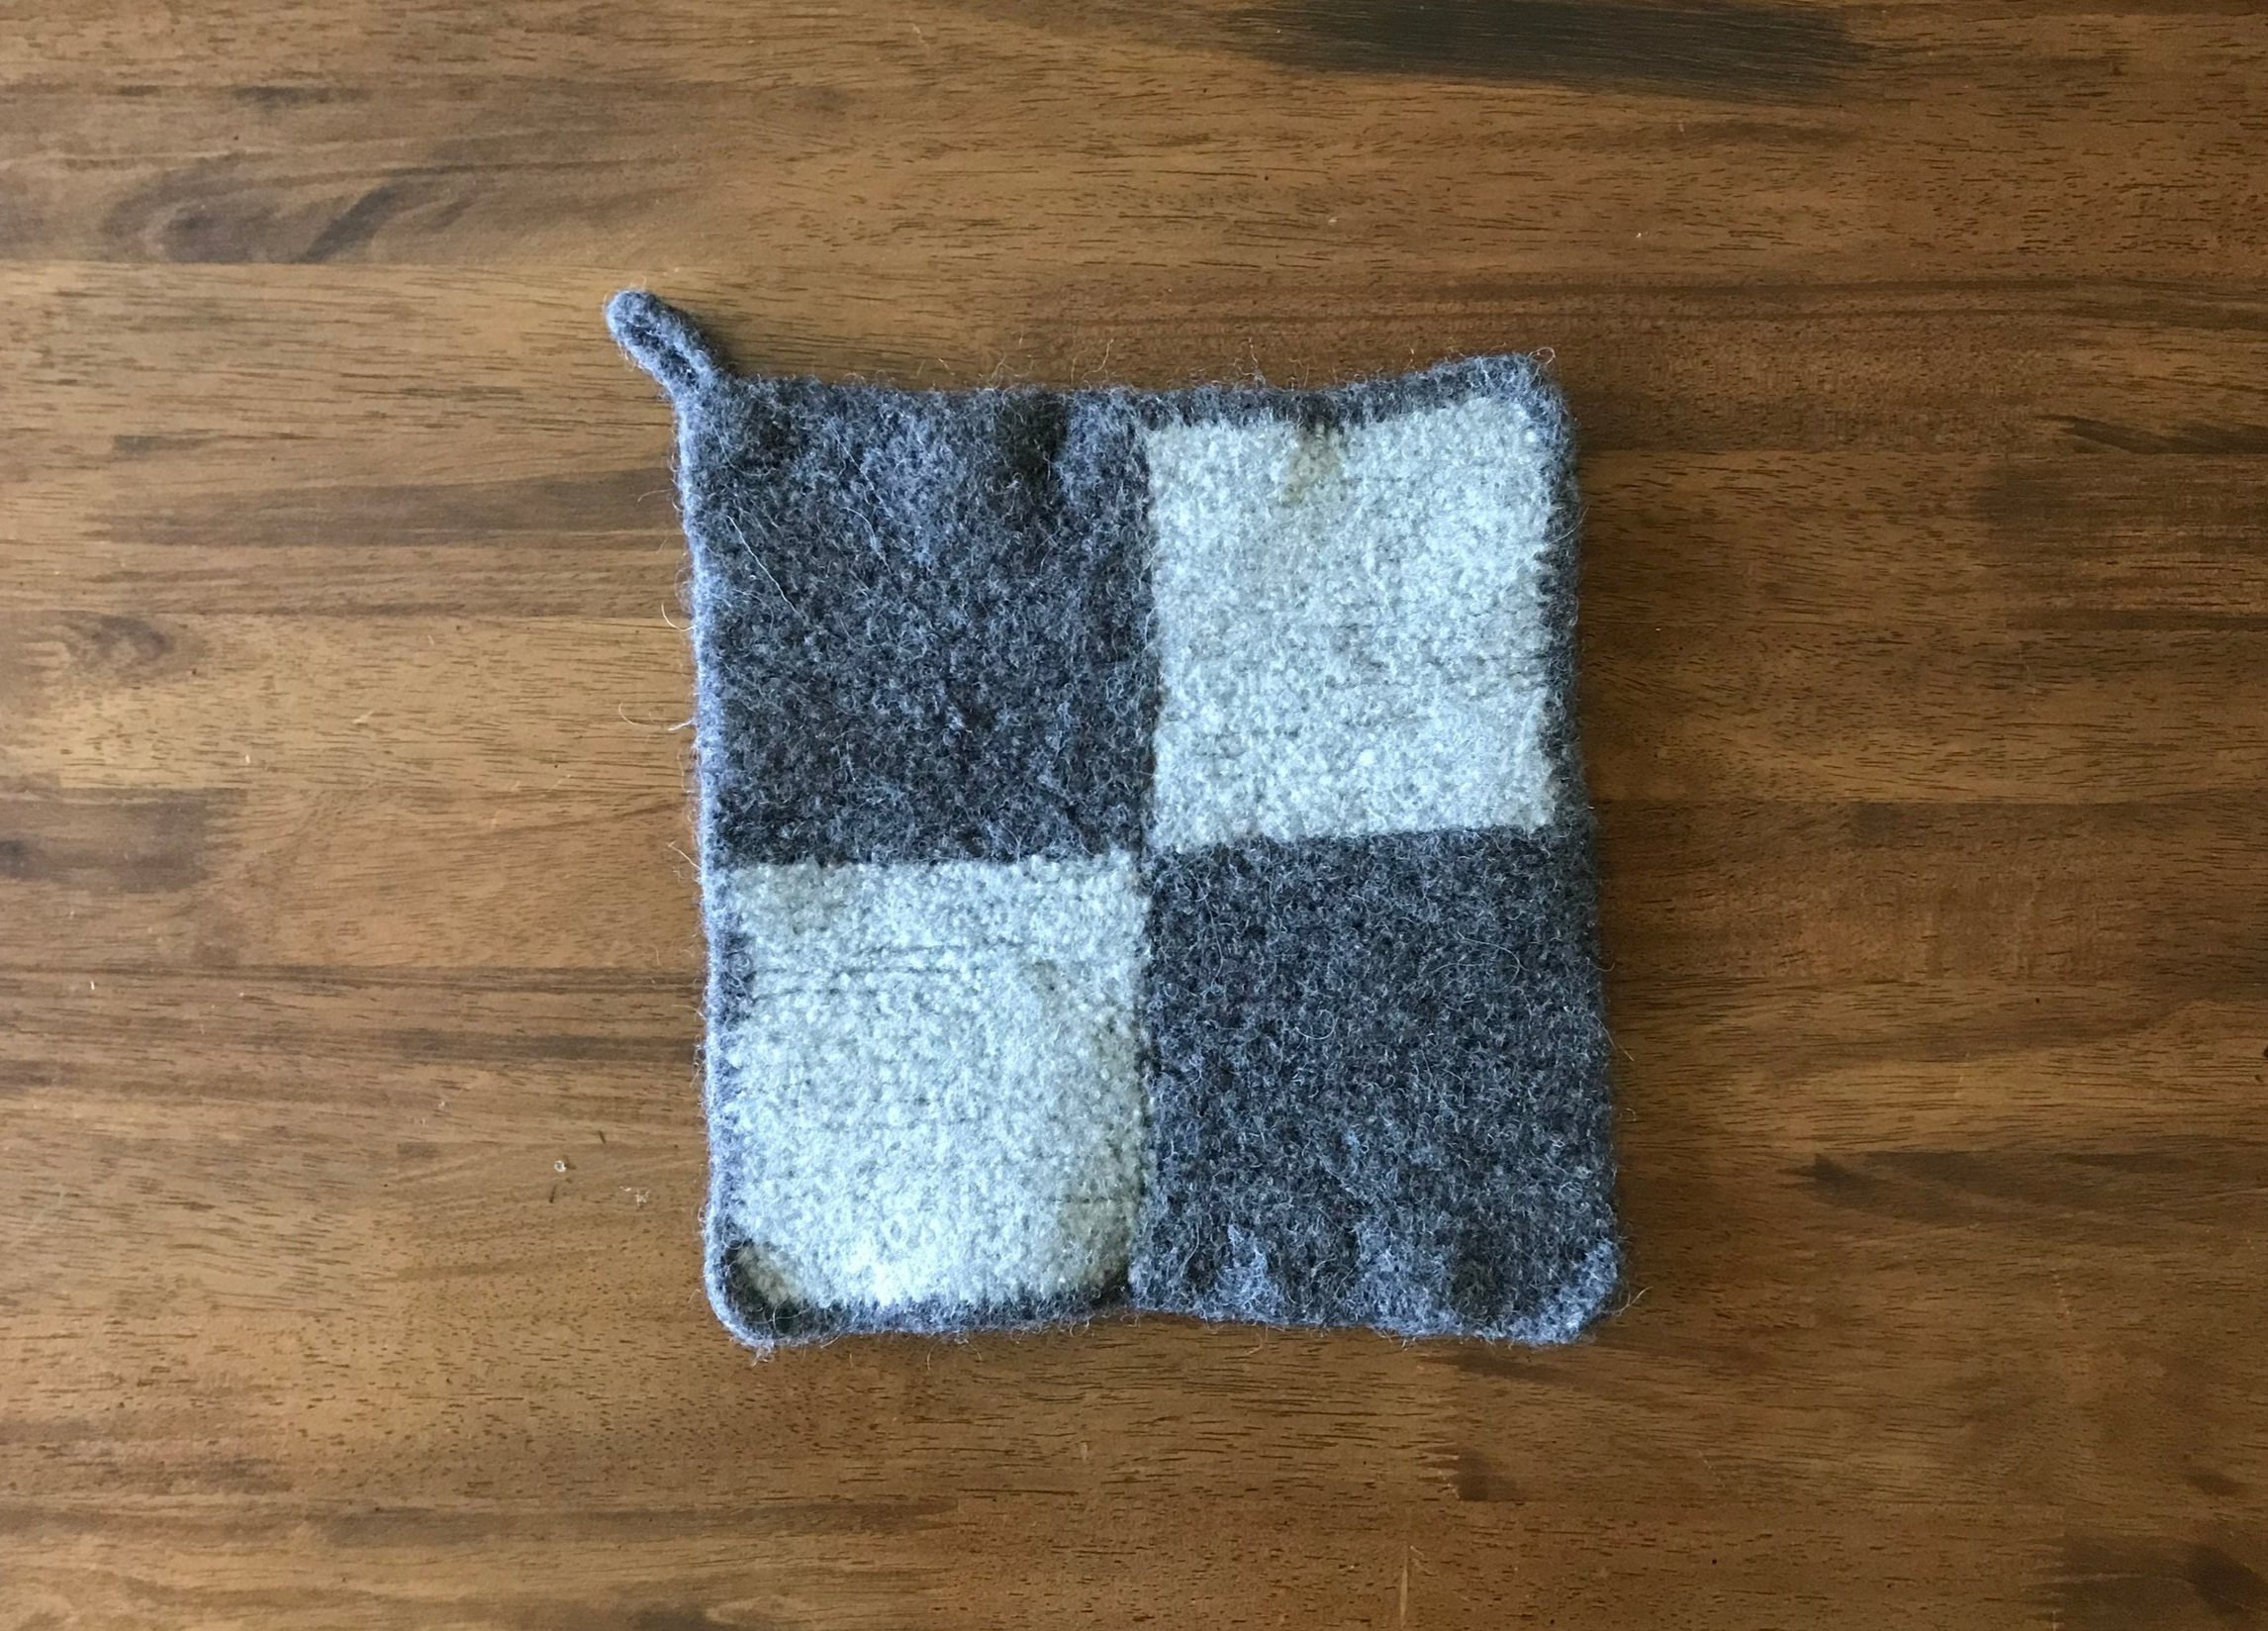
potholders, felted
-

materials
These potholders are knitted on big needles (I used a circular US 10.5/6.5cm needle) with a doubled strand of worsted-weight wool. They are knitted in garter stitch, edged with a round of single crochet, and then felted. They’re a great way to practice knitting and will eat up a lot of your leftover yarn. Pattern is below.
-

before felting
The potholder is about 14”/36cm square before felting. I wait until I have a hot load of laundry (usually towels) ready to go, and then I add my feltables to it. I also dry them with the towels. Sometimes it takes a couple (or a few) cycles before they are usable as potholders; they will continue to shrink and thicken the more you wash and dry them.
-

Felted
Aren’t they cute? They went through four wash cycles and one dryer cycle.
-

Ironed
And now they are ready to go to work!
-

a variation
Make four stripes instead of 5. See how the bottom stripe looks wider than the others? I made the crocheted edging with the same color and it makes the bottom stripe look much thicker. If this bugs you (it bugs me), you could make the pertinent garter-stitch stripe shorter by two rows.
-

another variation
How about a rather dizzying-to-knit alteration of colors on every other row?
-

yet another variation
Harlequin! Cast on 20 stitches in one color; drop the yarn and join another color, casting on another 20 stitches. Knit in garter stitch as usual, twisting your yarns around each other after each 20-stitch section so that you don’t produce a slit in your knitting. After 20 sets of rows, break your yarns and reverse the colors. This also has the too-big brown sectons. Here, maybe the best solution is to make the edging with a different color altogether.
-

and still another
This one is knitted on the diagonal: start with 1 stitch and then, every other row, increase 2 stitches, 1 on each end. This potholder has 8 pairs of rows in each color.
-

how about handspun?
And how about some color? I was cleaning closets and found my kids’ old needle-felting wool. So I spun it. These are made with three-ply yarn; two of the plies are spun from the needle-felting yarn and the third is some Shetland combed top that I have been experimenting with.
The Pattern (5-stripe potholder)
Yarn: Per potholder: Two colors of worsted-weight wool (not superwash, as it won’t felt), about 125yd/110m of each color, 250yd/220m total.
Needles: One circular needle (16”/41cm or longer) or two long straight needles, US 10.5/6.5mm.
Crochet Hook: size 10/J
Gauge: negotiable
Size before felting: about 14”/36cm square (or thereabouts)
Size after felting: about 9.25”/24cm square (or thereabouts)
Abbreviations:
k: knit
p: purl
sl1 knitwise: slip one stitch knitwise
k2tog: knit 2 stitches together
sc: single crochet
Notes: This potholder is worked in garter stitch, which means that you knit every row. Two rows (one on the right side and one on the wrong side) make one reversible pair. You’ll knit 80 rows and thus 40 pairs in this pattern. It is easy to count the pairs: you just count the number of bumpy purl rows - there is one bumpy row per pair.
Prep:
Before you start knitting, you’ll need to provide yourself with two balls of each color. If you want to be precise, weigh one of the balls and then roll part of it into a second ball. When it looks like you have two balls that are about the same size, weigh one of them. If it’s half of the original weight, you’re set. If not, keep rolling until you get two balls that are the same weight (half of the original ball’s weight).
To make:
With Color 1, doubled, cast on 40 stitches.
Row 1: sl1 knitwise; k to last stitch; p last stitch.
Rows 2-16 (8 pairs): Repeat Row 1. Break yarn, leaving about a 5”/13cm tail.
Rows 17-32 (8 pairs): Using Color 2, repeat Rows 1-16. Break yarn, leaving tail.
Rows 33-48 (8 pairs): Using Color 1, repeat Rows 1-16. Break yarn, leaving tail.
Rows 49-64 (8 pairs): Using Color 2, repeat Rows 1-16. Break yarn, leaving tail.
Rows 65-80 (8 pairs): Using Color 1, repeat Rows 1-16.
Cast off in k until there are 2 stitches left; k2tog and then pass the last stitch over; pull a 5”/13cm loop, and cut.
Weave in all those tails.
Edging:
Decide which corner will hold the loop; mark it. Starting at the first stitch on the side to the left of your marker, join Color 2, doubled; chain 1 and then work 1 sc in the same spot. Work in sc around the entire potholder, working 2 sc into the last stitch of every side and two stitches into the first stitch of every side (this makes a nice corner). When you get back around to the last stitch before the marked corner, work 2 sc, chain 20, and then make a slip stitch into your original ch 1. Fasten off. Weave in ends.
Felting:
Machine wash the potholder in hot water a few times, preferably with towels, until the stitches become blurry and the potholder shrinks to about 9”/xcm. You can run it through the dryer to accelerate the felting.