Sewing a linen bread bag
-

bread needing a good home
I learned from my Italian grandma how to bake bread when I was a green teen; many loaves and lives later, I have moved from white bread to whole wheat to sourdough. My current love is a poolish-based bread from Ken Forkish's book, Flour Water Salt Yeast.
-
I won't burden you with a picture
The problem is that even our breadbox doesn't keep the bread from molding after a very short time, especially in summer's heat and humidity. The waxed cloth wraps work okay during the winter, but they trap too much moisture during the summer. I have read that linen can provide healthy storage for bread - it's good for our skin, so why not for our bread?
-

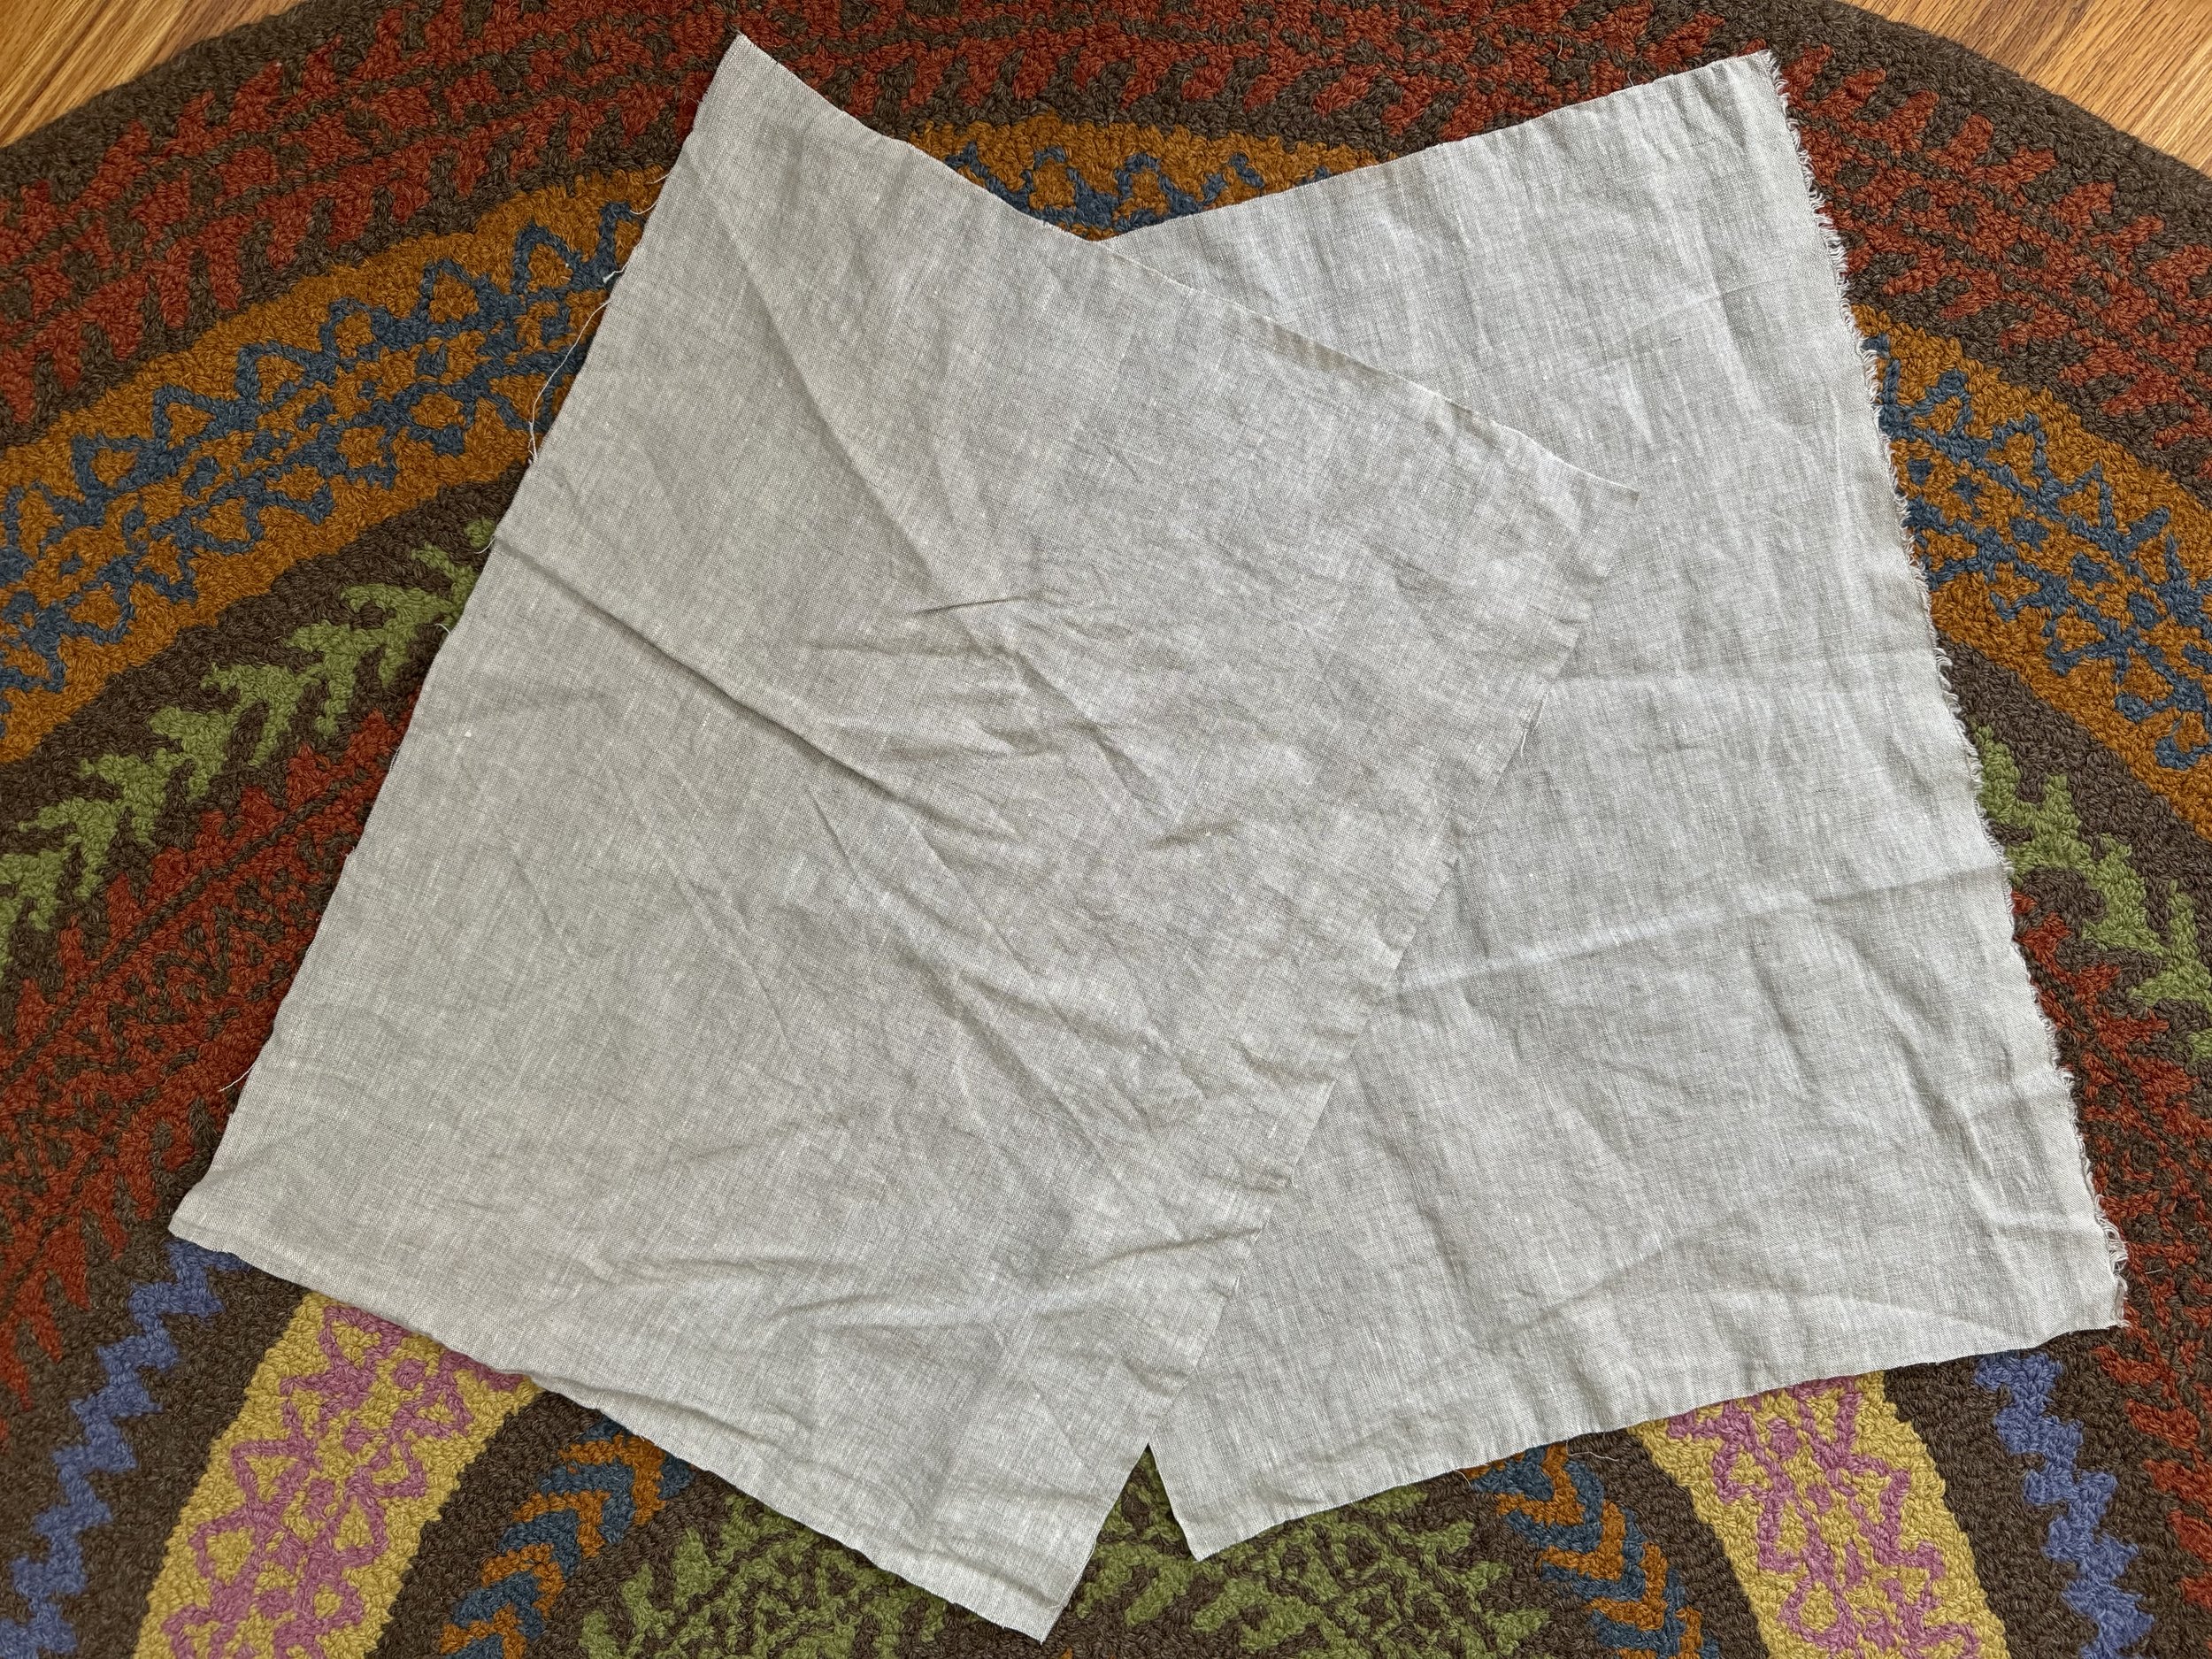
Here's some linen
This is unbleached linen from my linen hoard, and it's going to be my accomplice in this little experiment. I'll draw some threads (yay!) and produce two rectangles that are 14"x 19". That should make a bag big enough to fit a loaf of bread.
-

wrinkled but ready
I found a video from the charmingly named Man Sewing that shows a great method for making a drawstring bag (https://mansewing.com/2017/05/double-pull-drawstring-bag/). There's lots of edge finishing before you begin the construction process, but the bag looks super tidy.
-

first fold
The first job is to finish off the long edges of both pieces. You fold the edge under by about 1/4" (linen is nice because you don't need an iron - just finger press it) . . .
-

second fold
. . . and then fold it again so that the raw edge is completely hidden. Pin it!
-

ready for sewing
Here's one of the pieces, pinned on both long sides and all ready to be sewed.
-

I can't watch movies and sew
I'm handstitching this, but of course you can use a machine if you prefer. I can successfully knit while staring at a movie but apparently sewing straight is a bit more challenging. I'm not going to go back and straighten this out, as this meandering seam will be hidden when I sew the two sides together.
-

Now we sew the bottom
For this, we'll use a French seam. This will require some bravery, as you start this two-seam procedure by putting the wrong sides of the fabric together and sewing a fine seam. Yes. It looks wrong but it is right.
-

trim to 1/8"
You want to get rid of, safely, as much seam allowance as you can. After trimming, I finger-pressed it open as well as I could with such a tiny seam allowance.
-

now turn it
Next, you turn the thing, with a sigh of relief, so that the right sides are together. Oh gosh, look at that pucker at the top. No, don't look at it.
-

and sew again
Pin and sew with about a 1/4" seam allowance, making sure that the tiny, raw-edged, seam allowance is hidden inside of your new, sturdy seam allowance.
-

Here it is on the outside
It looks like a normal, everyday seam, but this seam has a superpower . . .
-

here it is on the inside
It comes pre-finished on the inside!
-

almost done
Next sew the side seams, using your double-folded edges as a guide.
-

and there we are
The great thing about this bag is that there are zero unfinished edges. No fraying worries.
-

the last thing
Now for the tape; I cut two pieces of 1/2" linen tape, about 29" long each.
-

feed one tape through from one side
I attached a little safety pin to one end of one tape and threaded it through both sides of the bag. Now both ends of the tap are exiting the bag at the same side.
-

thread the other tape from the other side
Then I put the safety pin on the other tape and threaded it through both sides of the bag, starting at the other end. The 1" opening was plenty big enough for both tapes. I didn't finish off the tapes; I just tied them in a knot.
-

ta da!
And here she is, all ready to get to work.
-

Now comes the test
It's September but we still have temperatures in the mid-80s, so we'll see how the bag does.