a hat for Jon
-

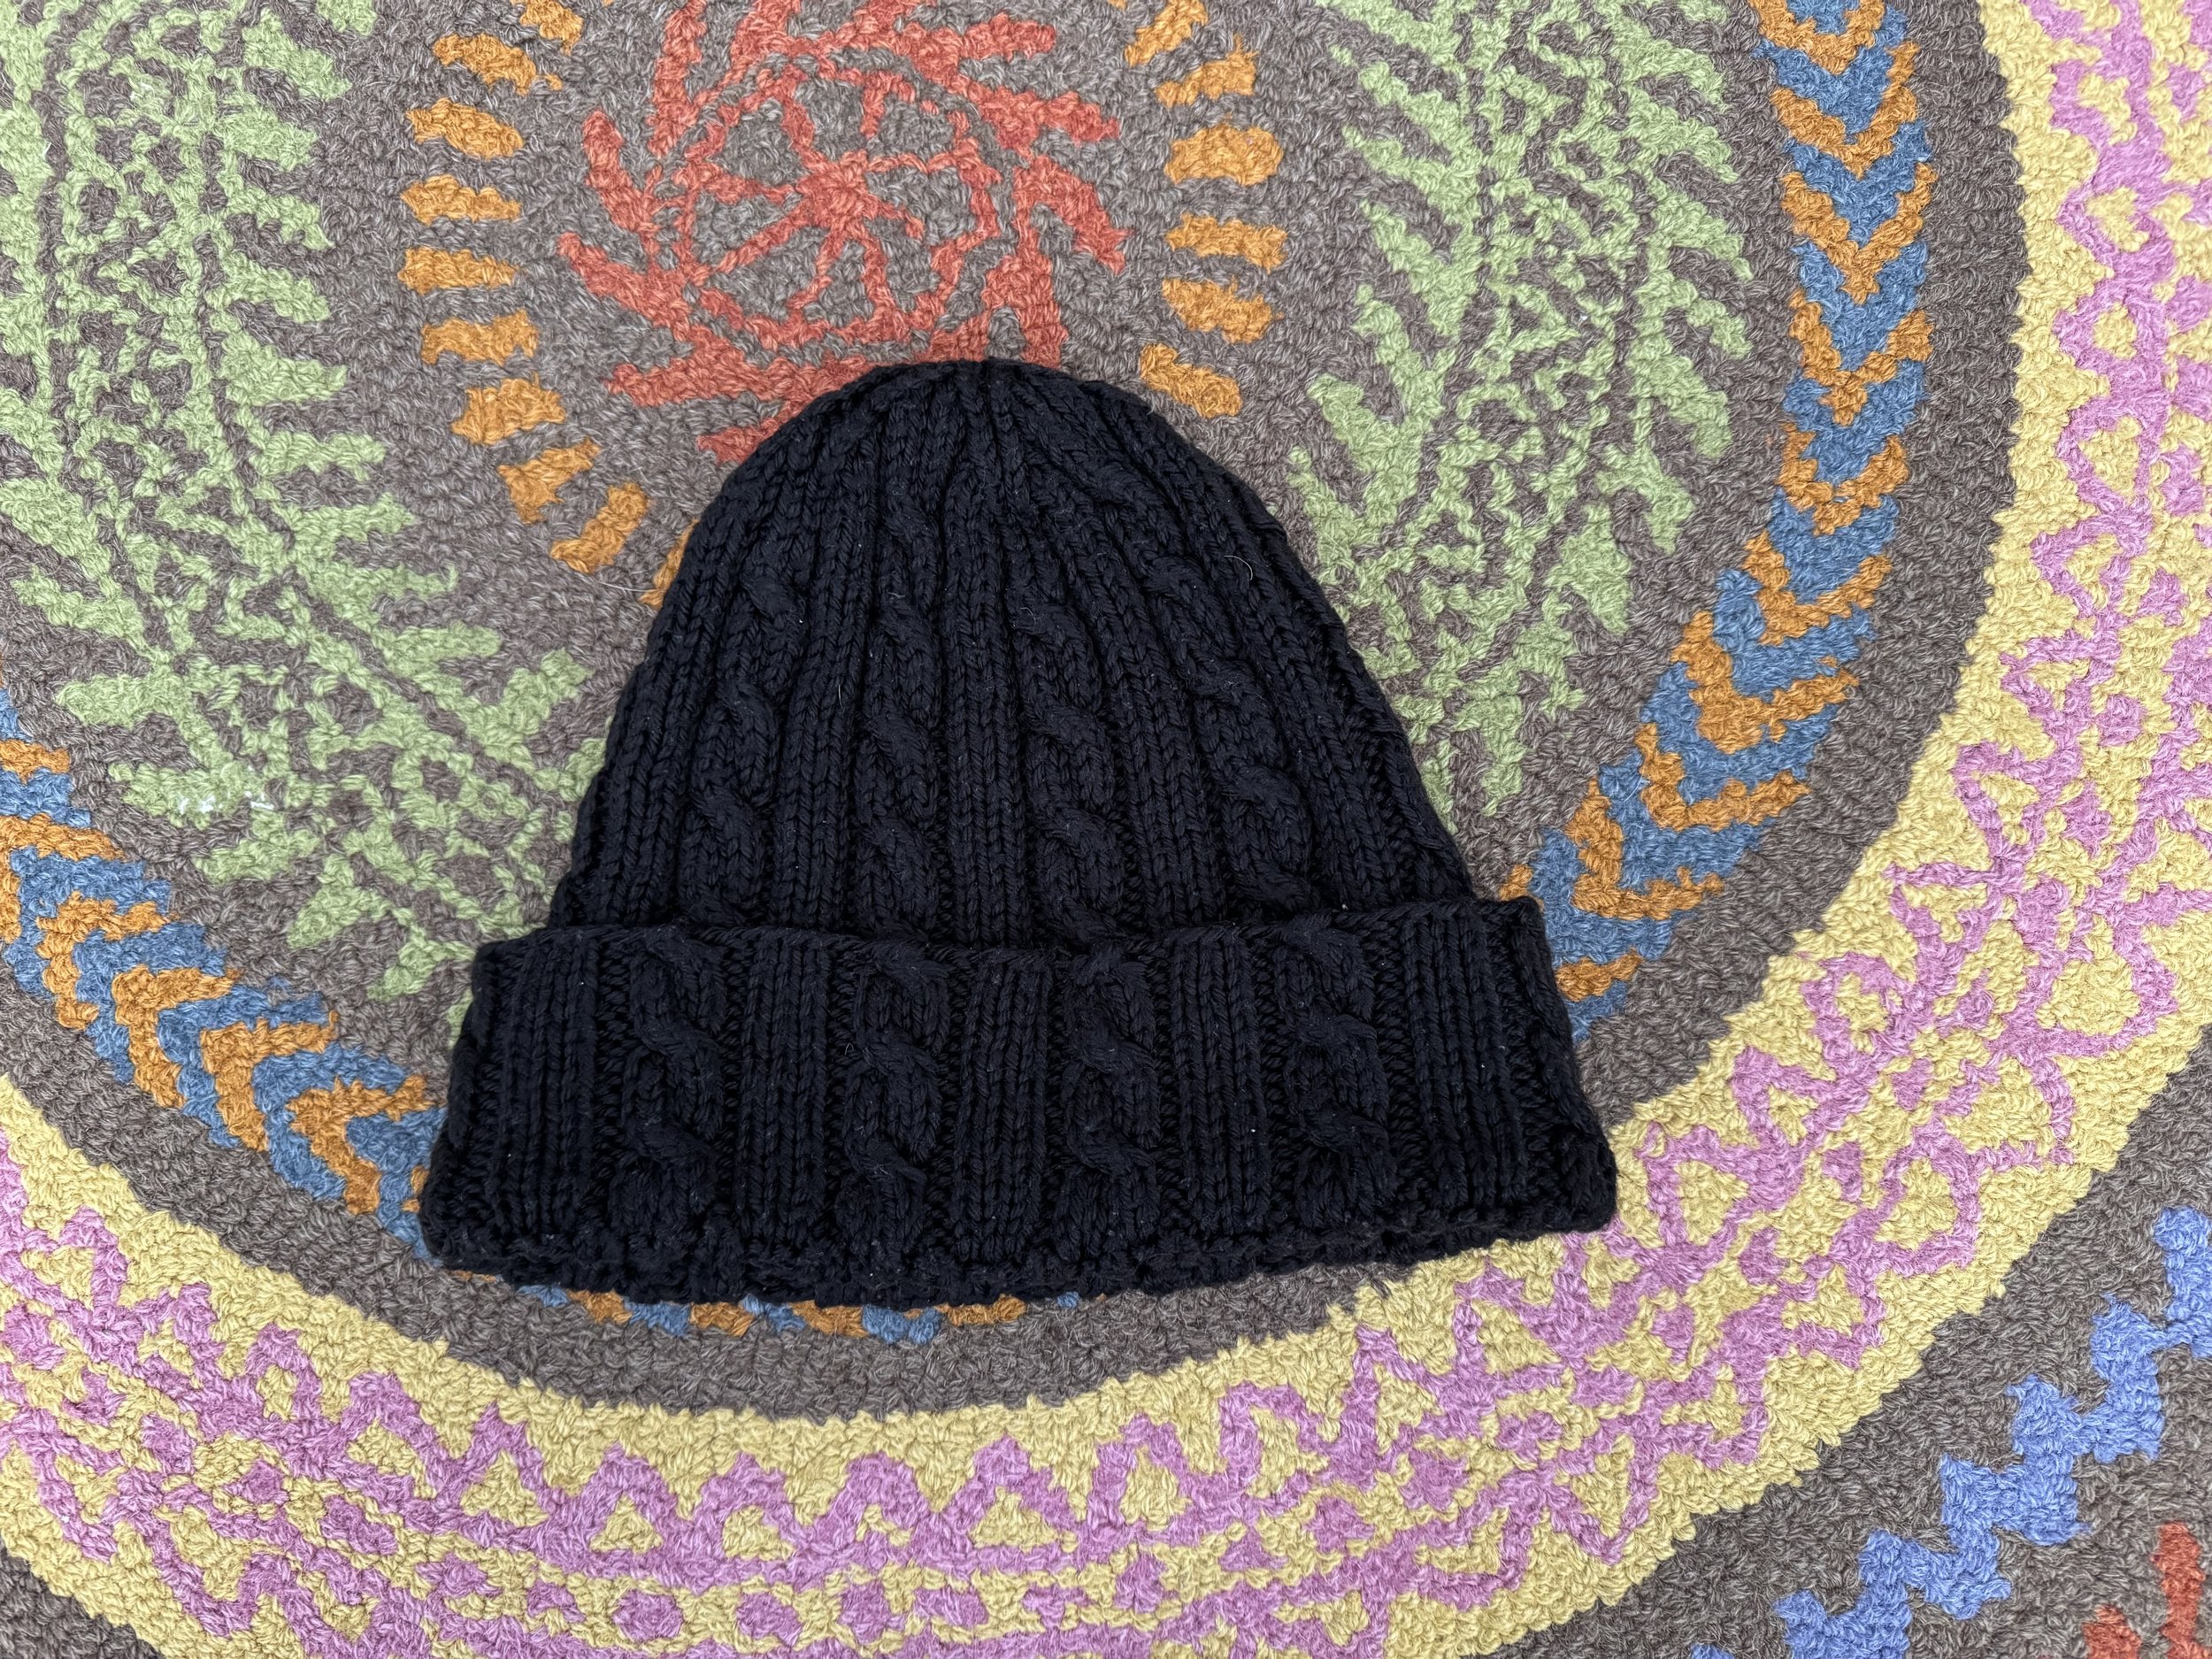
an old hat
I made this hat a long, long time ago out of acrylic yarn. It has been durable, for sure, as Jon has worn it every winter for close to 20 years. He says that it fits him better than any of his other hats (not so much skill on my part as luck), and I want to make him a new one out of wool. Do I remember how I made it? No, I do not. Reverse engineering, here we come!
-

uncuffed
The first thing to note is that the pattern on the cuff is reversed from the pattern on the main hat, so that the cables will show up and be oriented correctly (i.e., not upside down and on the inside of the hat). So I must have knitted the cuff part and then broken the yarn and turned the thing inside out to knit the main body of the hat, because there is no way that I merely reversed direction after finishing the cuff and then worked the main body of the hat backwards.
-

the pattern
There are 120 stitches in the hat, 10 repeats of a 12-stitch pattern that consists of: k3, p2, cable 5, p2. The yarn is a worsted weight acrylic, probably Vanna White or something of that ilk. I probably used 4mm needles (US No.4).
-

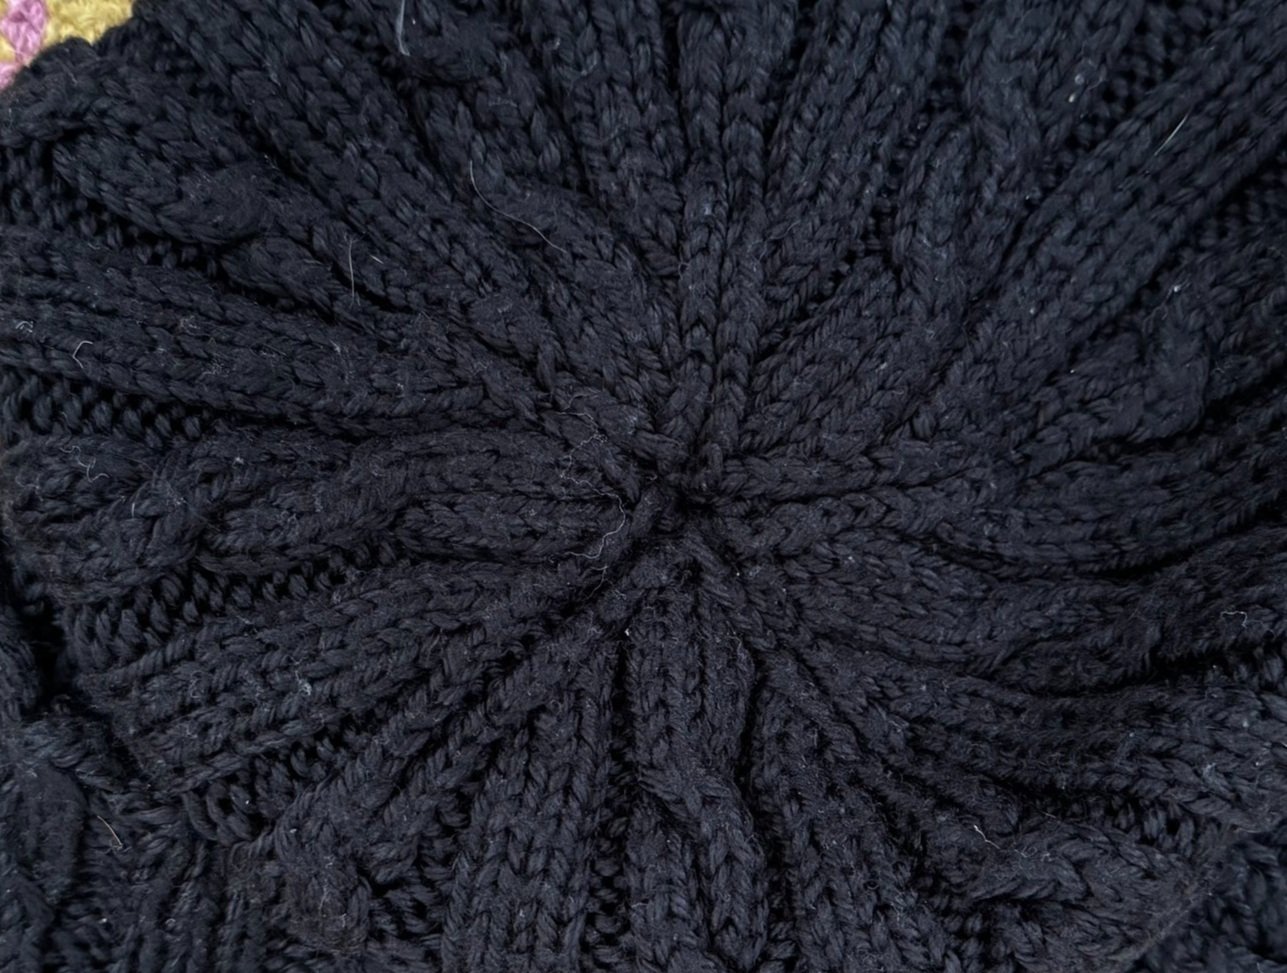
the crown decreases
I am fairly certain that I used a cable that I learned from an Elizabeth Zimmerman book, and this crown looks rather Elizabethan to me, too, with the 5-pointed star. Every second cable seems to vanish into decreased oblivion first, and then the k3 sections go next, and the remaining five cables survive until the very top.
-

For the cables
It looks like I started the cabled twist right away on the cuff and then worked 6 rounds even before the next twist. These are more hints at an Elizabethan origin for this hat - she liked early cables and she liked the number seven. And it looks like I worked 2.5 of the cables on the cuff before moving on to the hat part of the hat. I think that there are about 20 rounds on the cuff.
-

the hat part
For some reason it looks like I made the first cable twist a couple of rounds up on the hat part. That is fine. It is also hidden. I worked seven (or so) cables before starting the crown decreases.
-

10 decreases per decrease round
I used every second cable to start eating away at the stitches with the old k2tog, p1, s1k1psso trick. I also worked one round even after each decrease round, at least at first.
-

at some point I decreased on every round
If I am counting right, I started decreasing on every round after I had gotten rid of the k3 stitches; that is, after I had worked 10 more rounds, 5 of which were decrease rounds. That would mean I went from 120 stitches to stitches (120 - (10×5) = 70)
-
Let us put this to the test, shall we?
The only other thing I can think of that needs note right now is that the cable is a 5-stitch creature with a k2, p1, k2 setup. So very EZ. And I think I should put in a purl round at the turn of the cuff so that it looks a bit tidier. I will gather some materials and tools and see if I can remake this hat.
-

the stuff of the matter
I have here about 220 yards of worsted weight wool which I dyed originally with avocado skins but which turned a putrid pink because of my city’s limey water and which I overdyed with indigo from my own vat which also didn’t work. Sorry, but I decided to save the yarn by using Rit. It worked and then some, even with my unhappy water situation. I also have a 16” No.4 circular needle and five No. 4 double pointed needles, as well as some exceptionally cute stitch markers.
-

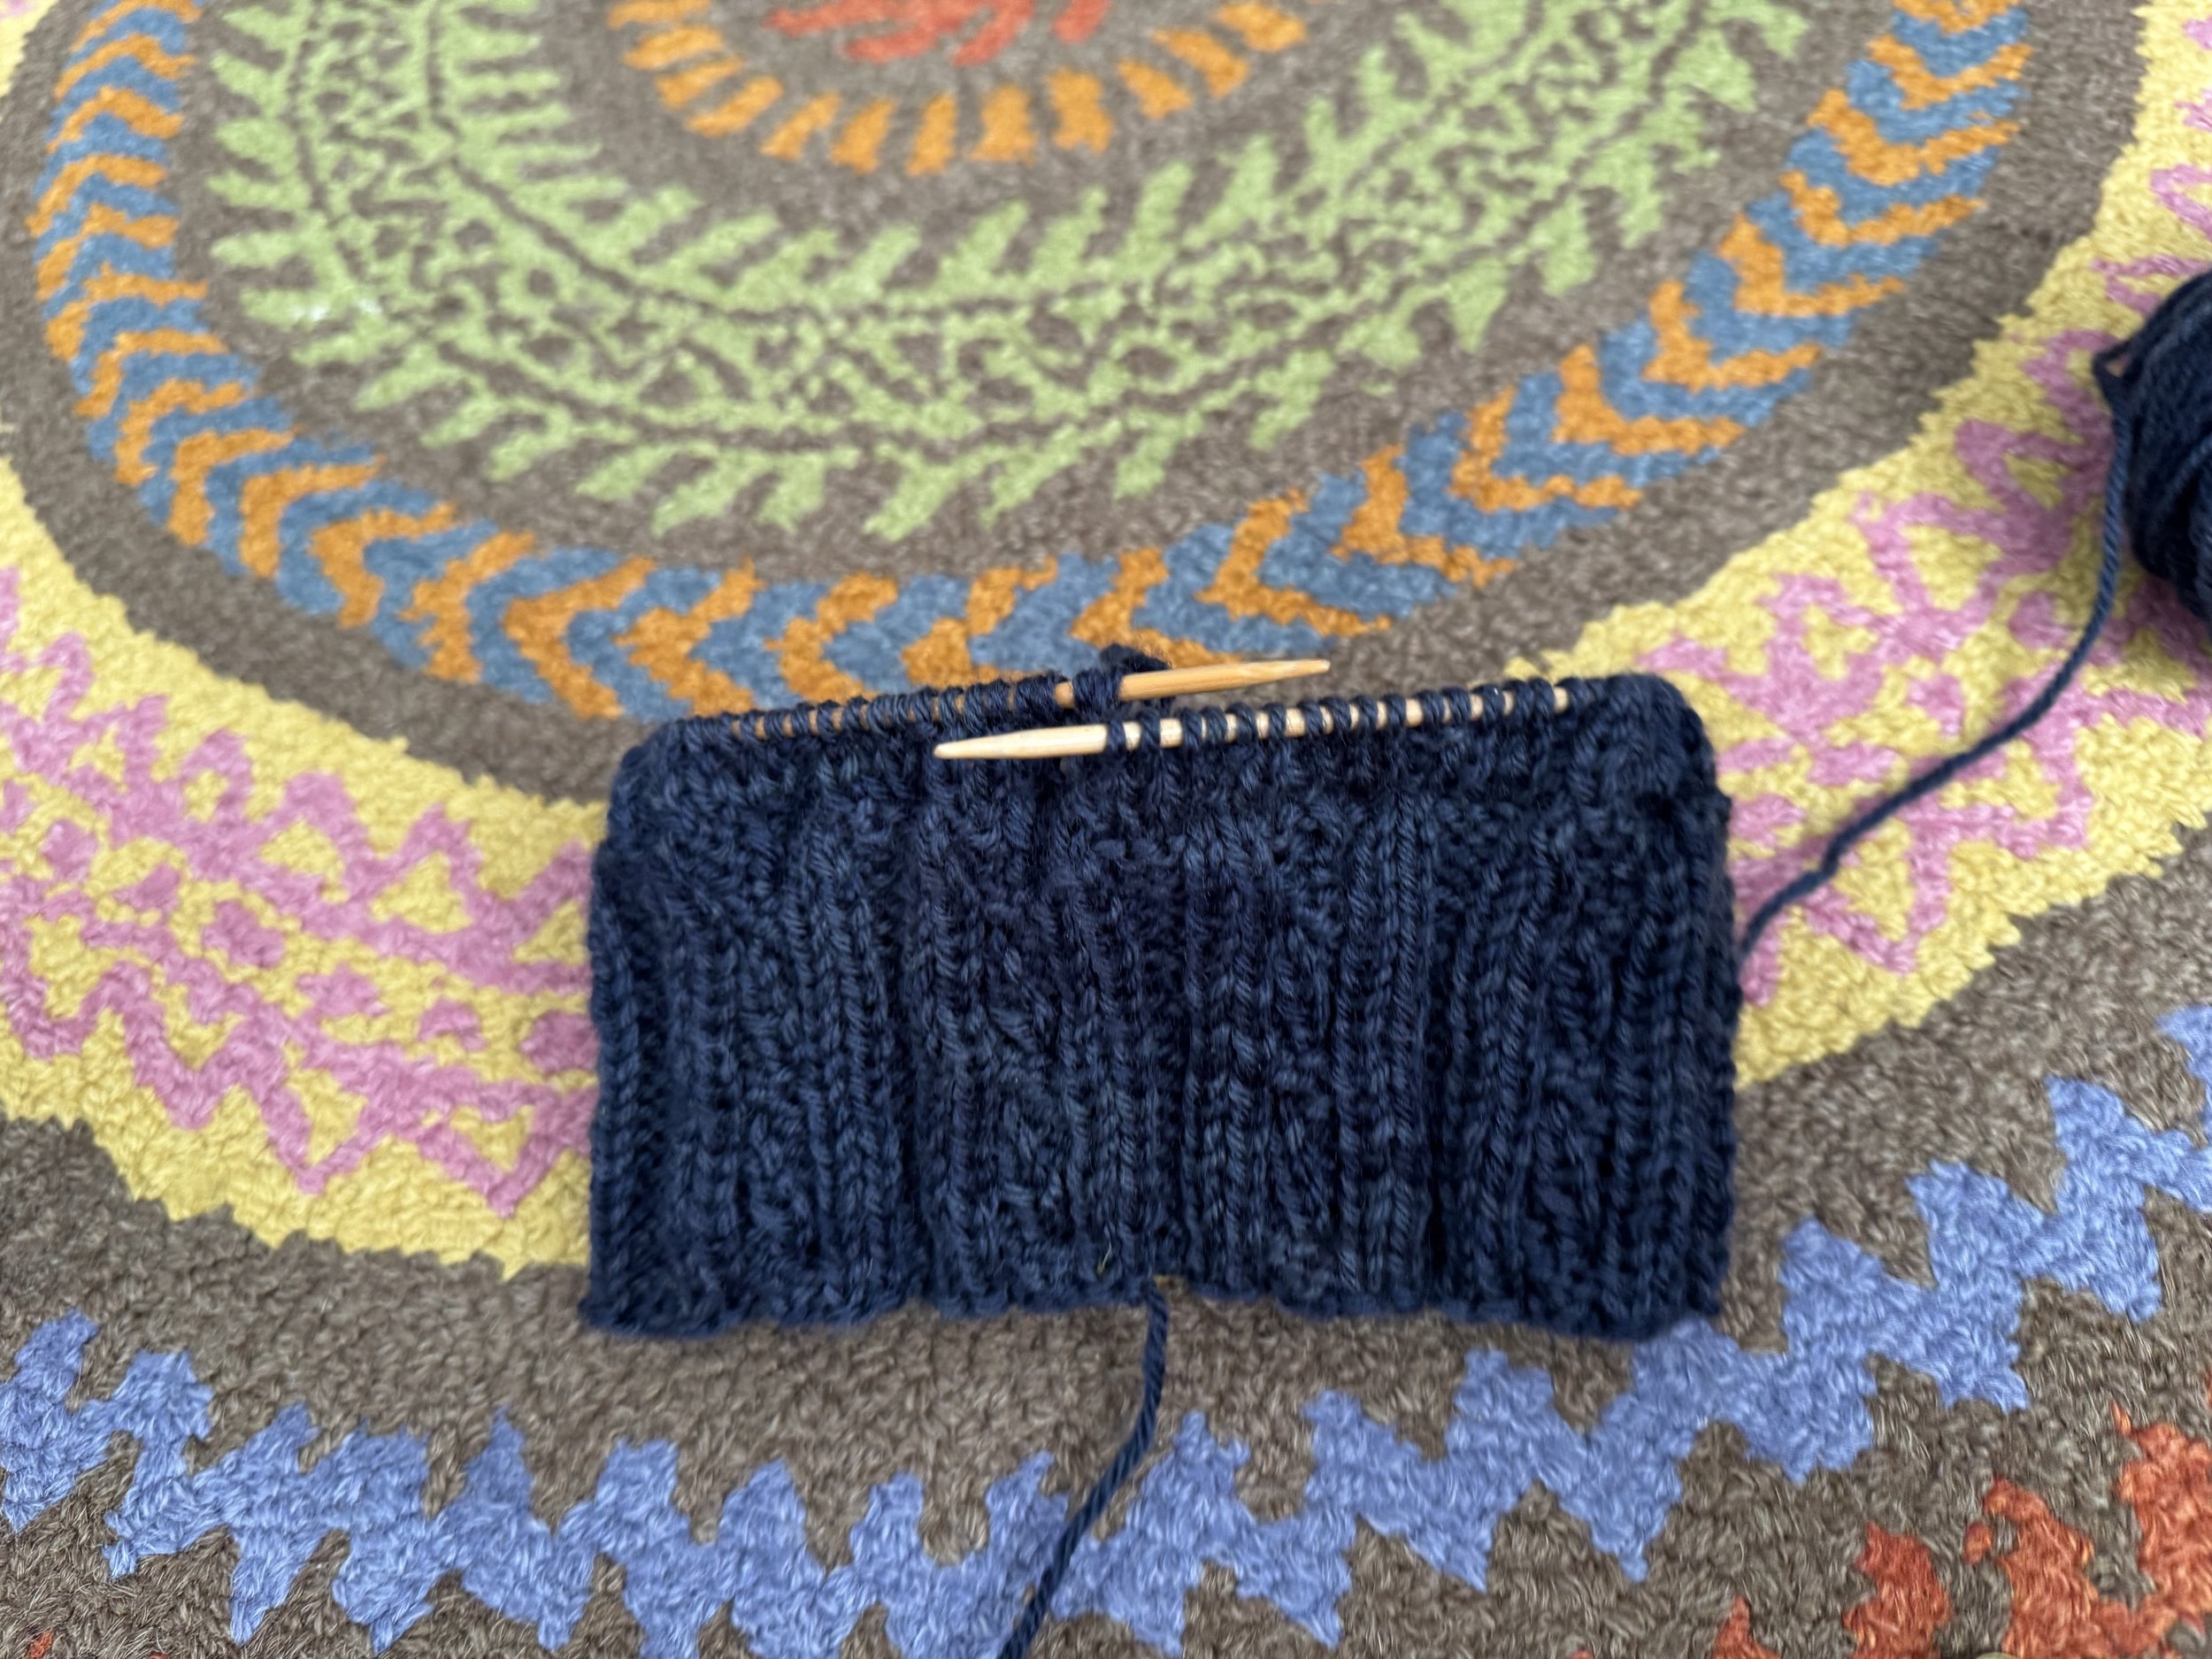
Here is the cuff
I cast on my 120 stitches and worked the cable pattern as planned. I made my first cable twist on round 4, which means that this cuff will be a smidge longer than the original cuff. I also worked that purl round after my 20 or so cuff rounds, for a tidy turn.
-

main body of hat
After that purl round, I had two options: 1) break the yarn, turn the work to the inside, reattach the yarn, and start knitting; or 2) turn the work to the inside, wrap the last stitch on the (now) right-hand needle, and start knitting. I picked option 2, but option 1 would work just as well. There would be two extra ends to weave in, which is no biggie. The main thing to do here is to work all of the stitches opposite of how they appear in the pattern; that is, purl the knit stitches and knit the purl stitches. I will work three rounds in the pattern before the first cable twist (which is a difference from the original process).
-

stitch markers
The egg is my beginning of round (BOR) marker and the birdie is my round marker. Because I get confused about row count if I mark the cables I will put the birdie marker on the first stitch of my first k3 section. It sits on the round that contains the cable twists. Every seven rounds, I do another cable twist and them move the marker to that round.
-

progress
I started the cable twists on round 4; after the seventh set of cables I will begin the decreases.
-

cuffed
Here is how it looks with the cuff folded up into what will be its home position.
-

decreasing
After the seventh cable twist, I begin the decreases on every second cable. I work the first cable in the regular way; i.e., I keep the cable pattern the same. But the next cable and every second cable after that see the decreases. The plan is to work the decreases in pairs of rounds until there are 70 stitches left, so: work a decrease round and work one round even (minus 10 stitches). Do this five times total, for a loss of 50 stitches (120 - 50 = 70).
-

on to dpns
After the five sets of “decrease 10 on round - work one round even” business, I begin decreasing 10 stitches on every round. This is the point at which I switch from my circular needle to three dpns, and I move my birdie row marker to one of the cables that remain solid and whole. My little egg that marks the beginning of the round will end up in the middle of a dpn and will then be removed completely as I move along, because the decreases at the end of the round will start to eat into the stitches at the beginning of the next round. Just let it happen. Counting stitches will be your friend here.
-

20 stitches left
I have a lovely k1p1 rib at this point. The original hat has that pretty five-pointed star at the top, which looks to be made from 10 knit and 10 purl stitches. I’ll break my yarn here, leaving a long tail, and run it through the stitches on the needles twice, and fasten it off.
-

top done
And here it is, all done except for the weaving in of the ends.
-

weaving in the cast-on end
If you make this hat, be sure to weave in the end on the wrong side of the cuff, which is the right side of the main body of the hat.
-

the long view
-

cuffed
-

comparison
The new hat hasn’t been worn and washed for 20 years, so it is a bit thicker and tighter than the original, but it fits him. I’ll post a picture, and a pattern, soon.
-
-
cuff pattern
We’ll do this piecewise. Here is a .pdf chart for the cuff. Cast on 120 stitches and repeat the pattern 5 times.
-
hat body pattern
And here is a chart for the whole upper part. I will see if I can’t make it a bit more concise. After the cuff is finished, turn it inside out and either break the yarn or wrap it (to avoid a hole) as described above, and then start work on the hat proper.